| we ship to: |                                      |
| we ship to: | |

If your MacBook components are damaged or malfunction, it is recommended that you perform a backup to save all files with important information. Using the built-in Time Machine tool, from this article you will learn how to back up your MacBook to an external hard disk.
Users' personal files can be saved to make them accessible in case of problems with the device. Apple provides a special tool designed for backups. Time Machine is a built-in application that is used to back up Mac to hard drive, these can be documents, photos, and apps. They're safely stored in the cloud in iDrive, Backblaze, Carbonite, and on your hard drive, and restoring your MacBook data will be a quick and easy process.
Backing up MacBook to external hard drive data is easy because Time Machine is pre-installed on your system, and the process doesn't take long. Thanks to our step-by-step instructions, any user can accomplish the task. It is enough to follow the algorithm of actions and the order of steps exactly.
To start the process of backing up MacBook to external hard drive, you need to get to a special section with settings.
In the new window, you will see icons of all available options. Scroll down to the bottom, find the Time Machine app, and click on its icon. This will take you to the next step to start the backup.
In the Time Machine application window, click on "Select a disk for backup". Here you specify the device on which you want to save a copy of your computer data. Select the external hard disk that you prepared in advance and click "Use Disk".
Also: How to Reset the SMC on MacBook: Step-by-Step Guide
In this step of backing up the MacBook to external hard drive, you need to click on "Select Disk" and choose the same option as in the previous step. The "Encrypt backups" option will appear. The manufacturer strongly recommends using this function.
Encryption protects your data from theft, which is especially important when using external storage devices. It also prevents unauthorized access to your personal information, even if you lose your external hard drive or in case it is stolen.
After you select the "Encrypt backups" option, a window will open asking you to create a password. Сome up with a combination of letters and numbers that cannot be matched - do not use your year of birth or other information that can be known by third parties. Keep the password in a safe place, because you cannot access your backups without it. To start the backup process with encrypted information, click Encrypt disk.
When encryption is complete, the main Time Machine application window will reopen. On the right side, you will see a check mark next to Backup automatically. This means that Time Machine has started the backup process.
The final step of backing up MacBook to external hard drive does not require any action from a user. Time Machine backs up your MacBook automatically. Under the progress bar, you can see how long you have to wait before the process is complete. When the backup is complete, the system will notify you with a pop-up message in the top right corner of the desktop.
Also: How to Check Battery Health on MacBook
Like any computer hardware, your MacBook needs regular software updates and maintenance. Timely replacement of failed parts will ensure reliable and smooth operation of the device and help protect user data. In the assortment of Apple Parts Store you will find original parts for different MacBook models. All parts are certified and tested, so they are guaranteed to work according to the parameters declared by Apple.
If you realize that you can't replace the part yourself, order a MacBook repair at Apple Parts by mail. It's enough to send us your laptop and wait for the diagnostics results. After the repair, you will receive an invoice, and after payment, you can get your MacBook back just in a couple of working days.
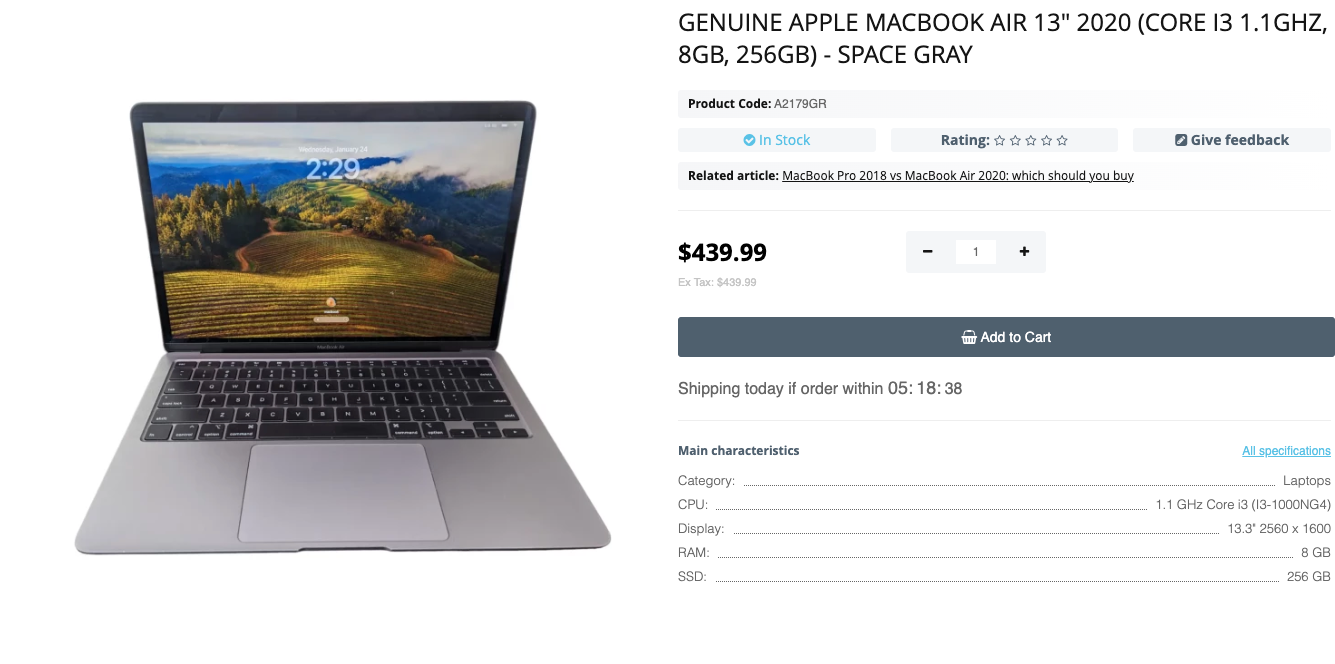
Genuine Apple MacBook Air 13" 2020 (Core i3 1.1Ghz, 8GB, 256GB) - Space Gray

|
ABOUT THE AUTHOR
Volodymyr Chubei Volodymyr was born in Ukraine and has found his passion for electronics from his childhood. At the age of 13, he was capable of soldering some basic elements of a logic board and today he is one of the co-founders of MacNest.com |

Safeguarding your Mac in the digital era is critical to secure your persona...
Read More

MacBook users sometimes experience situations where the microphone doesn't ...
Read More

We are pleased to announce that our website, AppleParts.io, is moving to a ...
Read More

MacBook users sometimes face the problem of not being able to download file...
Read More