| we ship to: |                                      |
| we ship to: | |

Problems with the MacBook Pro screen often happen due to human error. There are malfunctions that require minor repairs, but often you have to change the damaged screen for a new one.
This article describes the most common reasons for replacing the MacBook Pro screen. You will learn how to change the screen yourself using instructions and a small set of tools.
MacBook Pro is used a lot outside the home, so the risk of dropping, hitting or scratching the gadget is higher than when working with a stationary PC. The screen is damaged more often because it is not protected by the case, like other parts.
Main reasons for replacement MacBook Pro screen:
Cracks: when using the screen in this condition, dirt particles can get inside and damage other components, so replacement is necessary.
Flickering: occurs for various reasons, so you first need to check the screen ribbon cable. If it is intact, check the reliability of the screen connection to the motherboard and the video adapter. If the problem cannot be solved, the screen needs to be replaced.
Streaks and Dead Pixels: connect your laptop to an external monitor first, and if it doesn't have the same streaks and pixels, the screen needs to be replaced with a new one.
Also: MacBook Pro 13" A1708 2017 Display Assembly Replacement
To replace a damaged MacBook Pro screen yourself, you need at least minimal experience. The process itself is not complicated and you will definitely succeed if you are careful and follow the instructions. Below we will describe in detail how to change the screen yourself in different MacBook Pro models.
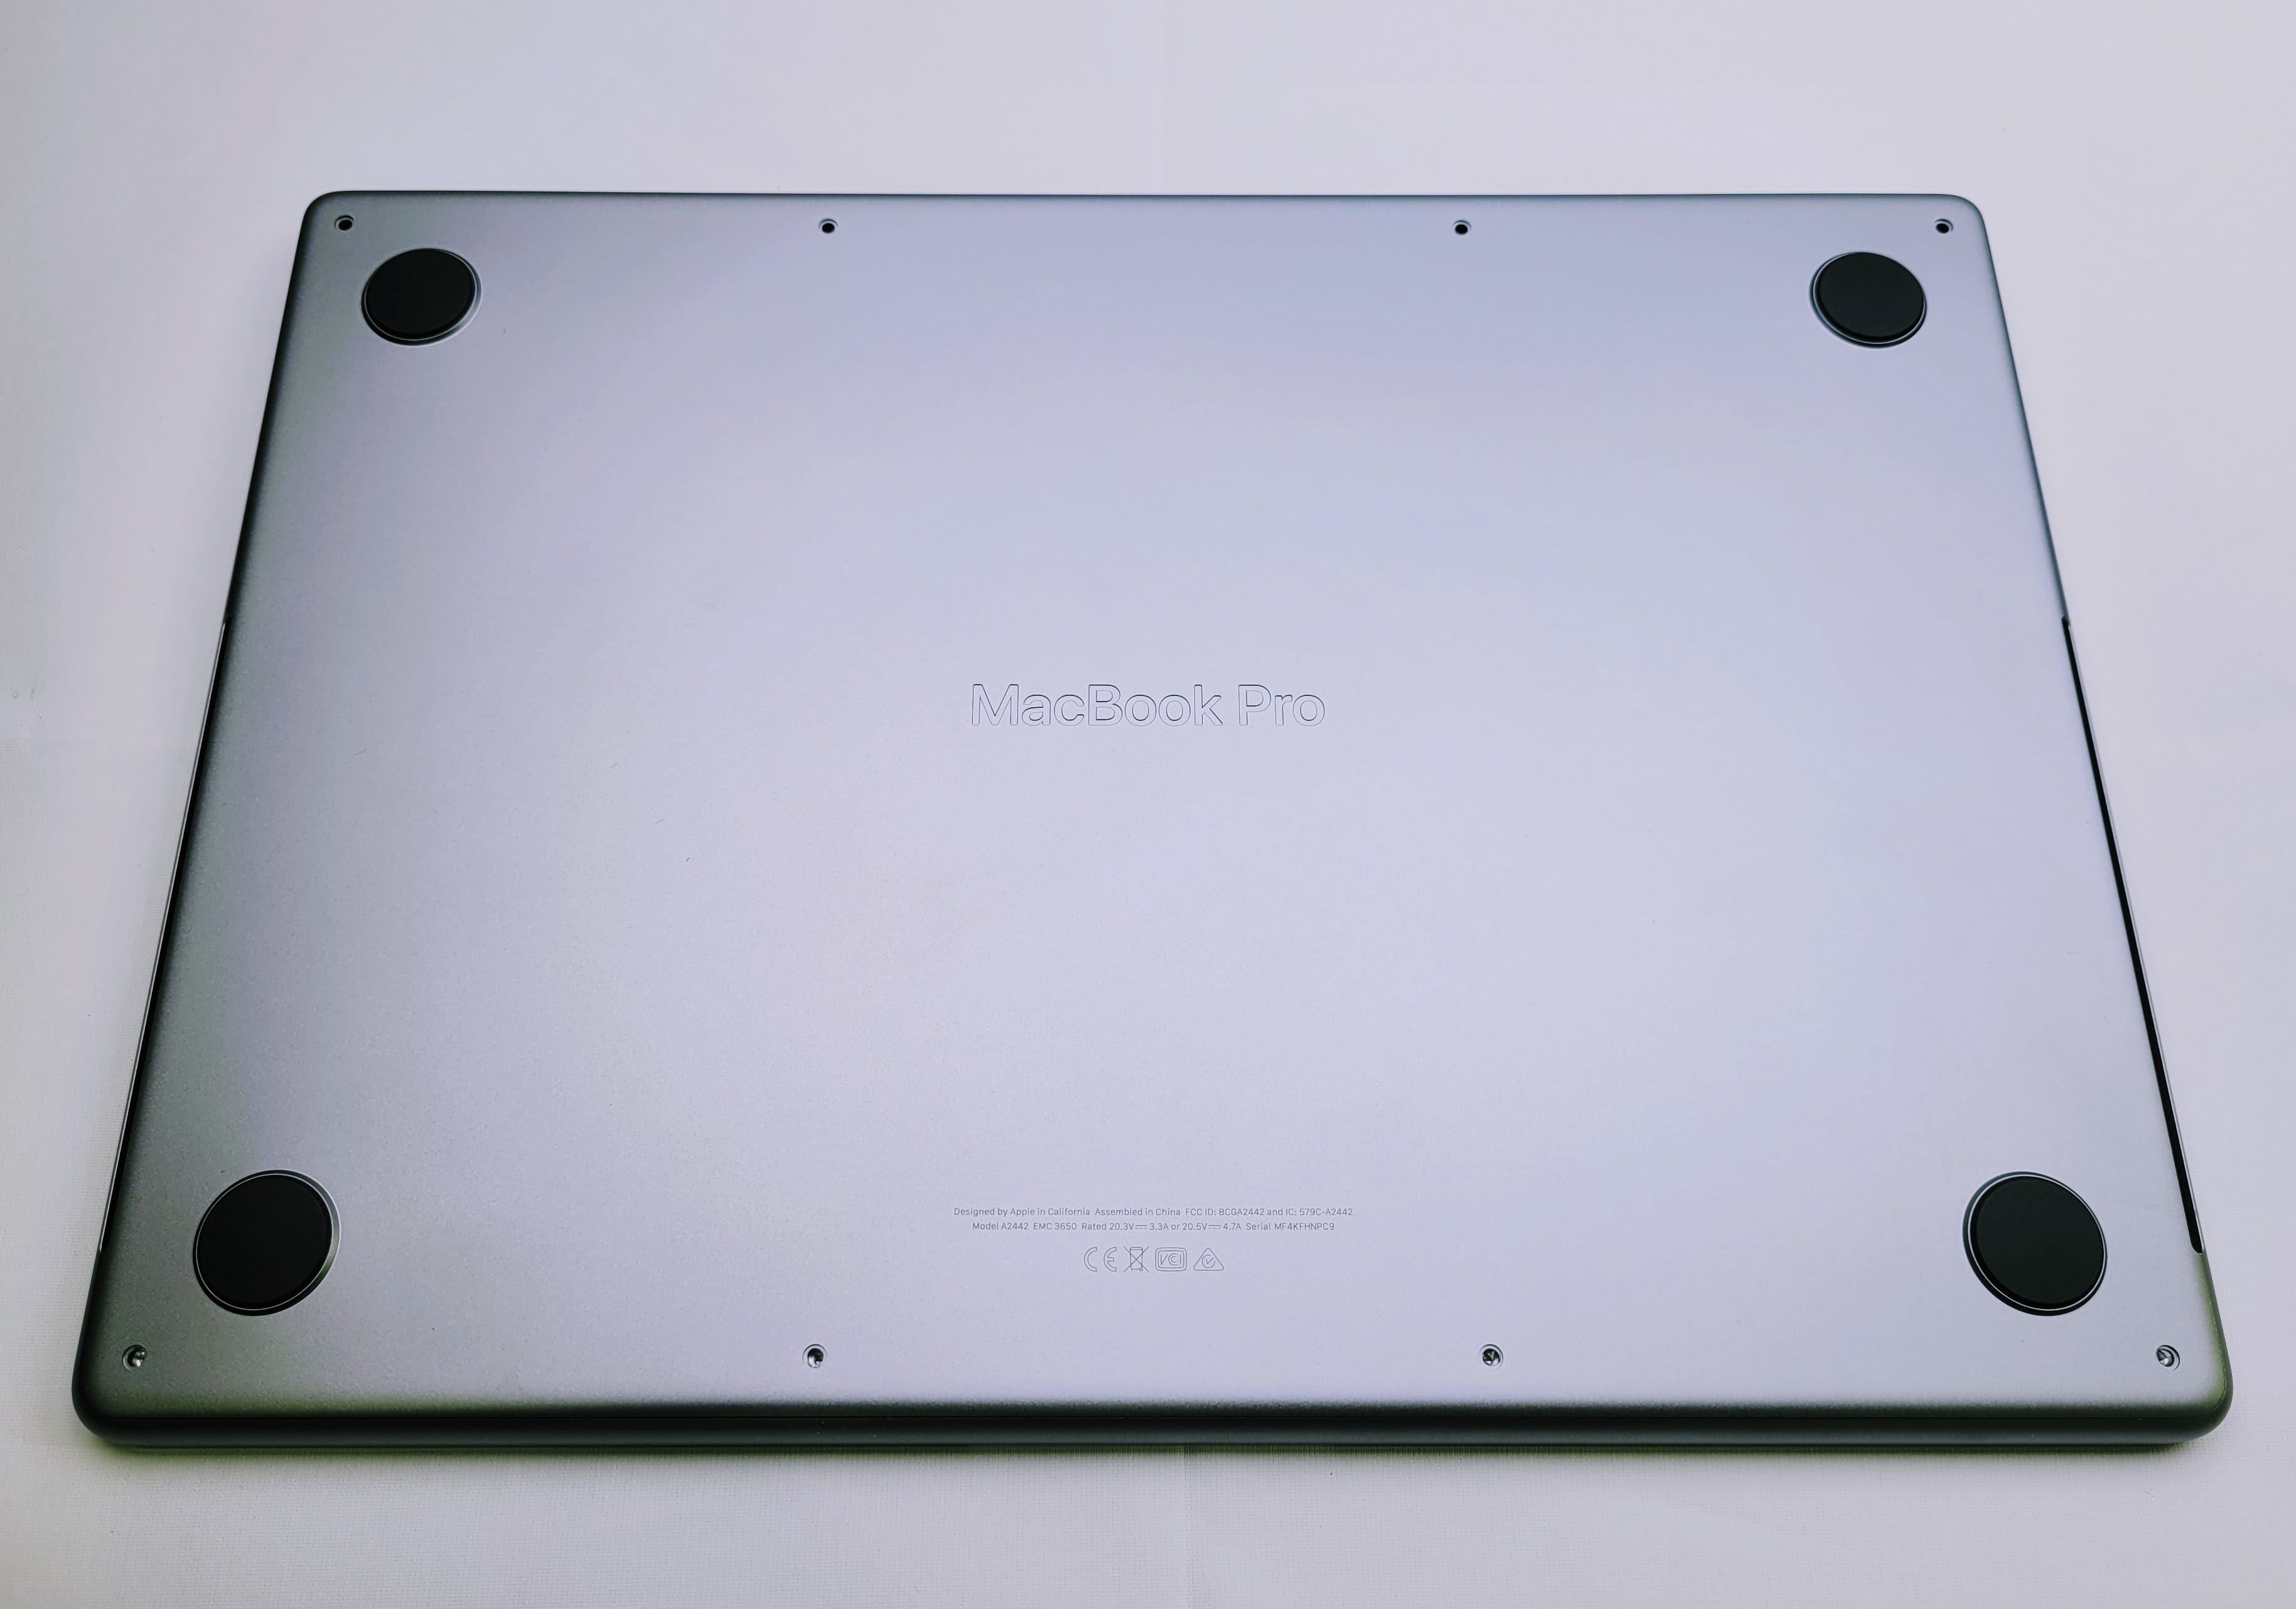
First you need to discharge the battery so that no more than 25% of the charge remains. This will help avoid sudden fire of the battery during repair. You also need to prepare Torx T3 and T5, P2 and P5 Pentalobe screwdrivers. In addition, you will need ESD-protected blunt-nosed tweezers, a suction cup with a handle and an opening pick, a plastic spudger, or a bank card. How to replace MacBook Pro 14 2021 screen?
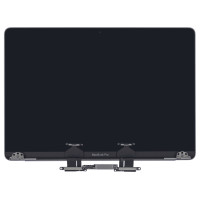
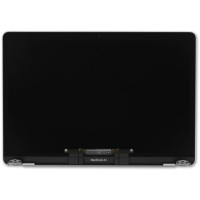
.png) GENUINE LCD SCREEN (DISPLAY) ASSEMBLY (661-21970) Space Gray A2442 2021
GENUINE LCD SCREEN (DISPLAY) ASSEMBLY (661-21970) Space Gray A2442 2021
To remove the cover and gain access to the internal components of the laptop, you must proceed in the following order:
To remove the MacBook Pro lid, you need to detach the trackpad - the touchpad. To do this, you must follow the following procedure:
Remove the bracket and use the flat end of a spudger to slightly lift and disconnect the trackpad cable connector from the motherboard.
Completely disconnect the cable from the device.
To disconnect the battery, first peel off the tape that covers the connector on the battery board, and then proceed in strict order:
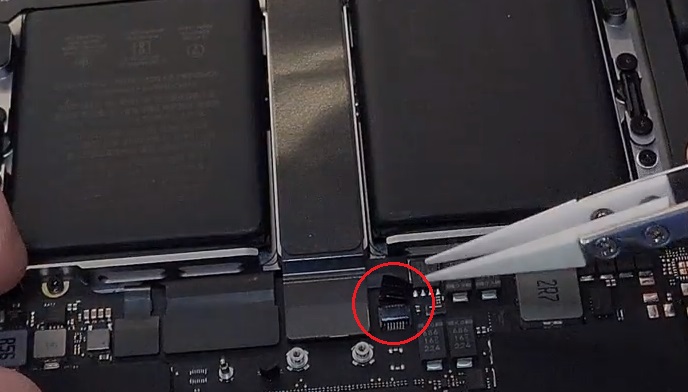
Use a spudger to pry up the latch on the battery board cable slide bar connector.
Insert a pair of tweezers between the ribbon cable and the motherboard, carefully slide it under the cable to separate the adhesive.
Pull the cable out of its socket on the motherboard.
Disconnect the battery cable with tweezers.
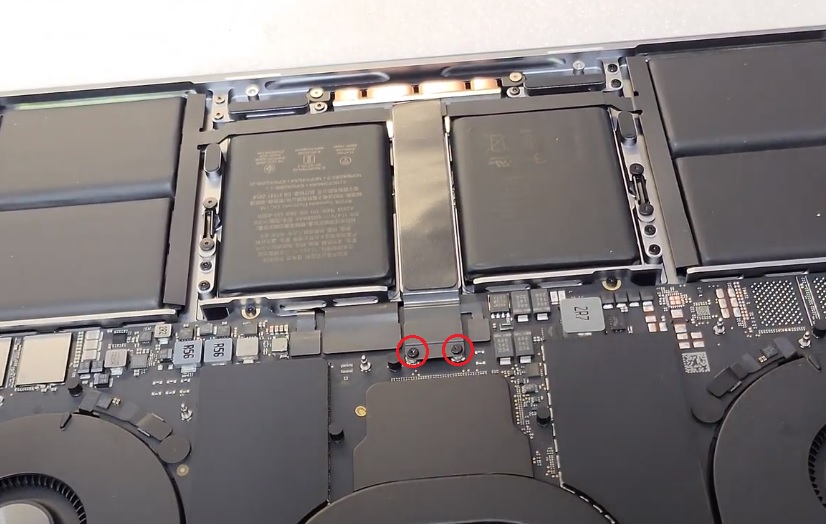
Remove the screw that secures the battery power connector.
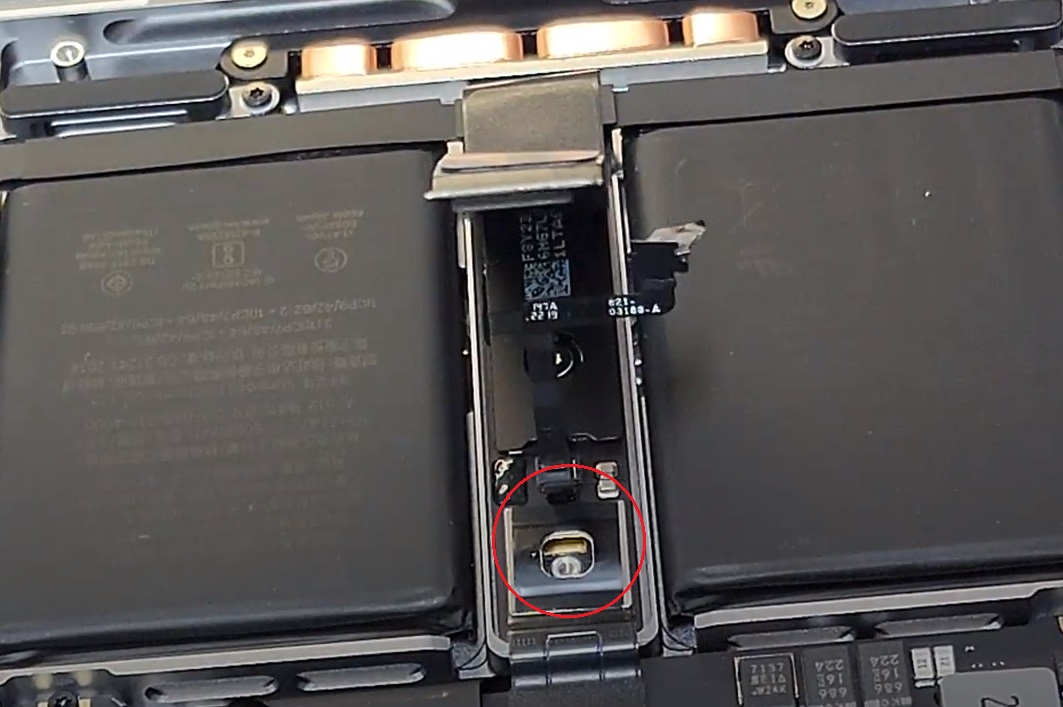
Lift the connector high to separate it from the socket and remove the battery with a spudger.
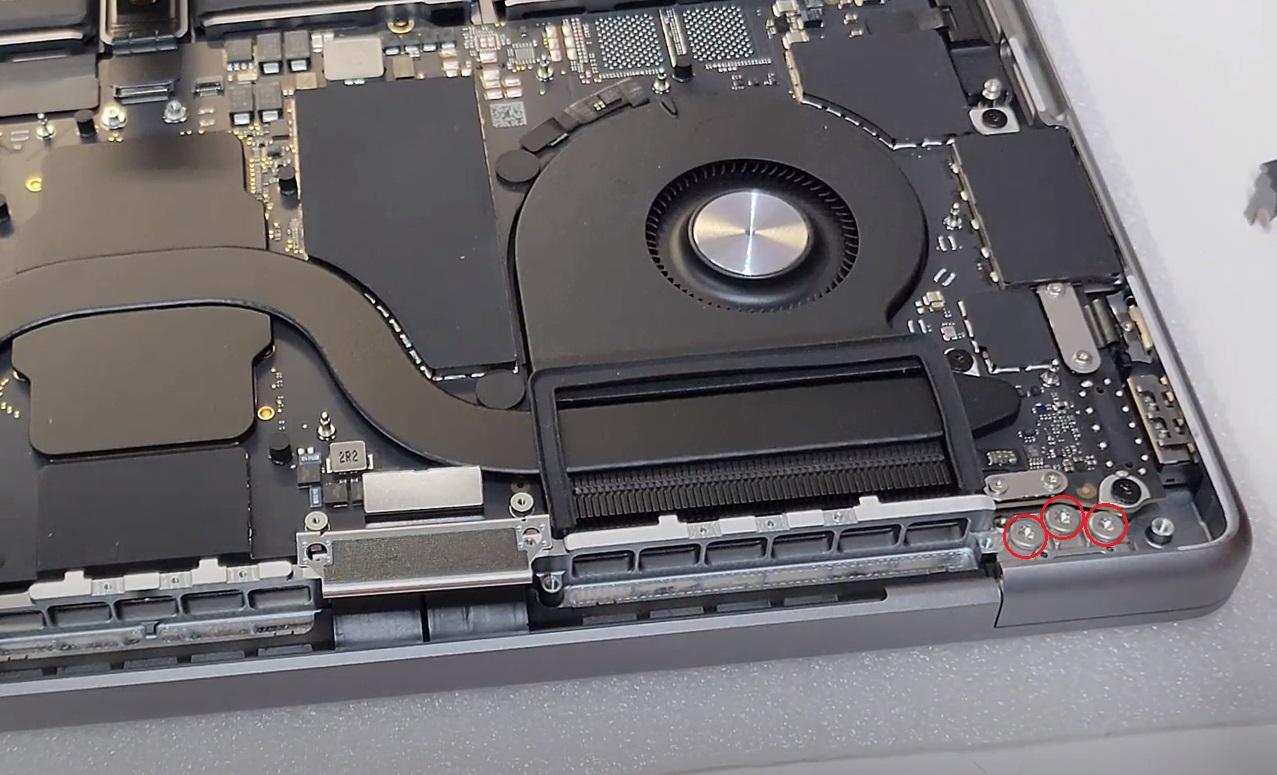
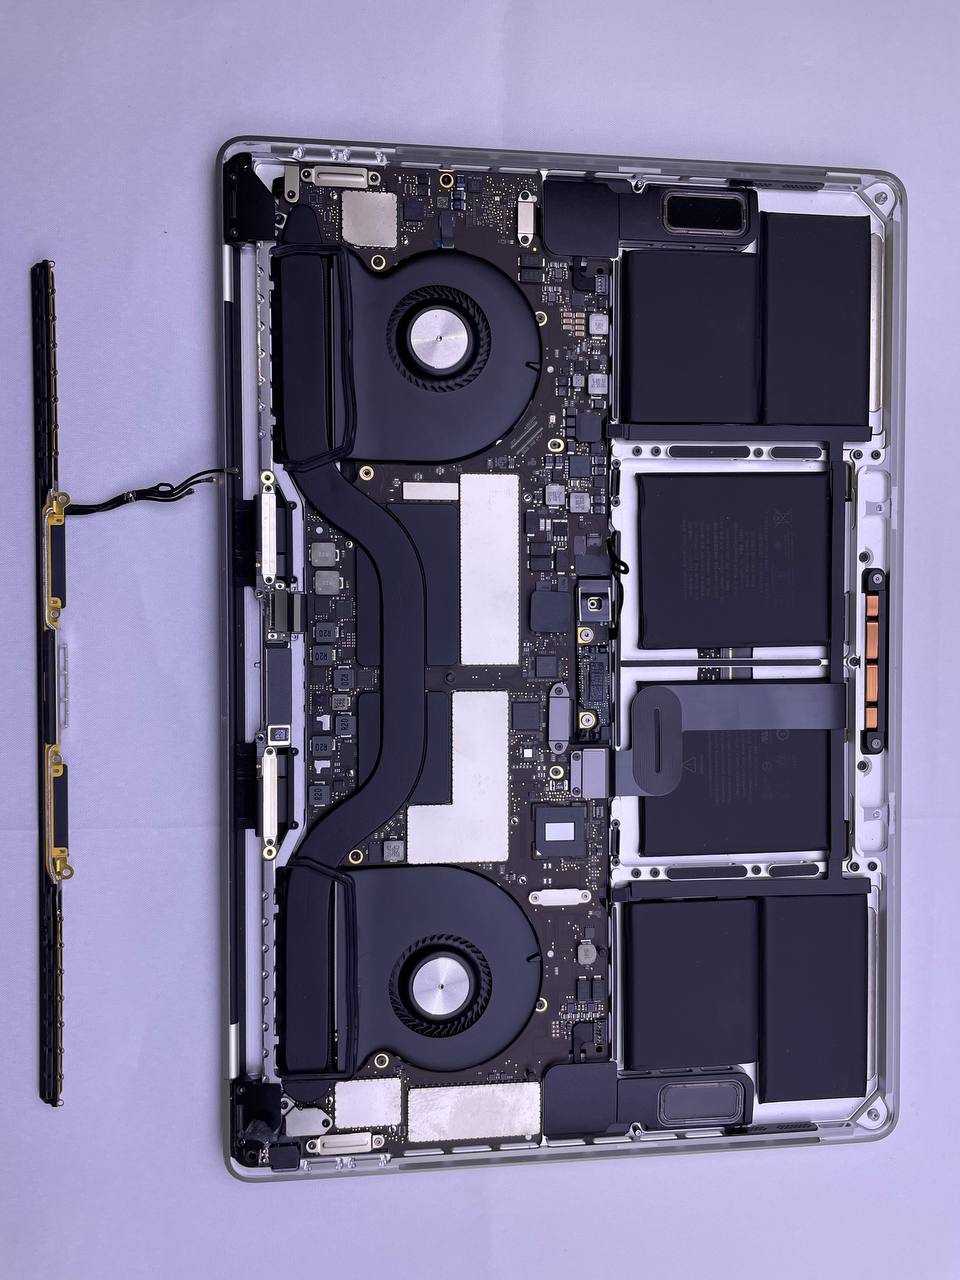
Disconnect the bar with Wi-Fi antennas in the following order:
Remove the three screws that secure the board bracket to the frame.
Use tweezers or fingers to remove the antenna bar cover.
Use the tip of a spudger to lift and disconnect the bar cable. Repeat alternately for the other two cables.
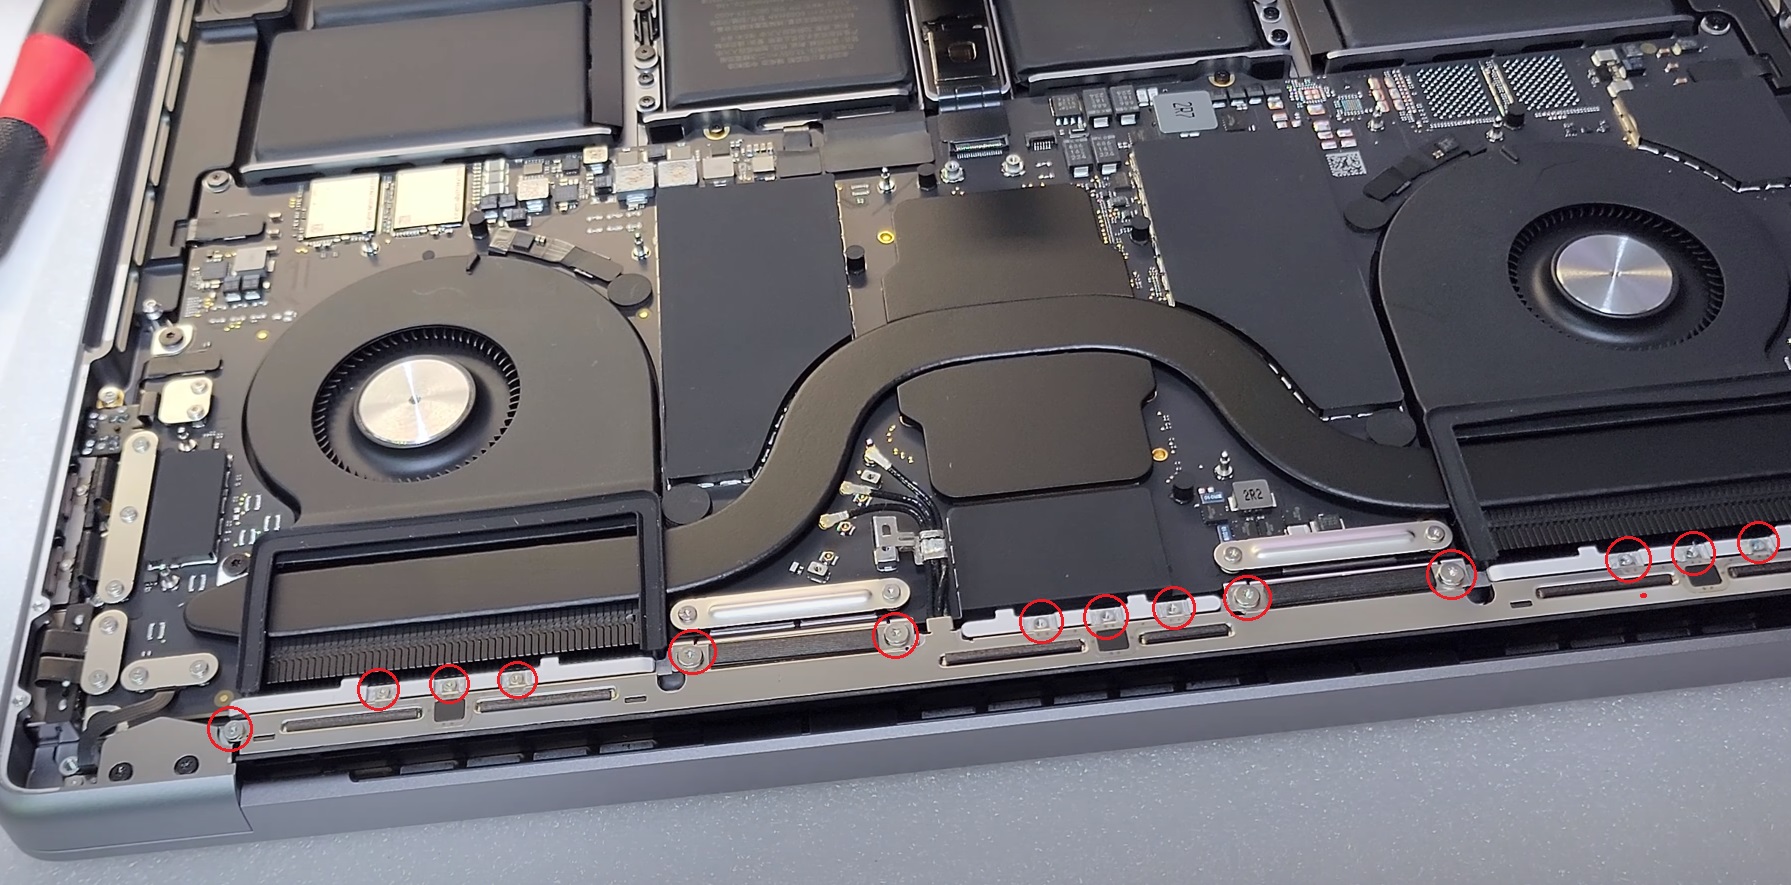
Remove the screws that secure the bar to the frame. 15 screws in total must be removed.
Insert a spudger between the frame and the bar, lift it up to separate the parts from each other.
Remove the bar by pulling it up.
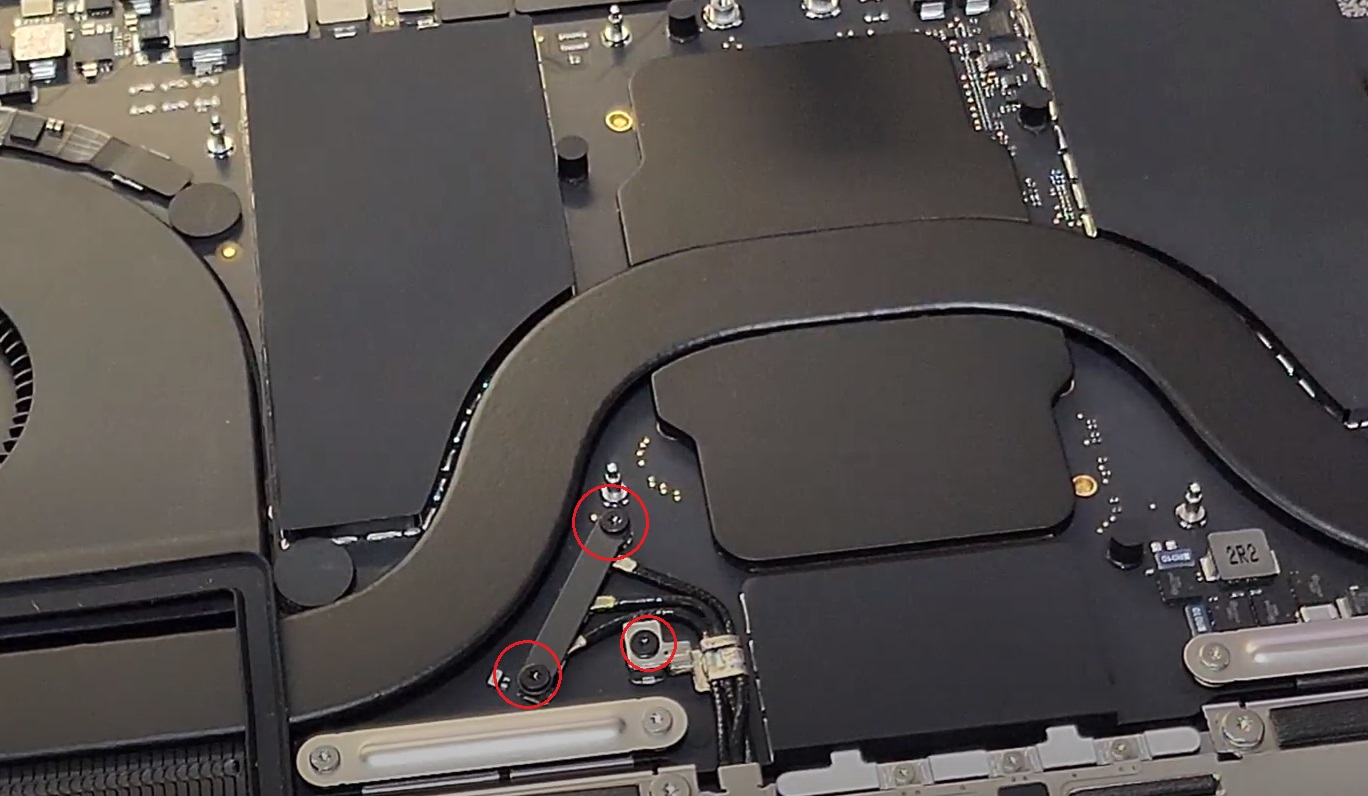
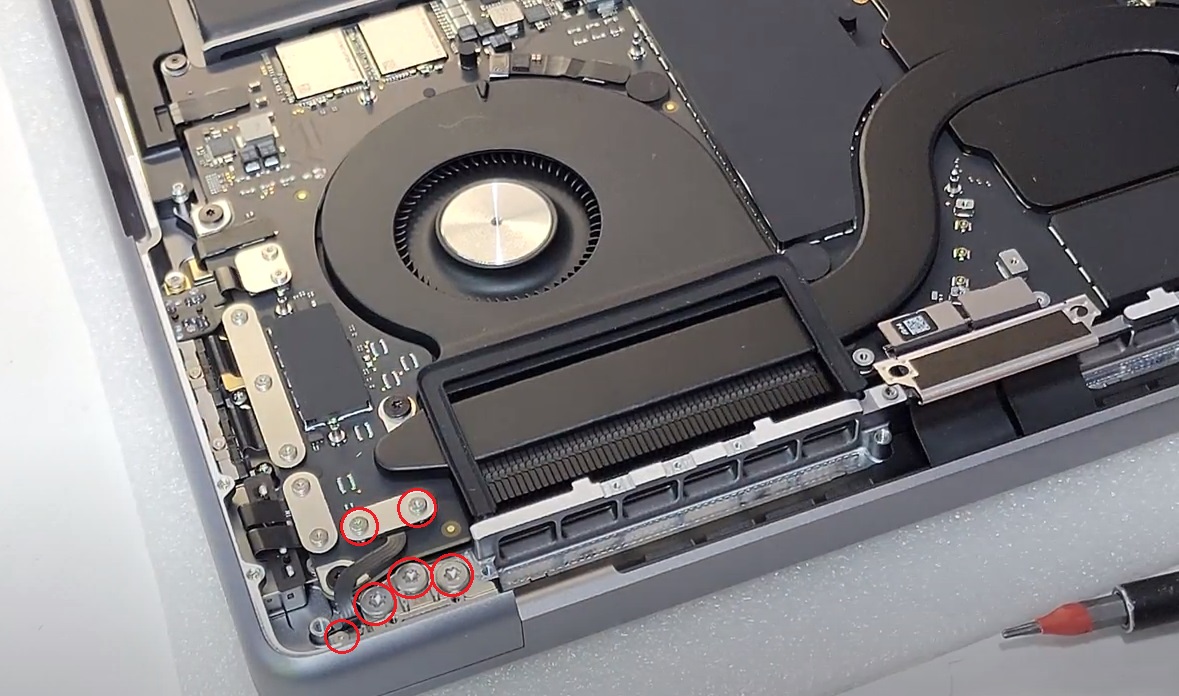
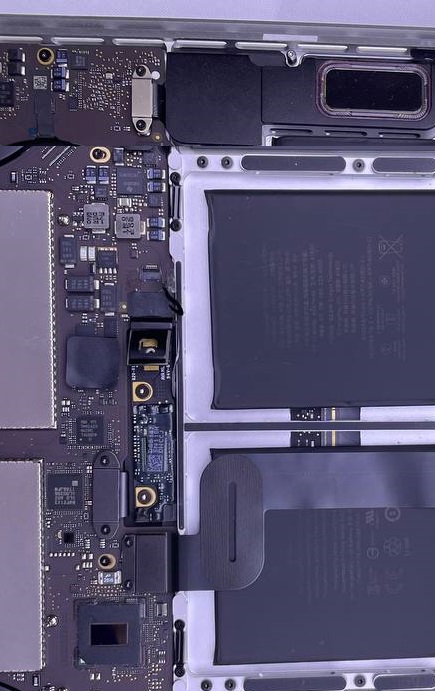
The penultimate step is to disconnect the screen cable following the below procedure:
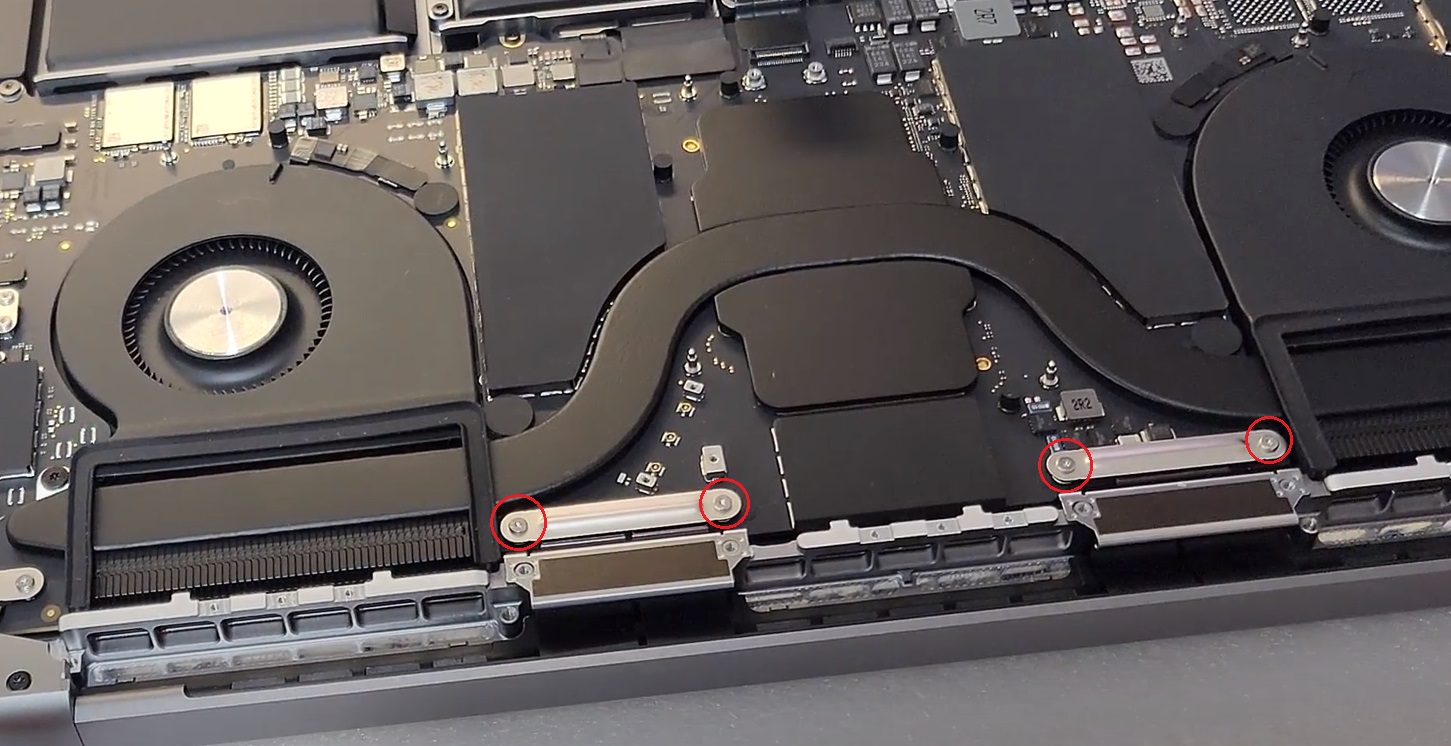
Undo the four cable cover screws and remove them from the motherboard.
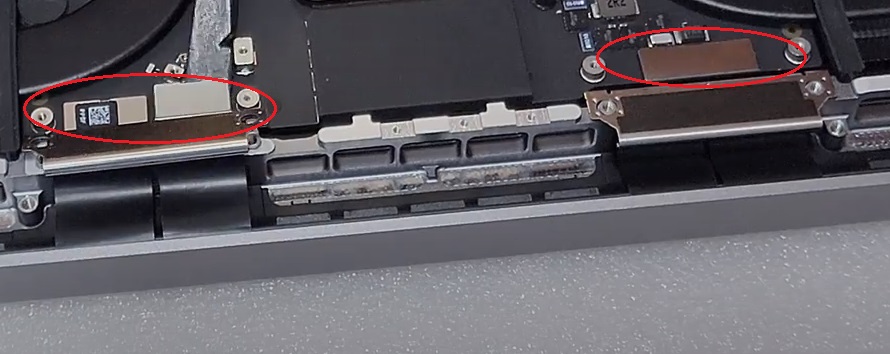
Using a spudger, pry up and disconnect the two screen cable connectors (left and right) that are secured to the motherboard.
Pull the back of the cable bracket up, release the frame clamp, and remove it. Repeat for the other bracket.
Lift the two bracket shock absorbers up to remove them from the frame if they have not been taken off with the brackets.
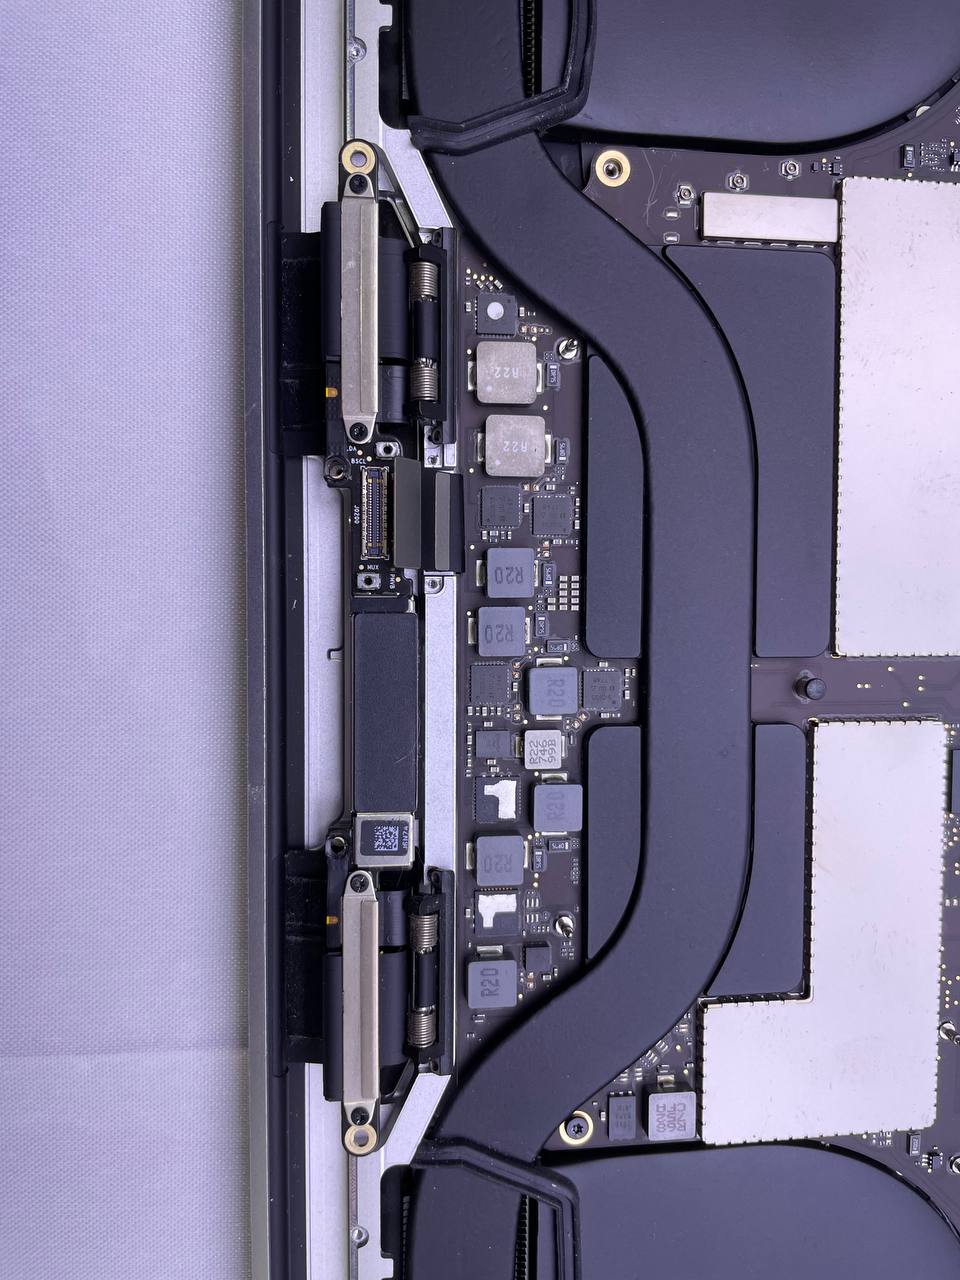
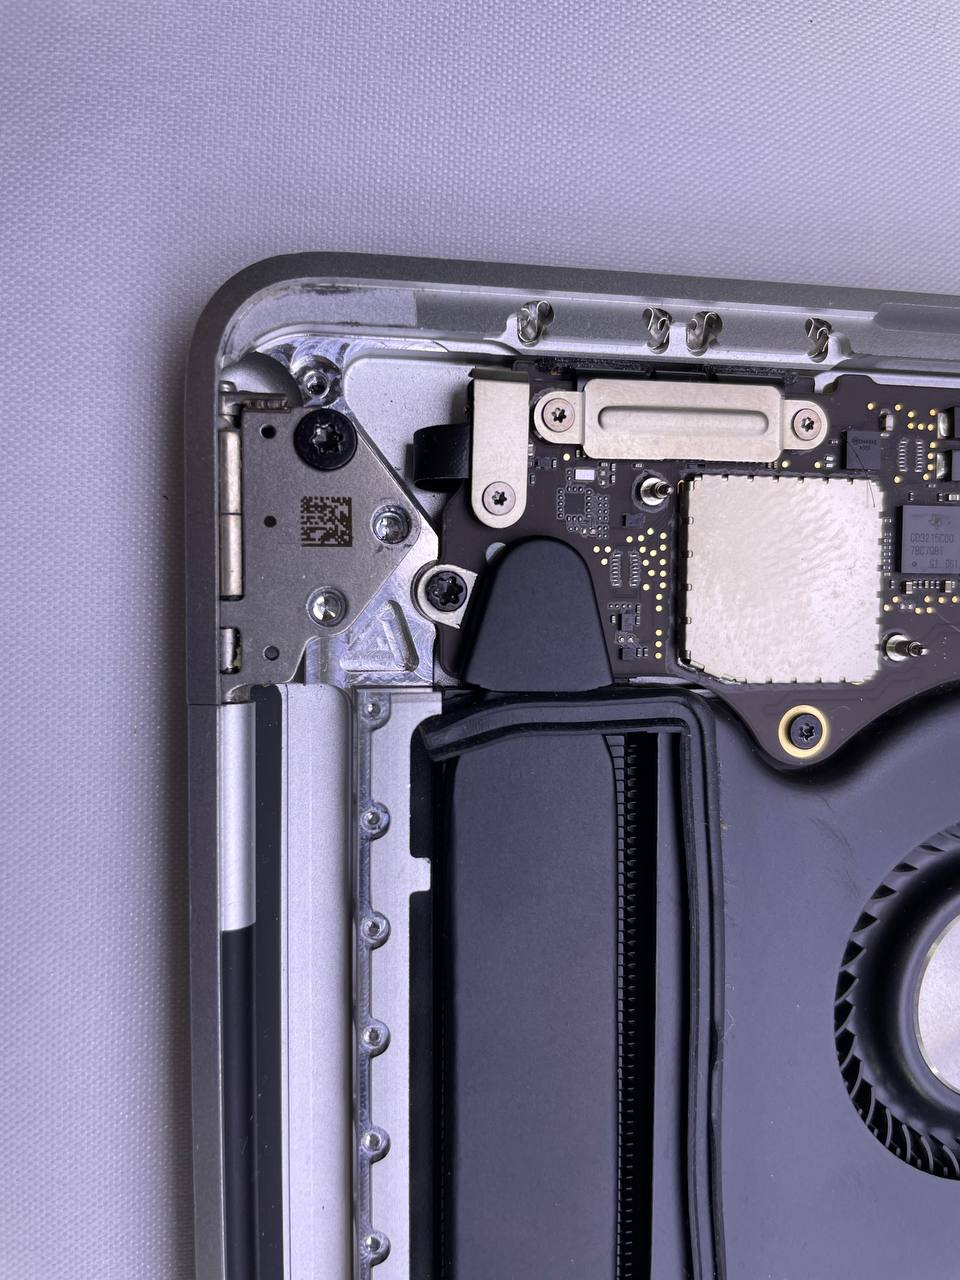
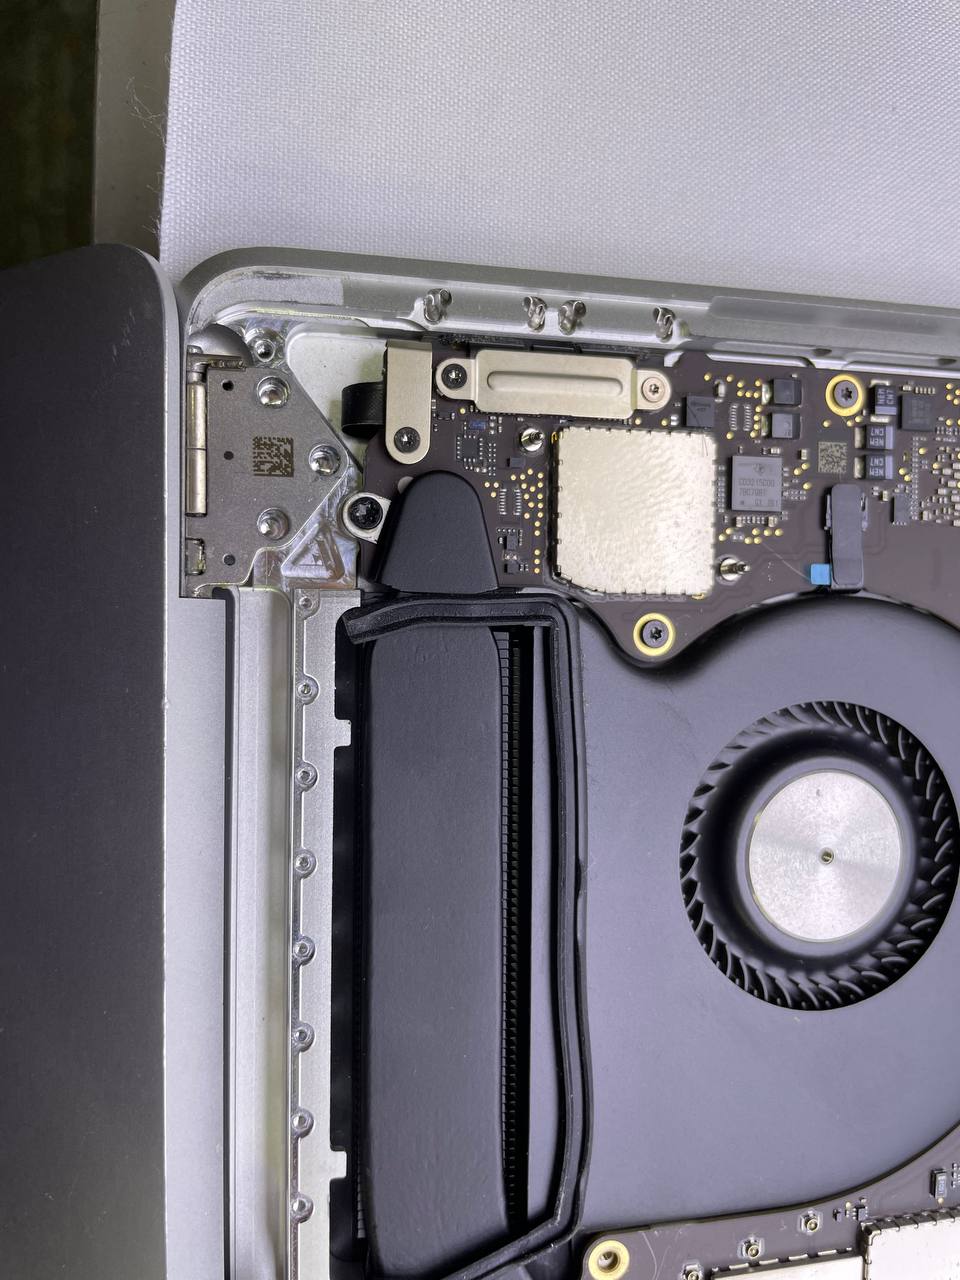
The final stage of preparation for MacBook Pro screen replacement:
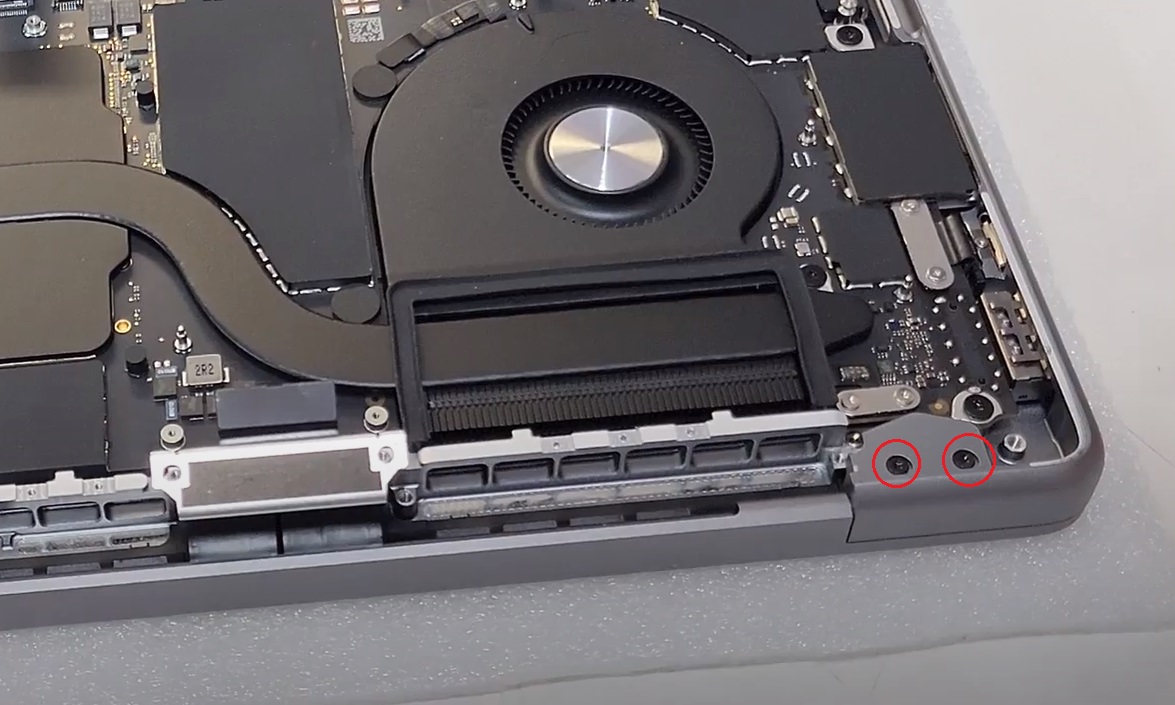
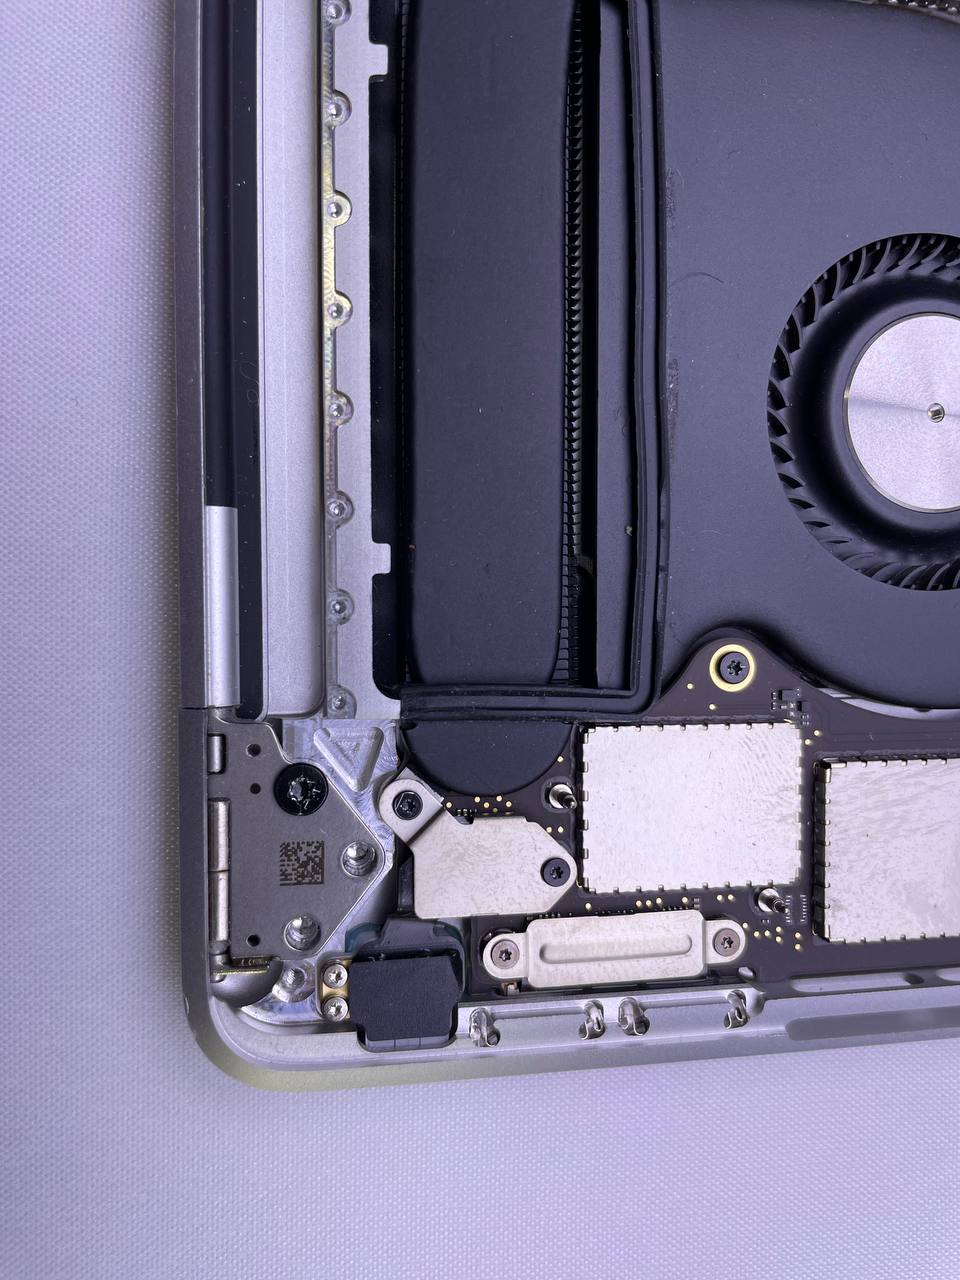
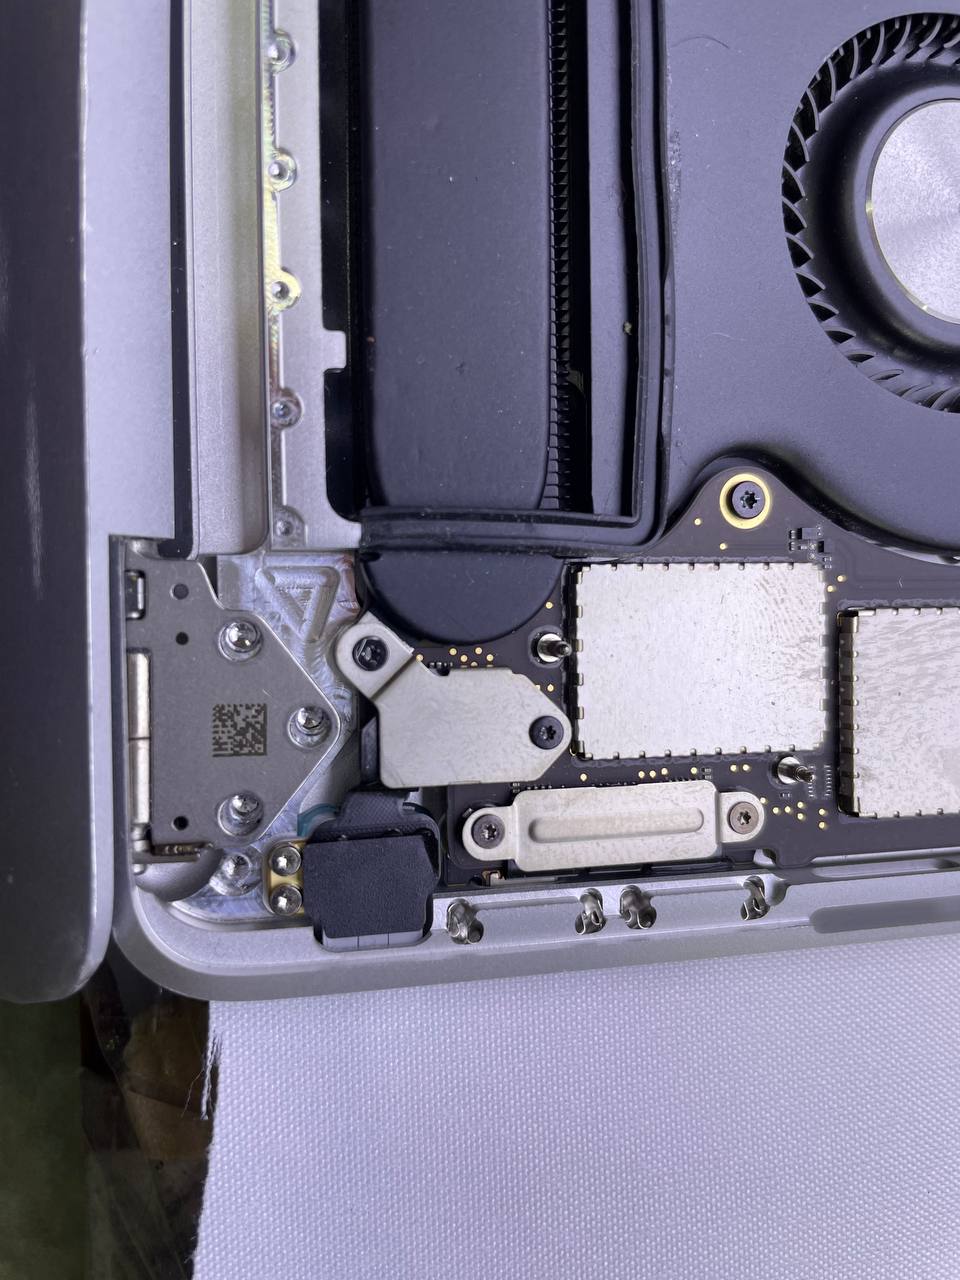
Undo the two screws that secure the angle sensor cover near the hinge on the right side and remove it.
Use a spudger to lift and disconnect the press connector of the sensor.
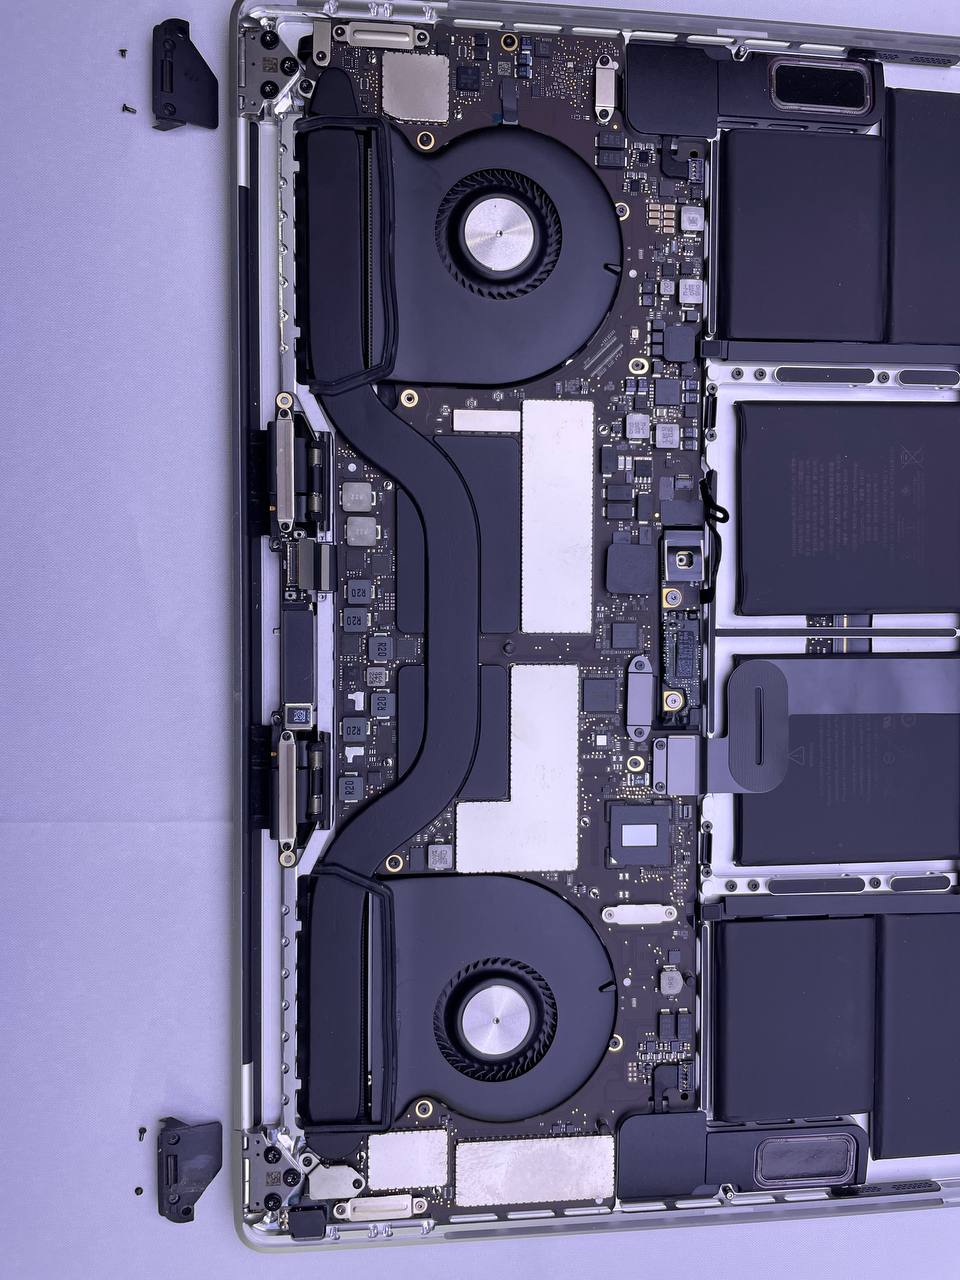
Loosen the four screws on the hinge covers.
Using tweezers, pull the hinge covers to separate from the frame, and then remove them from the hinges.
Remove two screws from the hinges and leave the third screw temporarily.
Open the lid and place the MacBook Pro on its edge.
Remove the third screws while holding the laptop halves so they don't fall off.
Slide the halves so that you can remove the hinges from the notches.
Pull the screen towards you to separate it and remove the cover.

When mounting a new screen, first install the hinge screws without tightening them to the end. Align the screen so that it is centered and tighten the screws to the stop. Make sure the screen opens and closes freely and is not displaced or clings to the case. If necessary, loosen the hinge screws and center the cover. To assemble your MacBook Pro, repeat all steps in reverse order.
For the MacBook Pro 15 2016 screen replacement, you need to follow the same conditions and prepare the tools as in the instructions for the MacBook Pro 14.
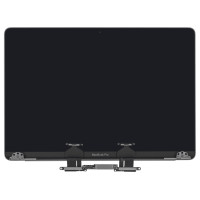
.png) Genuine LCD (Screen) Display Assembly, Space Gray A1707
Genuine LCD (Screen) Display Assembly, Space Gray A1707
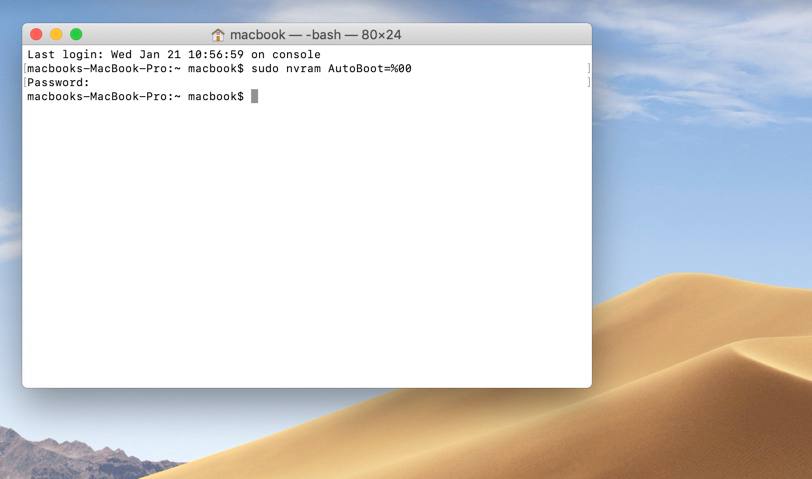
To eliminate the possibility of accidentally turning on the laptop during repair, you need to disable automatic boot. To do this, launch the Terminal, write the commandsudo nvram AutoBoot=%00 and press Enter. When prompted for an administrator password, you must enter it and press Enter again. After replacing write: sudo nvram AutoBoot=%03
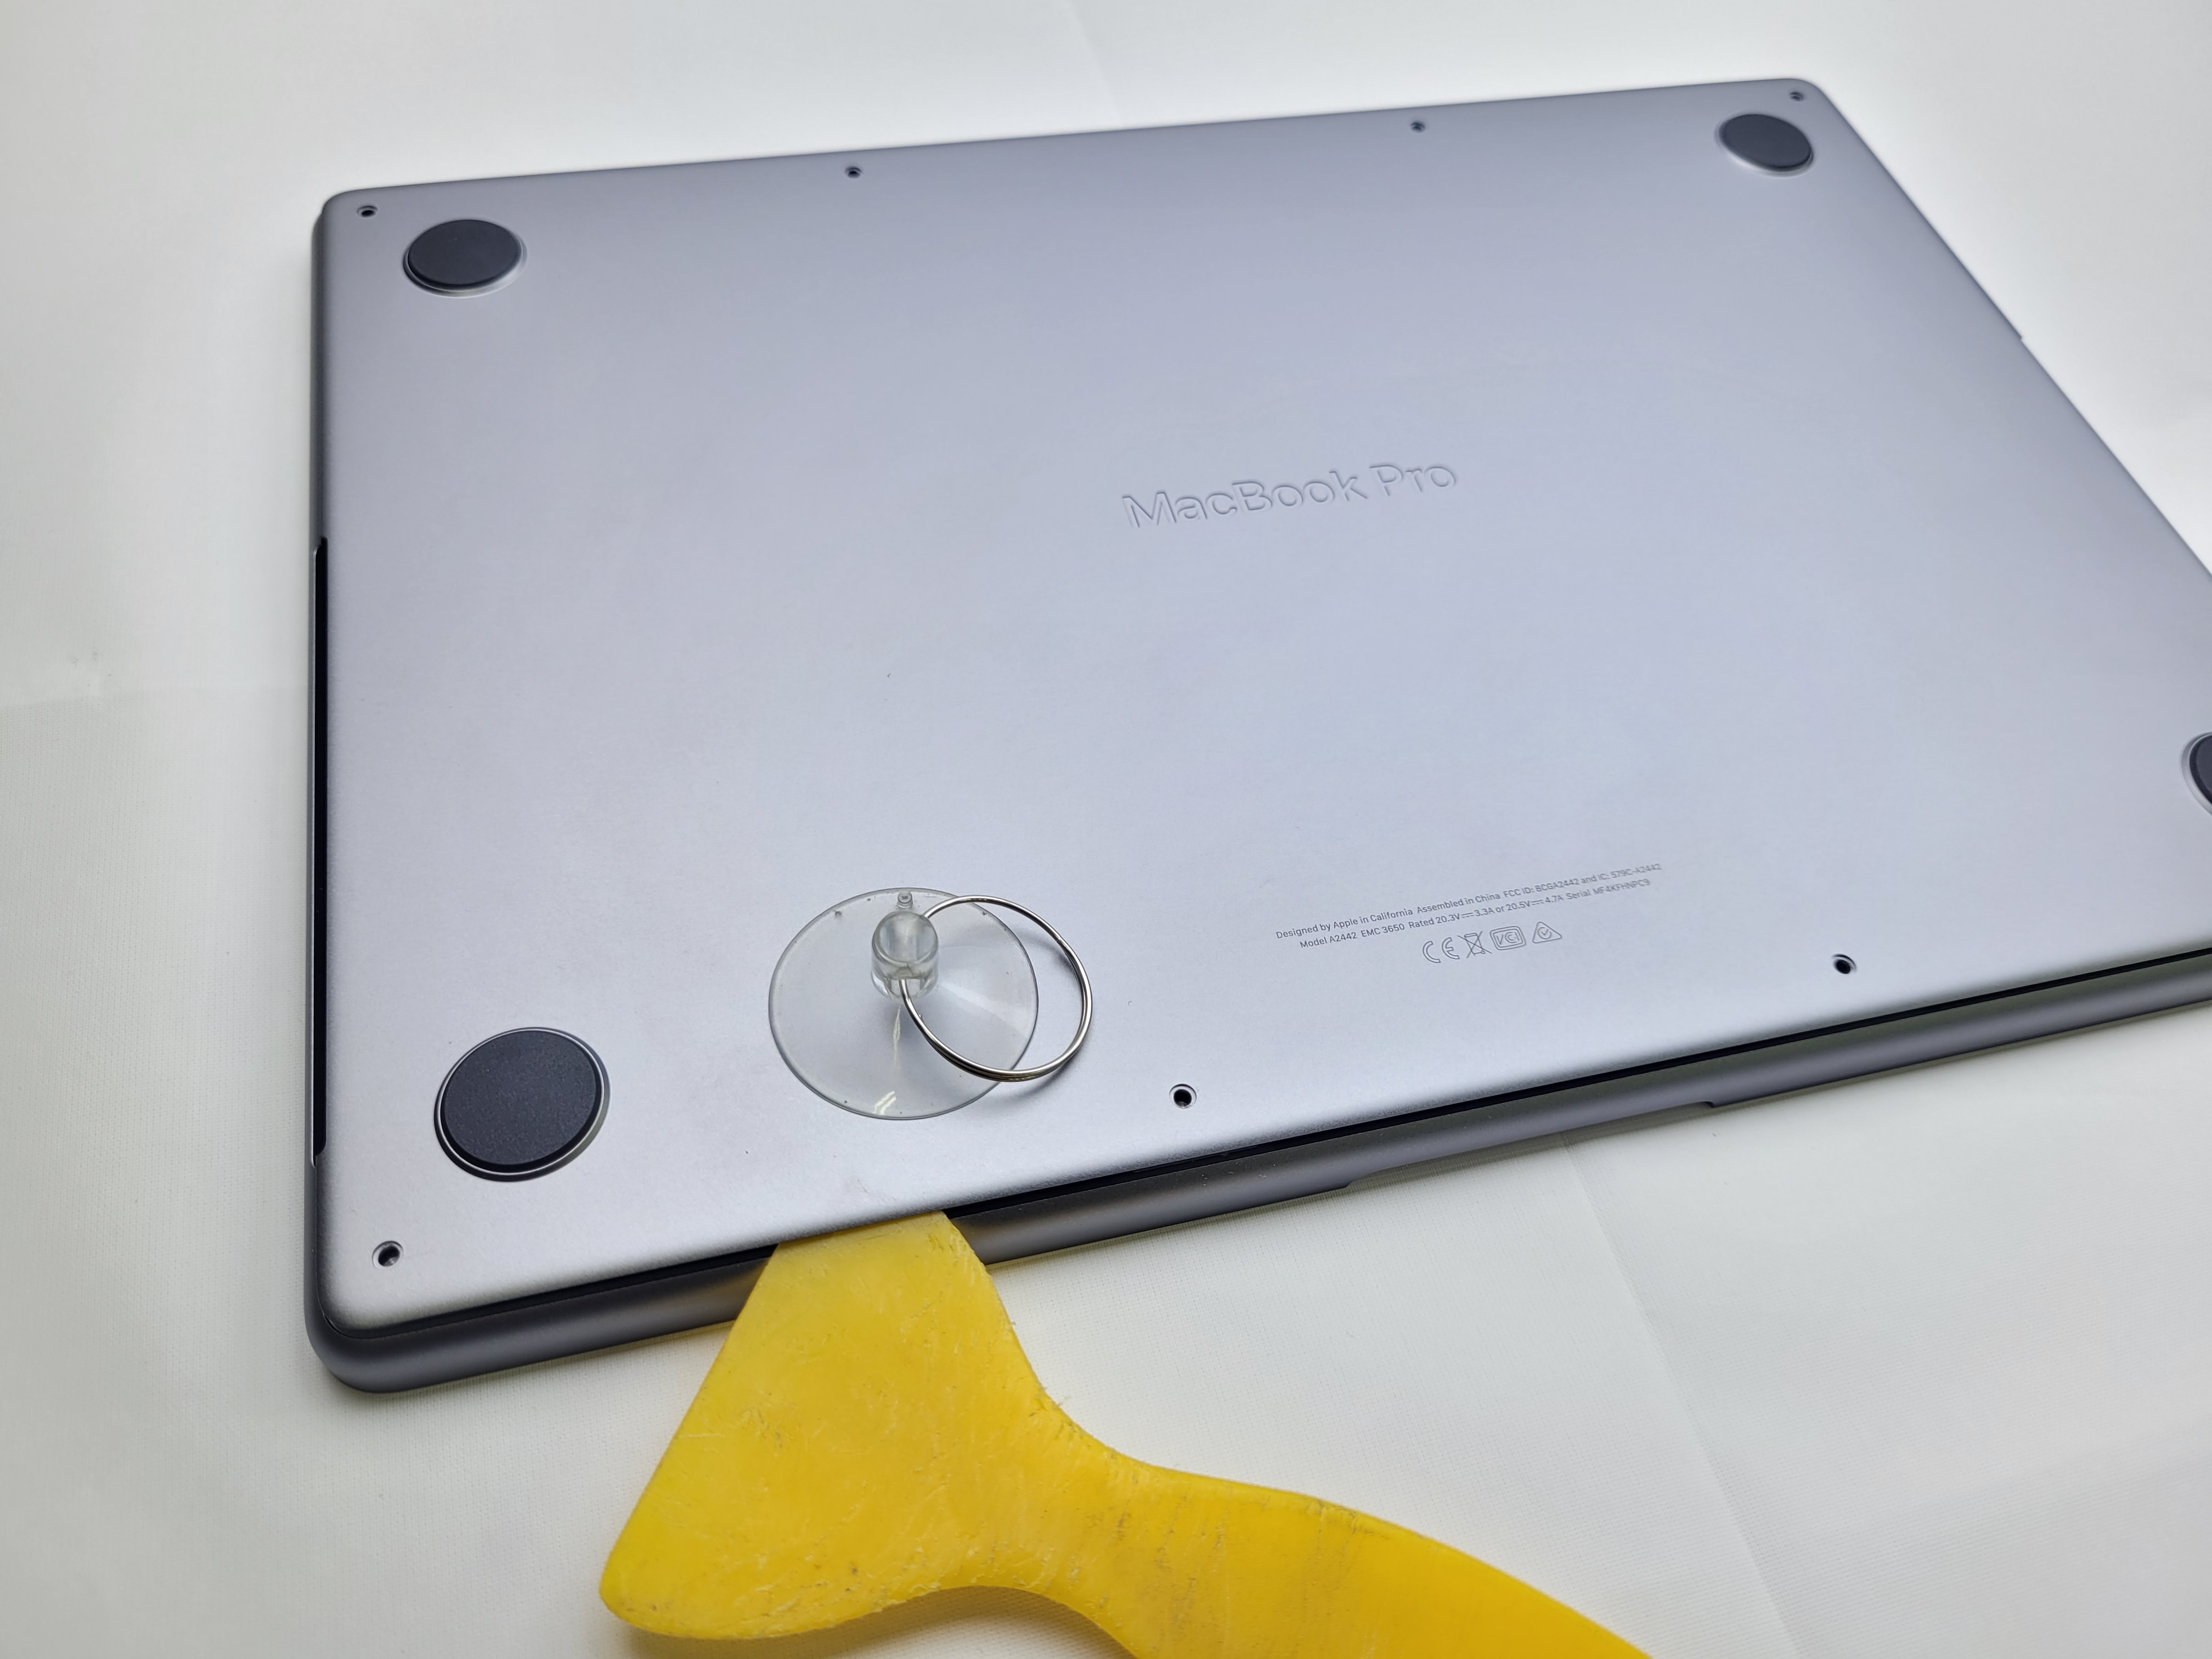
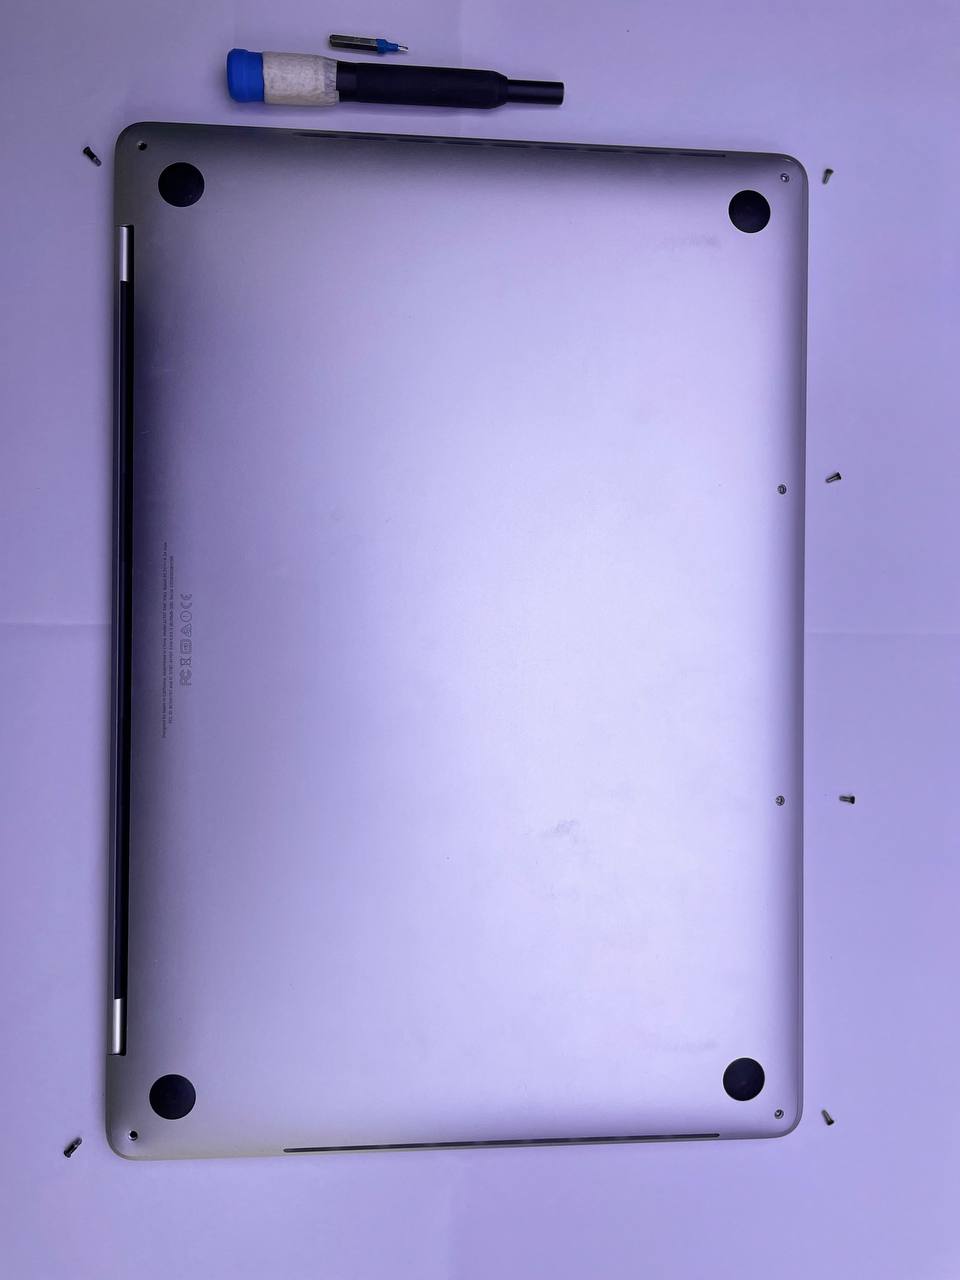
Disconnect the laptop from the power network and turn it upside down, and then follow the instructions:
Remove the six screws that secure the back of the case.
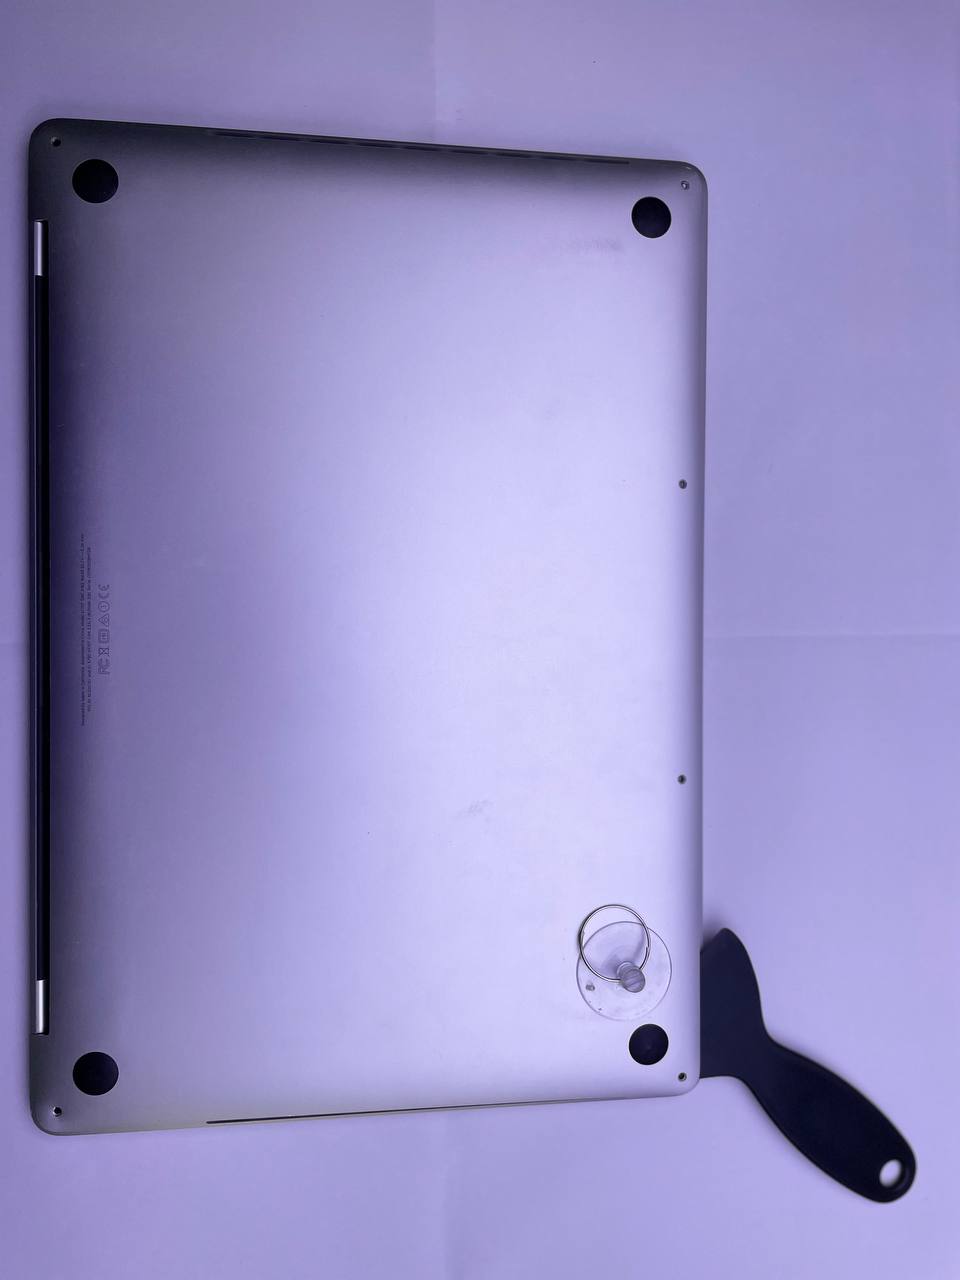
Press the suction cup against the front edge of the bottom of the housing and lift it up until there is a gap.
Insert the pick into the slot and move it to the corner and above. Do the same with the opposite corner.
Lift the near end of the case so that your fingers are in the gap, pull the cover towards the hinge and disconnect it from the last retainer.
Pull the corners of the cover towards you one by one to remove it.
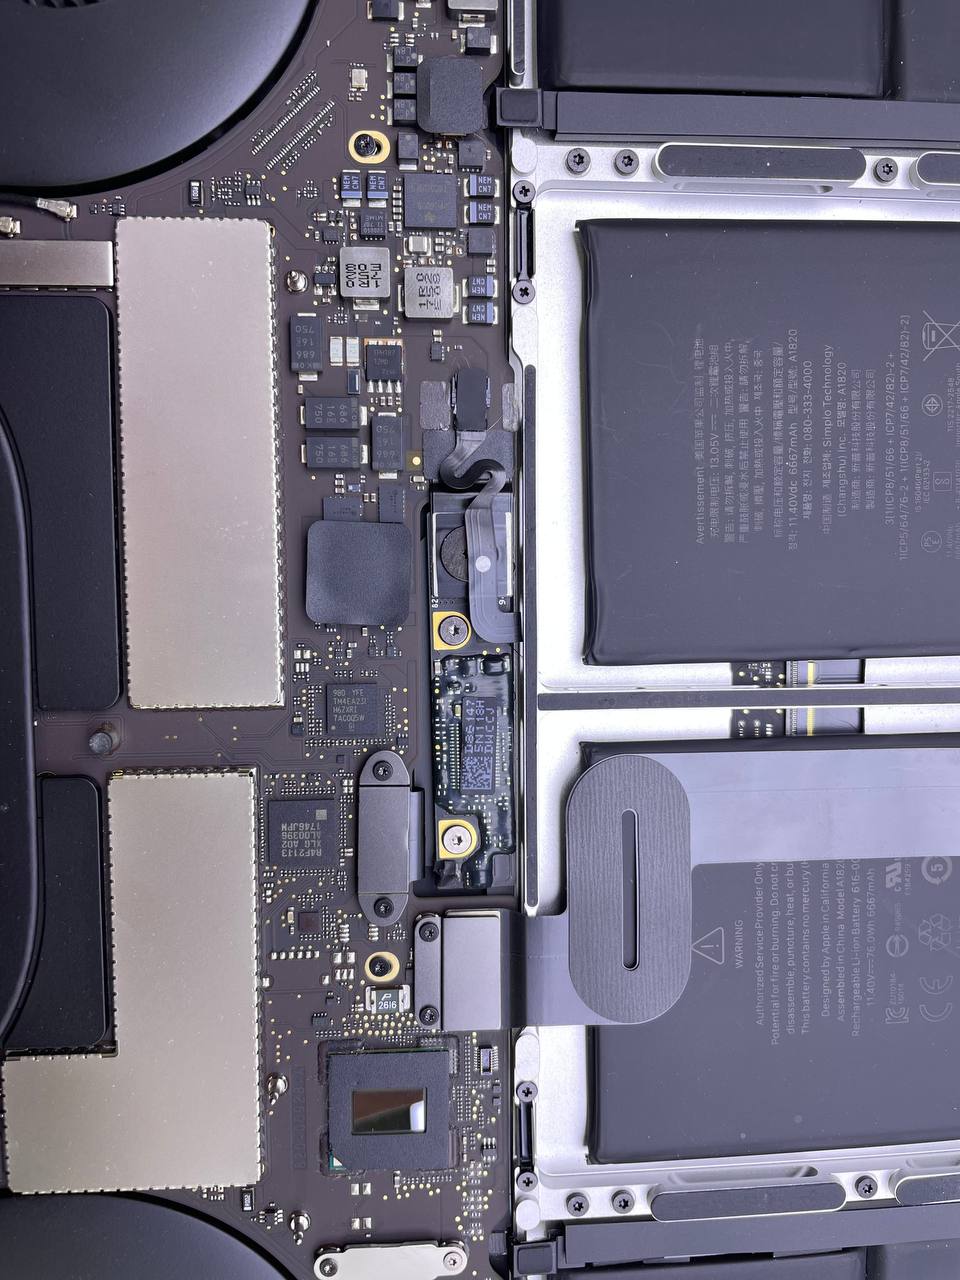
To disconnect the battery, follow the below procedure:
Remove the battery board cover and peel off the tape that covers the battery cable connector.
Gently pry up the latch on the board's cable connector using a spudger.
Disconnect the cable and pull it out of the socket.
Remove the screw that secures the battery power connector.
Pry up the battery power connector with a spudger and disconnect it.
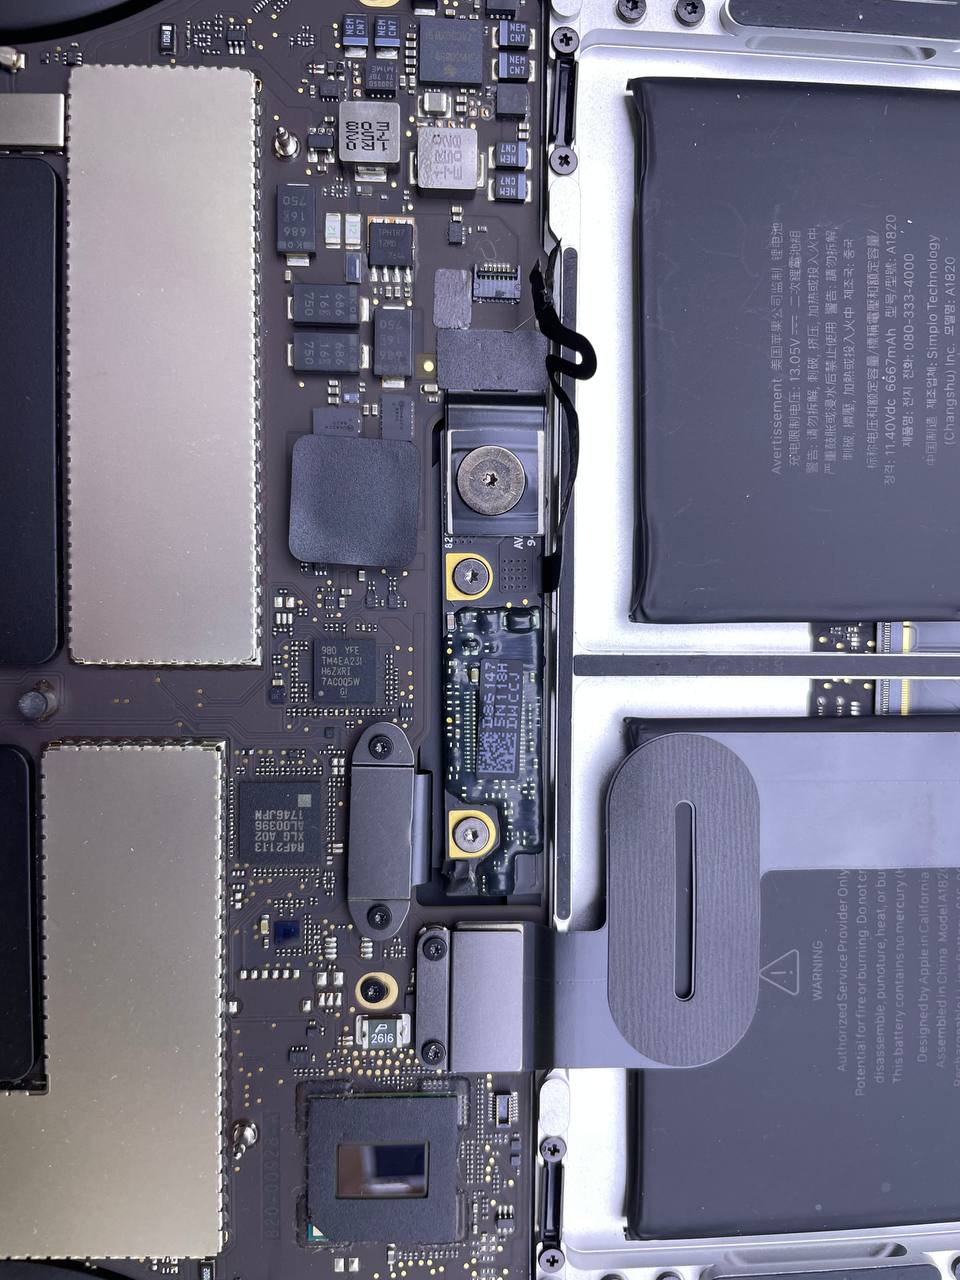
To detach the screen board and antenna panel, follow the instructions:
Remove the two screws that secure the screen board flexible cable cover and remove it.
Remove the two screws on the board cable connector bracket and remove it.
Disconnect the screen board cable with a pick.
Unscrew the four screws that hold the hinge cover and remove it from the hinges.
Remove the screw securing the antenna cables and disconnect all three by pulling them up.
Remove the four screws that secure the screen board and the sixteen screws that secure the antenna to the laptop case.
Use a pick to lift the antenna assembly and separate it from the housing.
Carefully remove the antenna panel along with the cable bundle.

To detach the cover from the chassis:
Undo the four screws that secure the screen cable cover springs.
Remove four screws from each hinge and two hinge screws. Unscrew the top last, so as not to drop half of the MacBook Pro.
Slide the halves together and release the hinges from the notches in the case.
Pull the screen towards you and separate the matrix from the body.
When assembling, it is necessary to adjust the position of the screen exactly in the center. Do not tighten the hinge screws to the stop until the screen centering is completed. To assemble a laptop, repeat the algorithm described above in the reverse order.
The AppleParts.io website is a convenient and affordable tool for finding original parts for Apple branded equipment. The company offers a wide range of accessories, competitive prices and delivery anywhere in the world. We guarantee the workability of all parts through testing in the technical quality control department.

|
ABOUT THE AUTHOR
Volodymyr Chubei Volodymyr was born in Ukraine and has found his passion for electronics from his childhood. At the age of 13, he was capable of soldering some basic elements of a logic board and today he is one of the co-founders of MacNest.com |
-200x200.png "MacBook Pro A1398 2015 Logic Board Replacement")
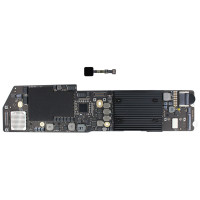
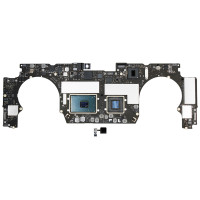
The logic board (system) board is a complex device that interconnects all c...
Read More

The display is one of the most unprotected elements of a MacBook Pro Retina...
Read More

With a critical decrease in a MacBook battery capacity, it is really possib...
Read More

Among all the components of the MacBook Pro, the logic board is one of the ...
Read More