| we ship to: |                                      |
| we ship to: | |

MacBook users sometimes experience situations where the microphone doesn't work at all or in certain applications. In this article, we will look at the main reasons why this can happen. We will also offer a step-by-step guide to help to fix the MacBook microphone.
Not working MacBook microphone problems can occur due to restricted access in privacy settings, as well as a result of damage to the device or its wiring after a fall and other situations. Often, performance is affected by an outdated operating system and software conflicts.
If you use an external microphone, the contacts may become loose over time, causing the malfunction of your device. It is not uncommon for the microphone to stop working due to a malware infection.
It's easy to check the microphone and make it work again using our guide. A software problem can always be solved by yourself. In case of physical damage to the device, repair or replacement will be required.
The first thing to do is to check the general microphone settings:
To check the microphone, watch the indicator light - it should respond to external sounds.
Also: Crackling MacBook Speakers After Replacement: Fixing the Issue
Your MacBook has a built-in microphone, but you can connect external microphones. Check which one your device is using. Go to the Sound tab in System Preferences and under Input, see which device is activated.
If the microphone works but you cannot record voice, check if this function is enabled:
If the Mac microphone generally works but not in all applications, the problem may be in the authorization. You can check this as follows:
To enable authorization, move the slider to the right so that the gray switch turns green.
For MacBooks with an Apple Silicon processor, this step is not necessary. For Intel-based computers, resetting the PRAM may help restore functionality:
You can also use the CleanMyMac X application. It removes unnecessary files, application remnants, and checks for malware. You can safely get rid of different files and, in case of problems, then you can restore them by creating a backup.
If the microphone doesn't work in this kind of application, most likely the reason is related to accessibility. Sometimes problems occur due to incorrect sound settings, an outdated OS version or a temporary software glitch.
Make sure that Zoom has permission to use the microphone. Go to "System Settings", then open the "Security and Privacy" tab and click on "Privacy".
Opposite "Microphone", see if it is enabled for Zoom. If multiple microphones are connected, open Zoom and go to "Settings", select "Sound" and make sure that the correct device is selected.
Sometimes the MacBook microphone not working in zoom may be temporary. Try closing the application, restarting your computer and reopening Zoom.
Using the method above, check that Google Meet has permission to use the microphone. With an active session in the app, tap the gear icon in the bottom right corner of the screen and select Settings. Make sure the correct microphone is selected.
Check if the unit works in other applications or recorders. If it does not work at all, repair or replacement is probably needed.
Also: Sound on MacBook Not Working: How to Fix It
If the microphone doesn't work in Skype, use the steps described above. In case nothing helps, check for updates, try restarting the PC and the application. It is also recommended to install the latest version of the operating system.
Make sure that the microphone is connected correctly and works properly. Try using a different calling application to verify that the device works. Also review your privacy settings, restart Microsoft Teams and MacBook, and update software to resolve possible compatibility issues.
Also: MacBook Camera Not Working: How to Fix It
To fix the microphone not working on MacBook in FaceTime, use the steps described above one by one. In this situation, incorrect privacy settings, temporary glitches, outdated software, and compatibility issues may also be the problem.
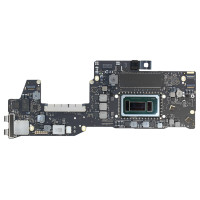
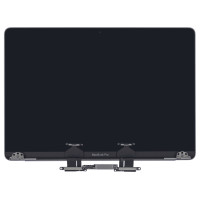
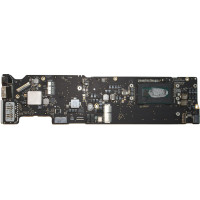
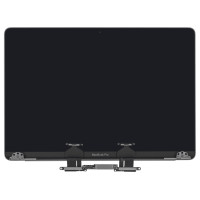
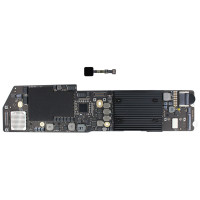
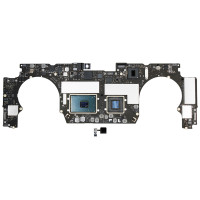
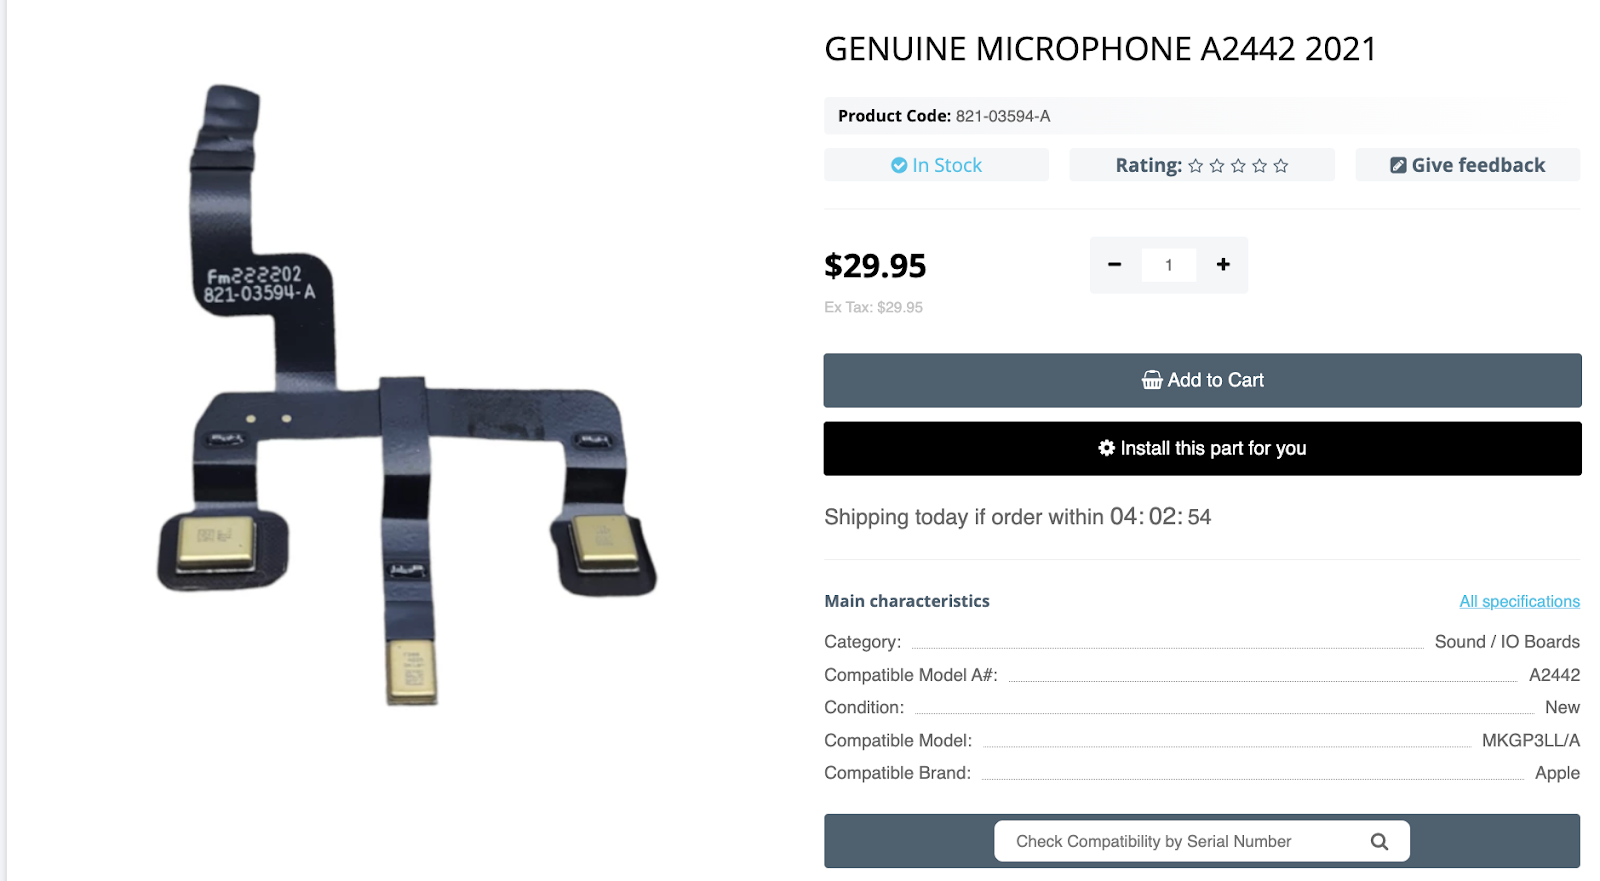
If nothing helped to solve the problem, the microphone may need to be repaired or replaced. On Macnest (Apple Parts) website you can find original parts for different models of MacBooks. All parts are certified and tested for performance before being sold.
If you're not sure you can replace the part yourself, order your MacBook repair from Macnest (Apple Parts) by mail. Send the laptop and wait for the diagnostic results. After the repair, pay the invoice and get your device back within 1–2 days.

|
ABOUT THE AUTHOR
Volodymyr Chubei Volodymyr was born in Ukraine and has found his passion for electronics from his childhood. At the age of 13, he was capable of soldering some basic elements of a logic board and today he is one of the co-founders of MacNest.com |
 on a MacBook")
You can customize your work settings, desktop appearance, update software a...
Read More

Safeguarding your Mac in the digital era is critical to secure your persona...
Read More

If your MacBook components are damaged or malfunction, it is recommended th...
Read More

We are pleased to announce that our website, AppleParts.io, is moving to a ...
Read More