| we ship to: |                                      |
| we ship to: | |
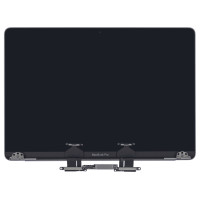
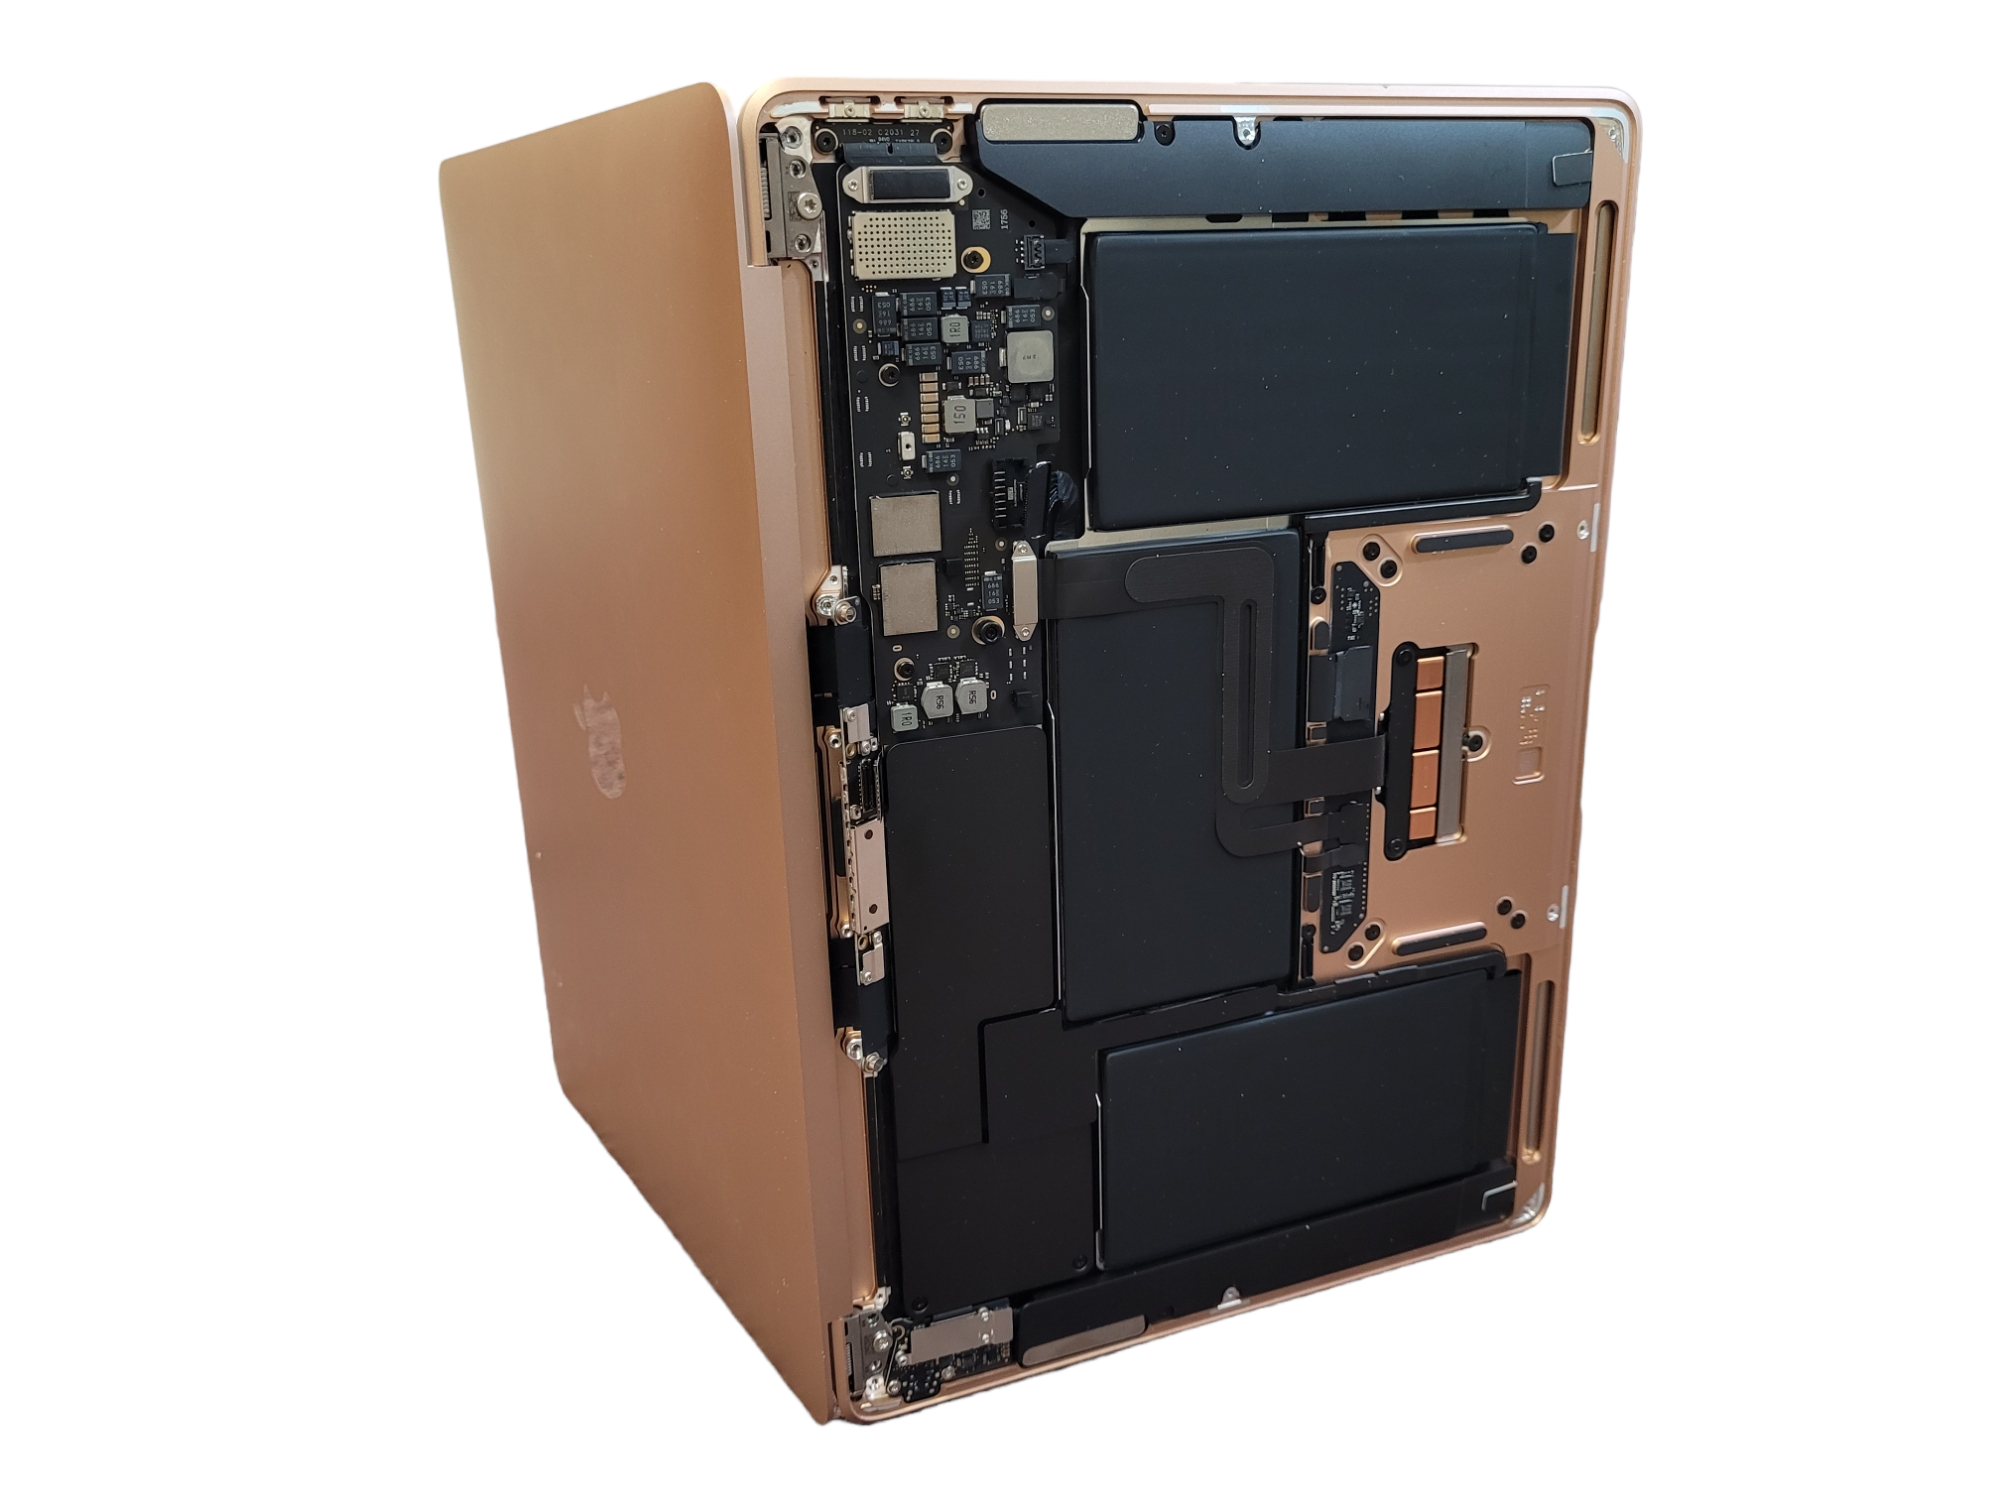
-1920x1080.png "https://macnest.com/image/cache/catalog/Blogs/A2337 Screen Replacement/unnamed (1)-1920x1080.png")
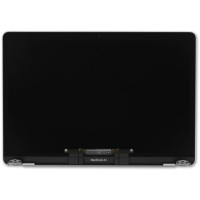
The MacBook display is the most unprotected element, so sometimes there can be damage that cannot be repaired and the display has to be replaced. Only original parts and accessories must be used – this is a guarantee of proper performance and compliance with the characteristics.
In this article, you will learn how to replace the MacBook Air 13 A2337 display yourself using the instructions. We will also tell you where and how best to buy a new display as well as how much it costs.
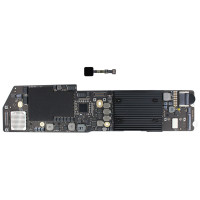
To replace the screen you will need:
Screwdrivers: Torx T3, T4, T5 and T8.
Special screwdriver for MacBook P5.
Tweezers.
Spudger.
You can purchase all at once as a set - a display with the tools necessary for replacement.
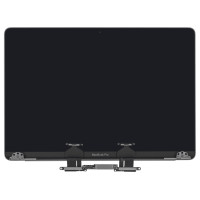
.png)
To replace the display of the device at home, you do not need special knowledge and skills. It is enough to follow the instructions and all the recommendations. Below is a complete instruction for MacBook Air 13 2020 screen replacement.
Also: How to replace a MacBook battery
First you need to disable the auto-boot function so that the MacBook Air does not start when you open it. For models on Big Sur v11.1 onwards, it is enough to remove the battery as soon as the back cover is opened.
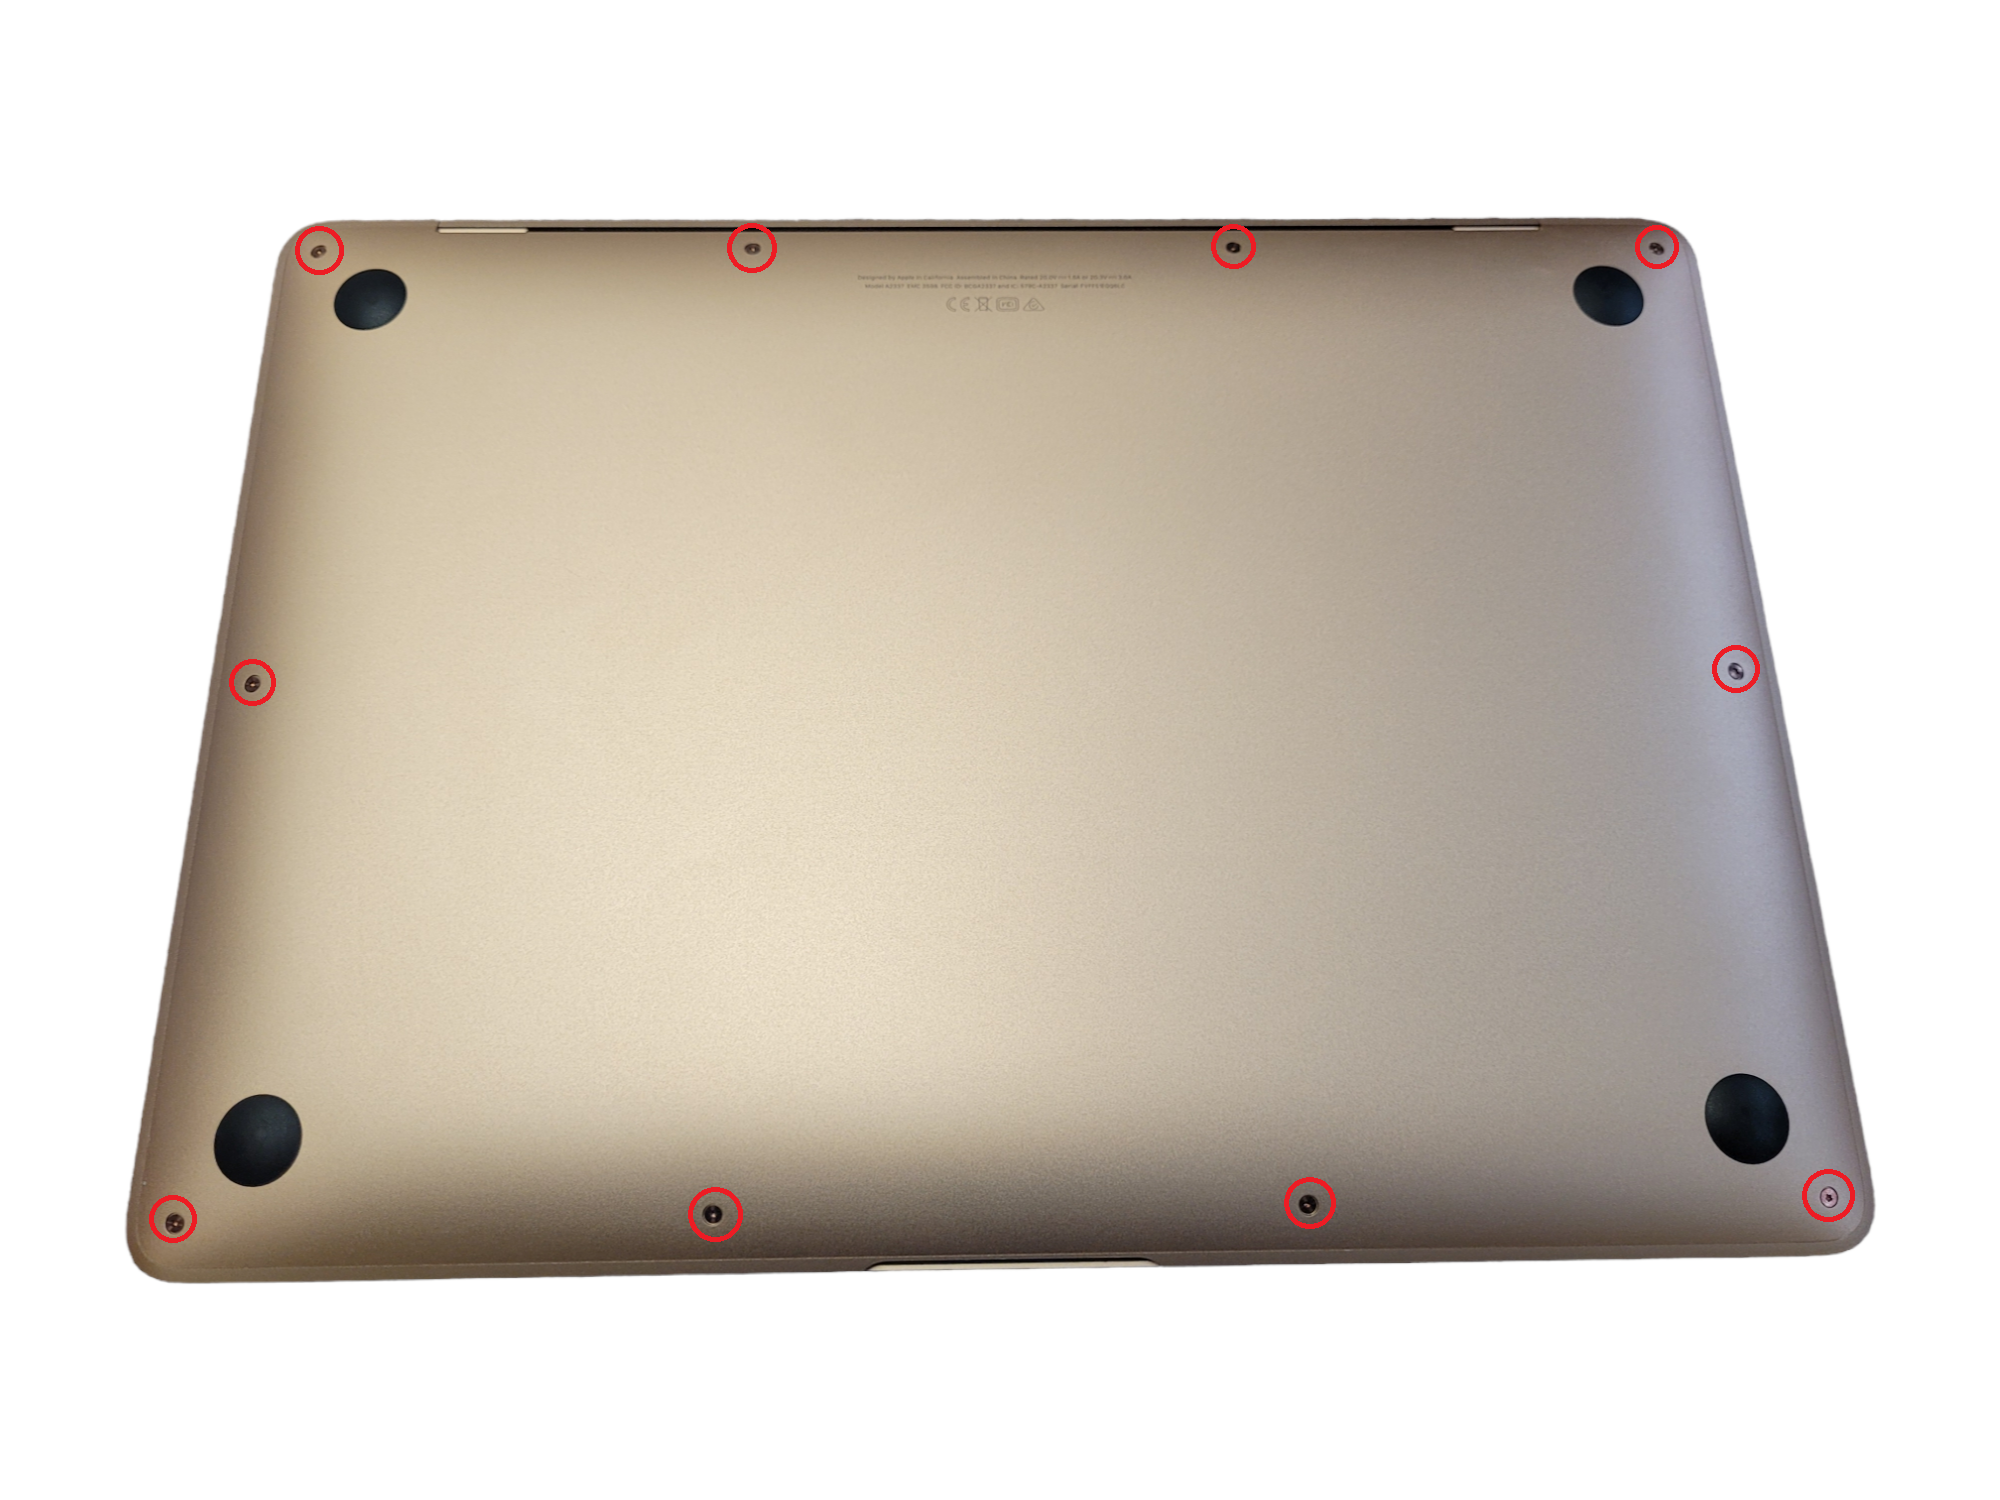
To access the inside, follow the instructions:
use a P5 screwdriver to remove 10 screws, remember or write down their location (three types of screws in total);
grip the cover with your fingers at the bottom of the case and pull it towards you;
release the clips around the perimeter and remove the cover.

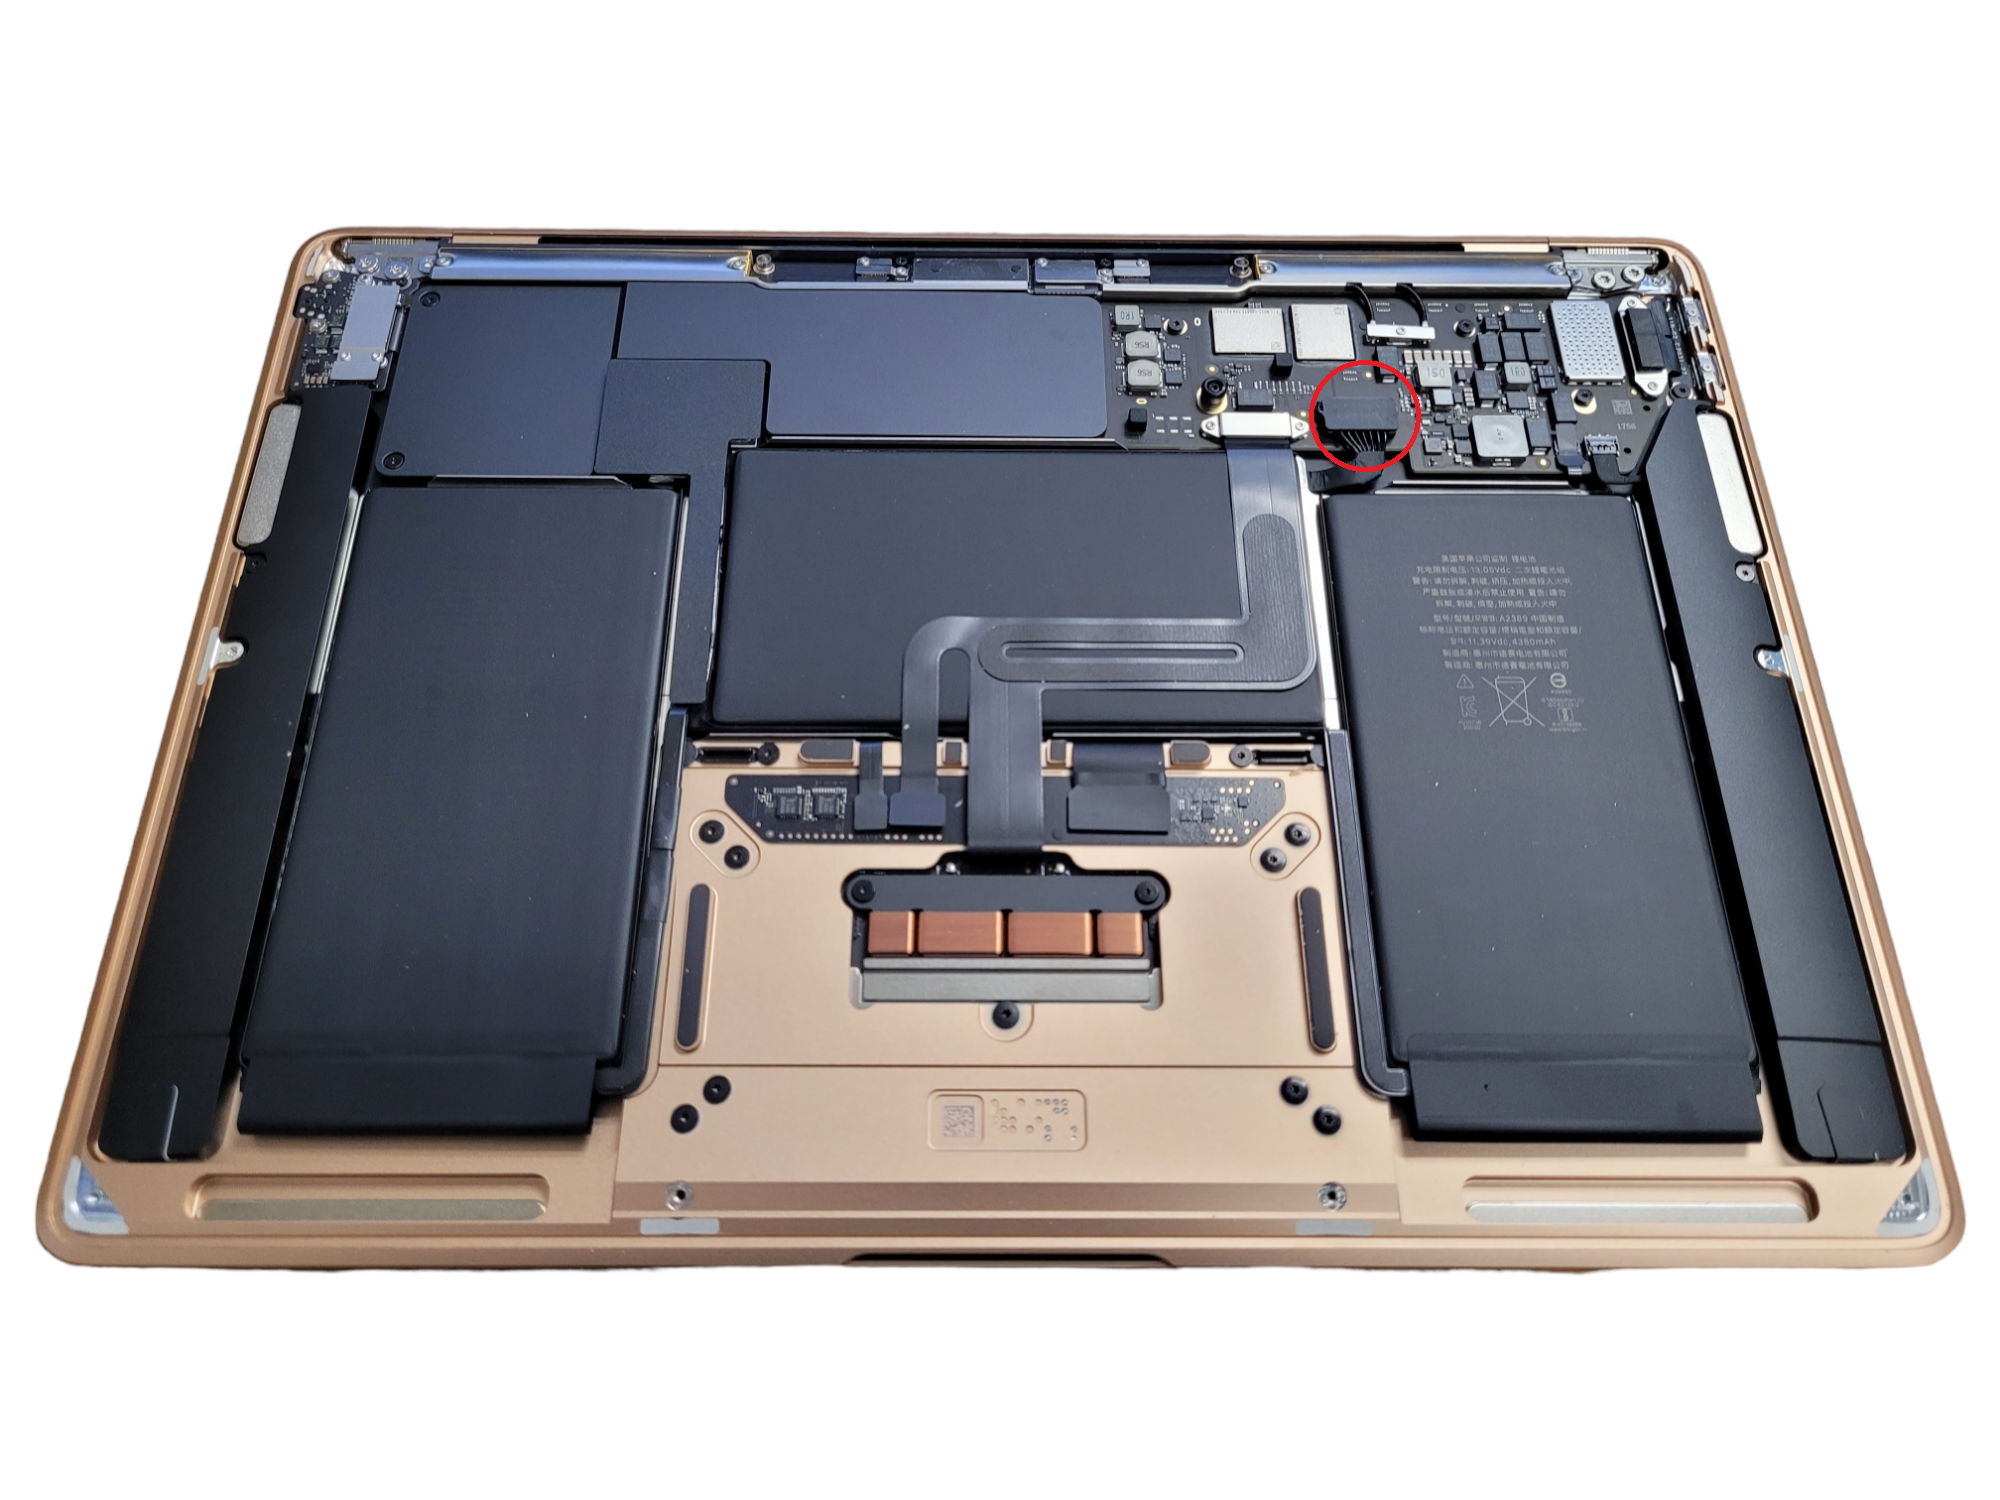
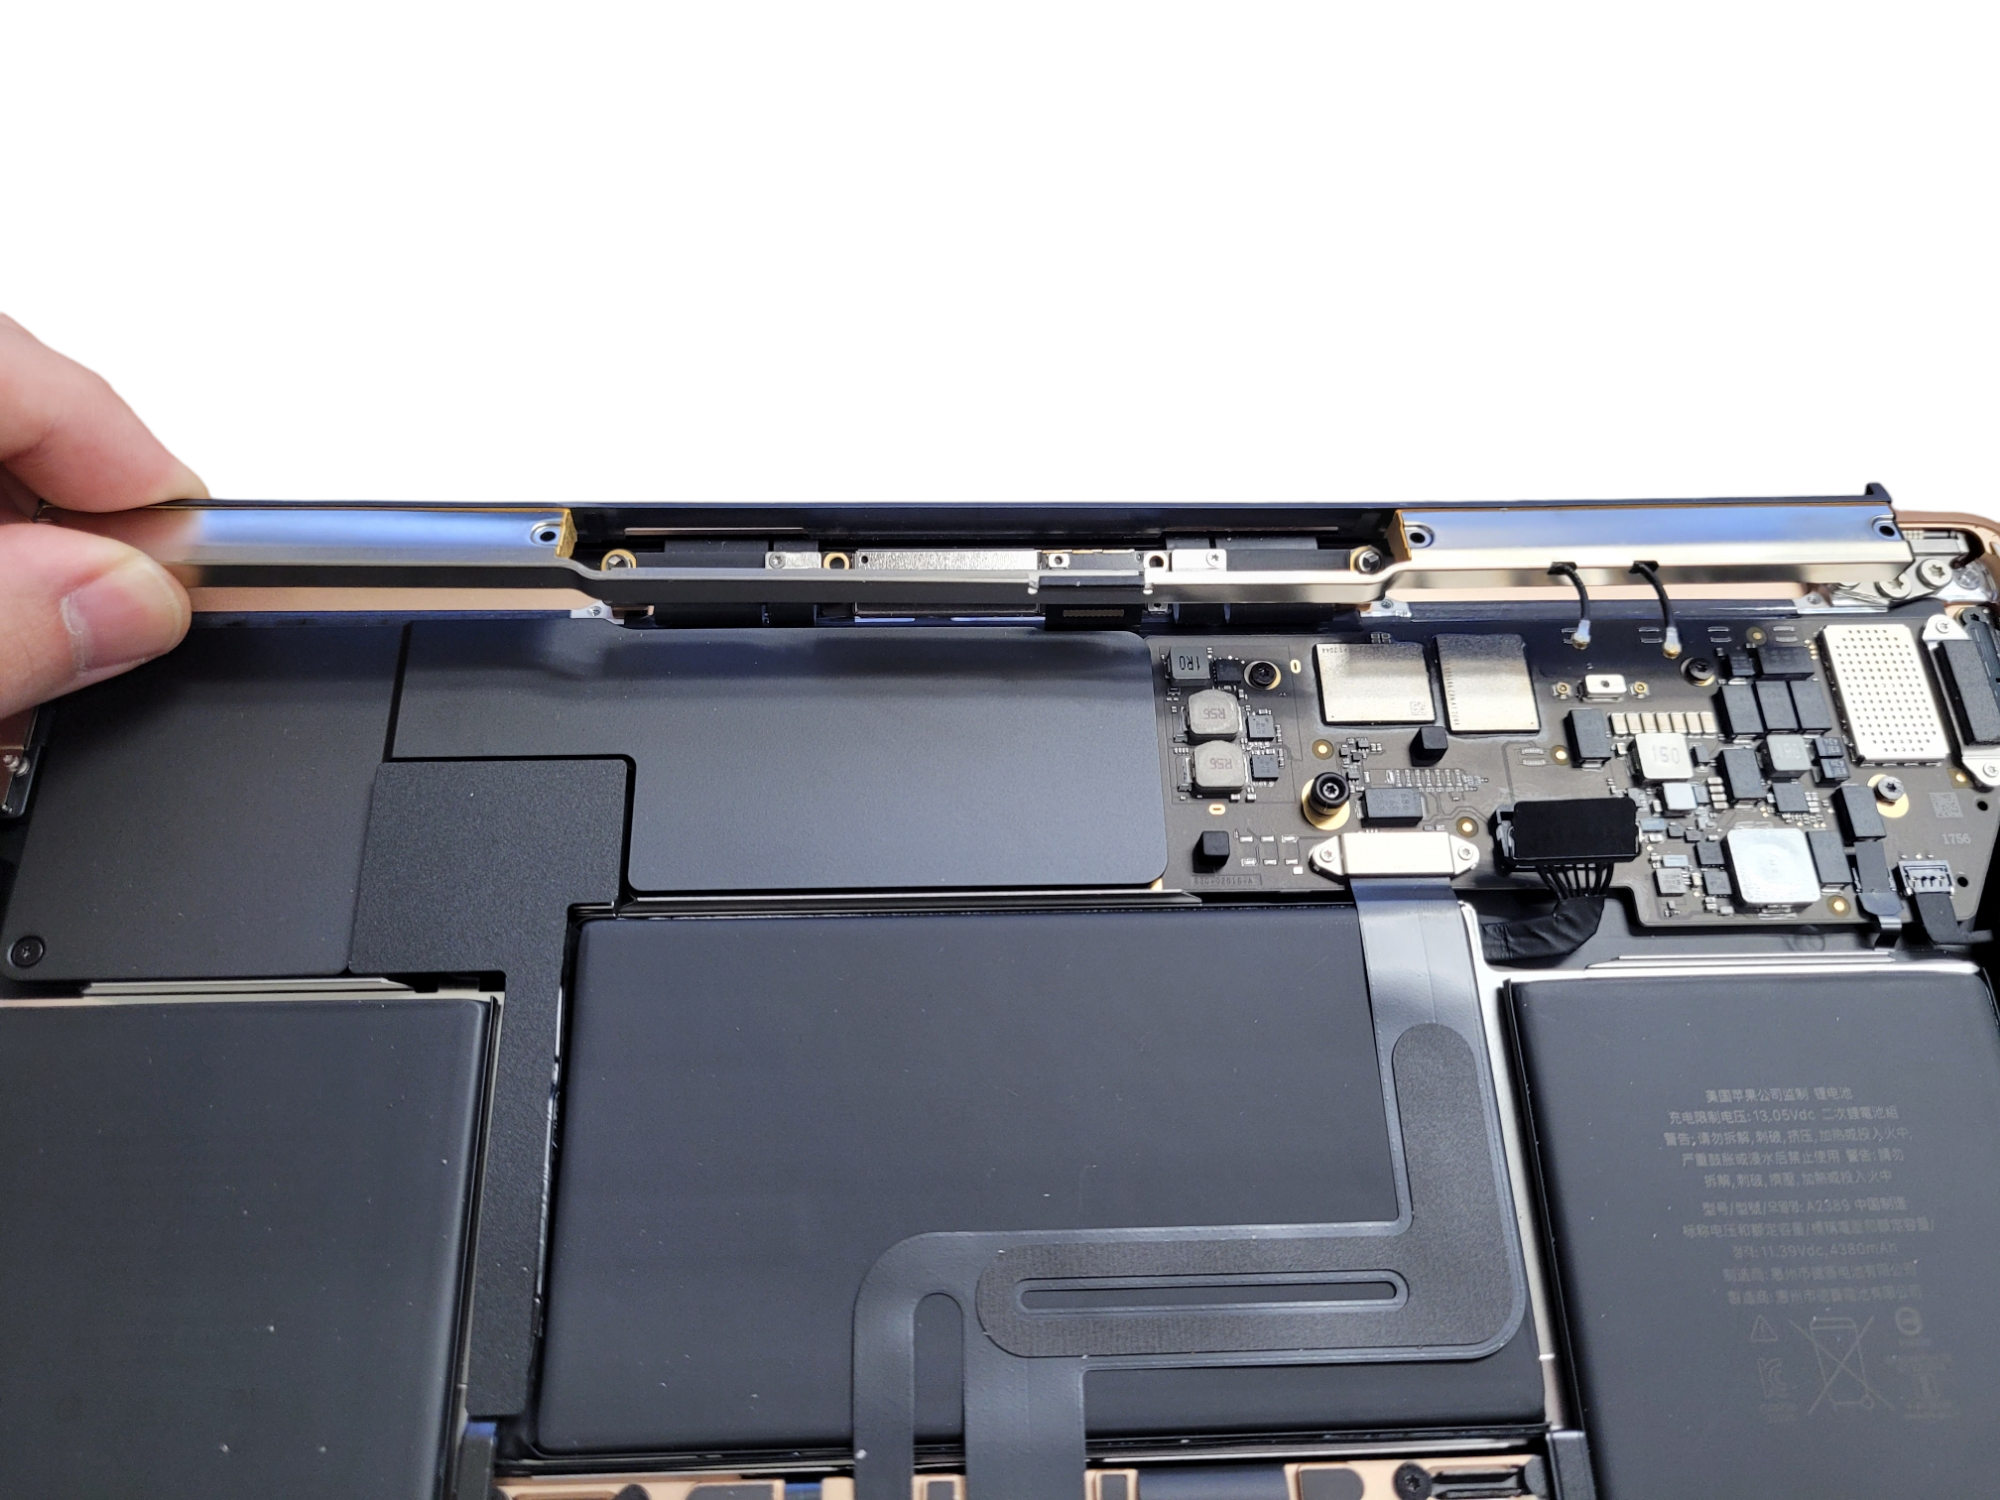
To remove the battery, follow the steps below:
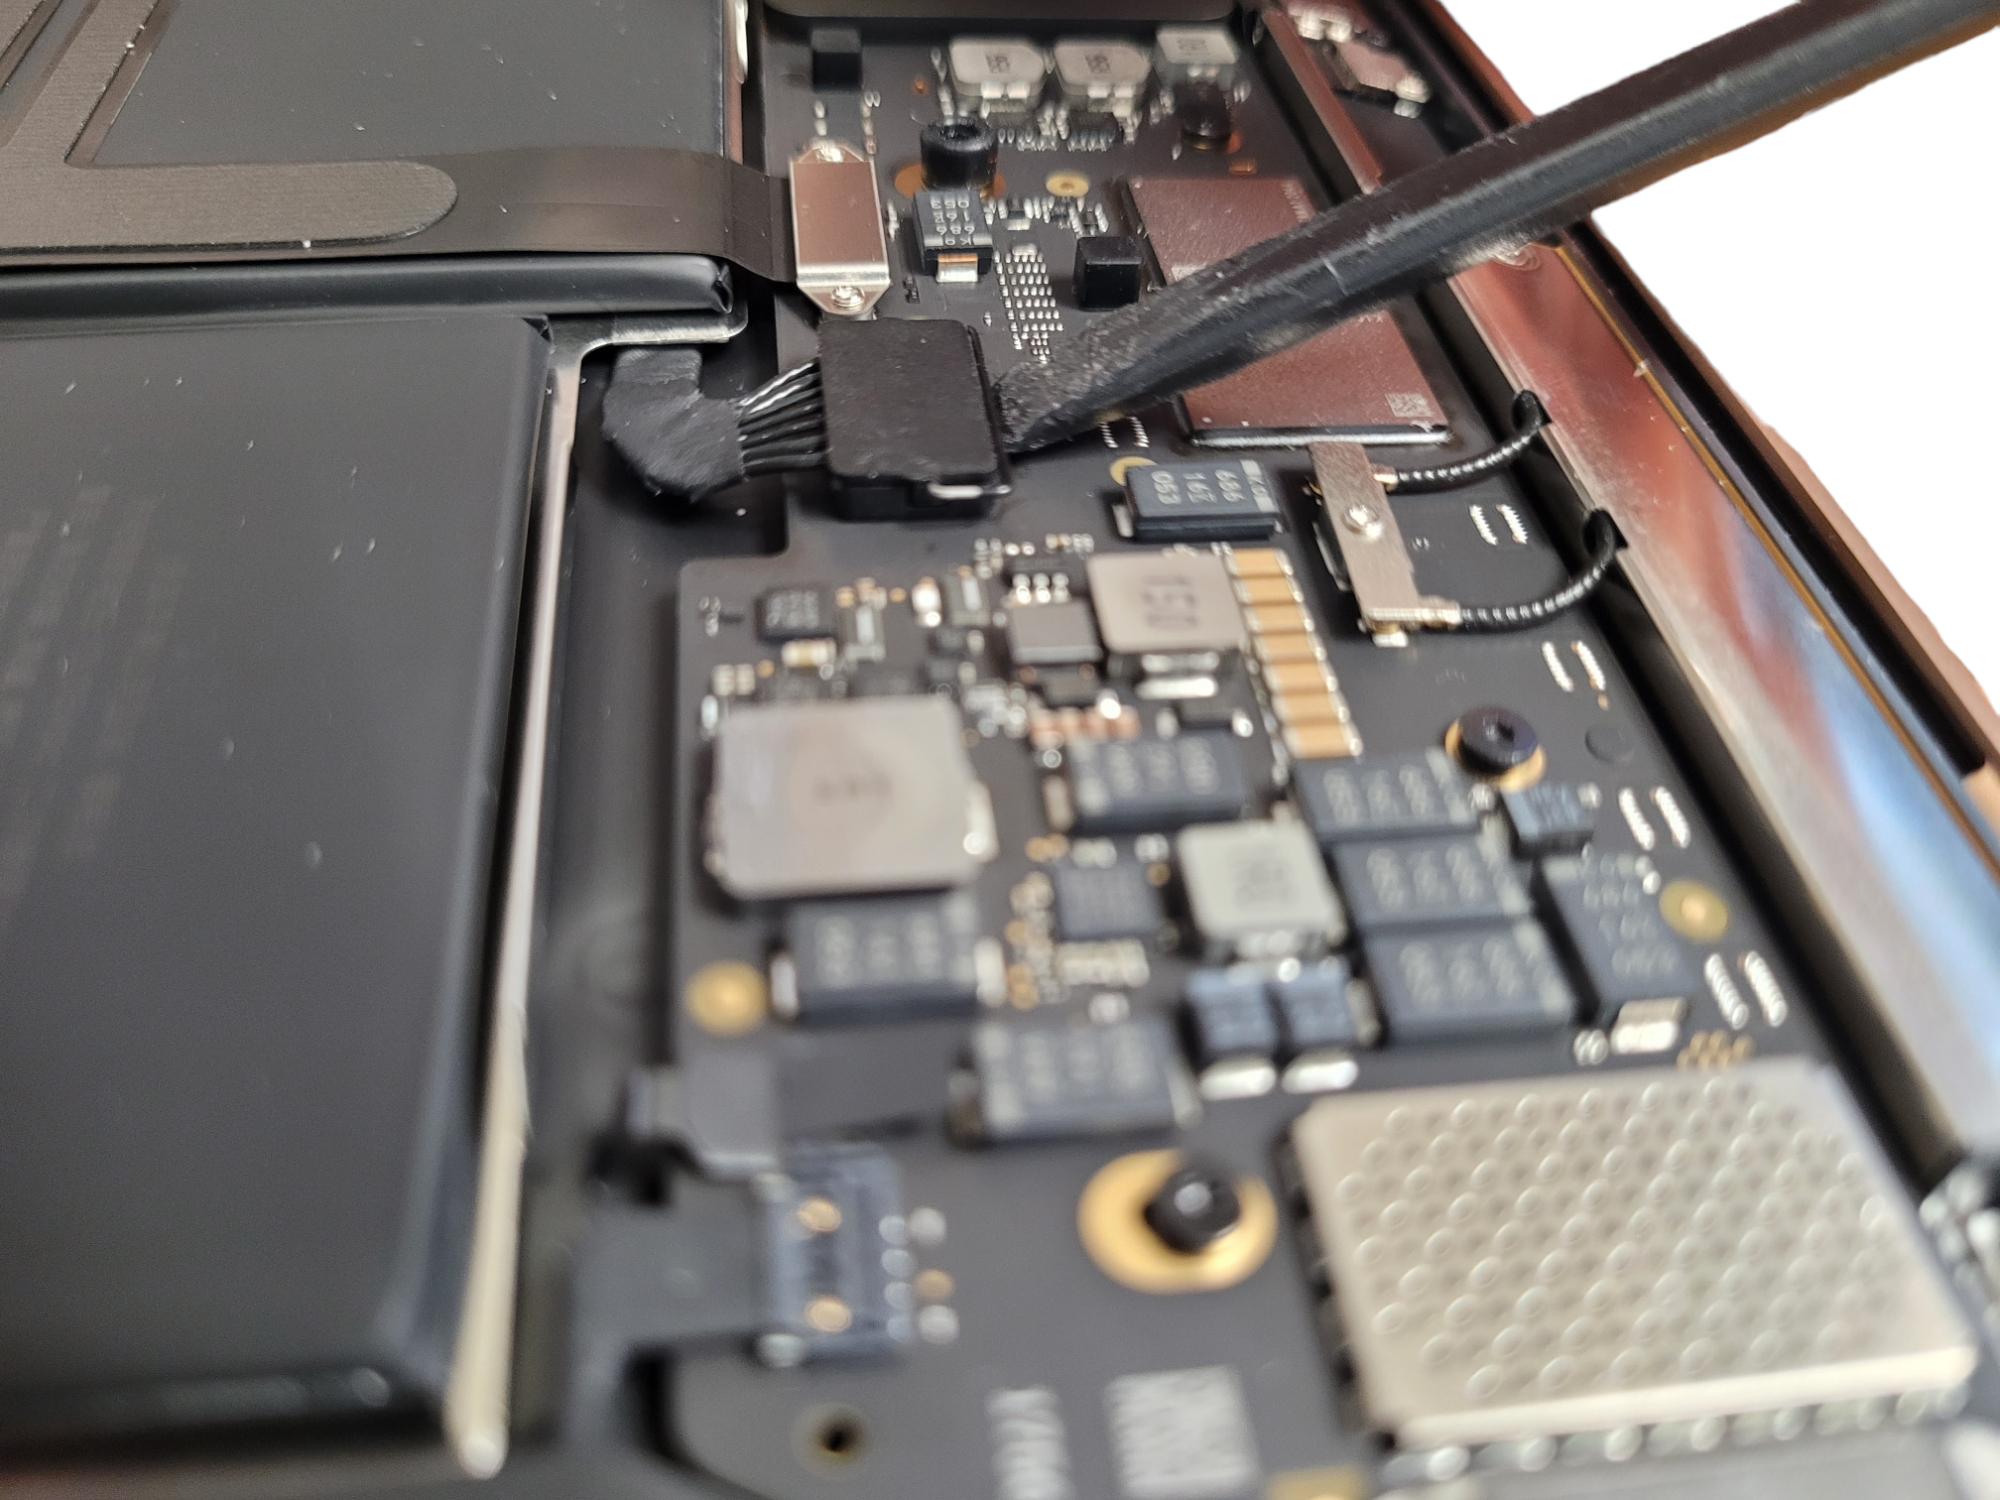
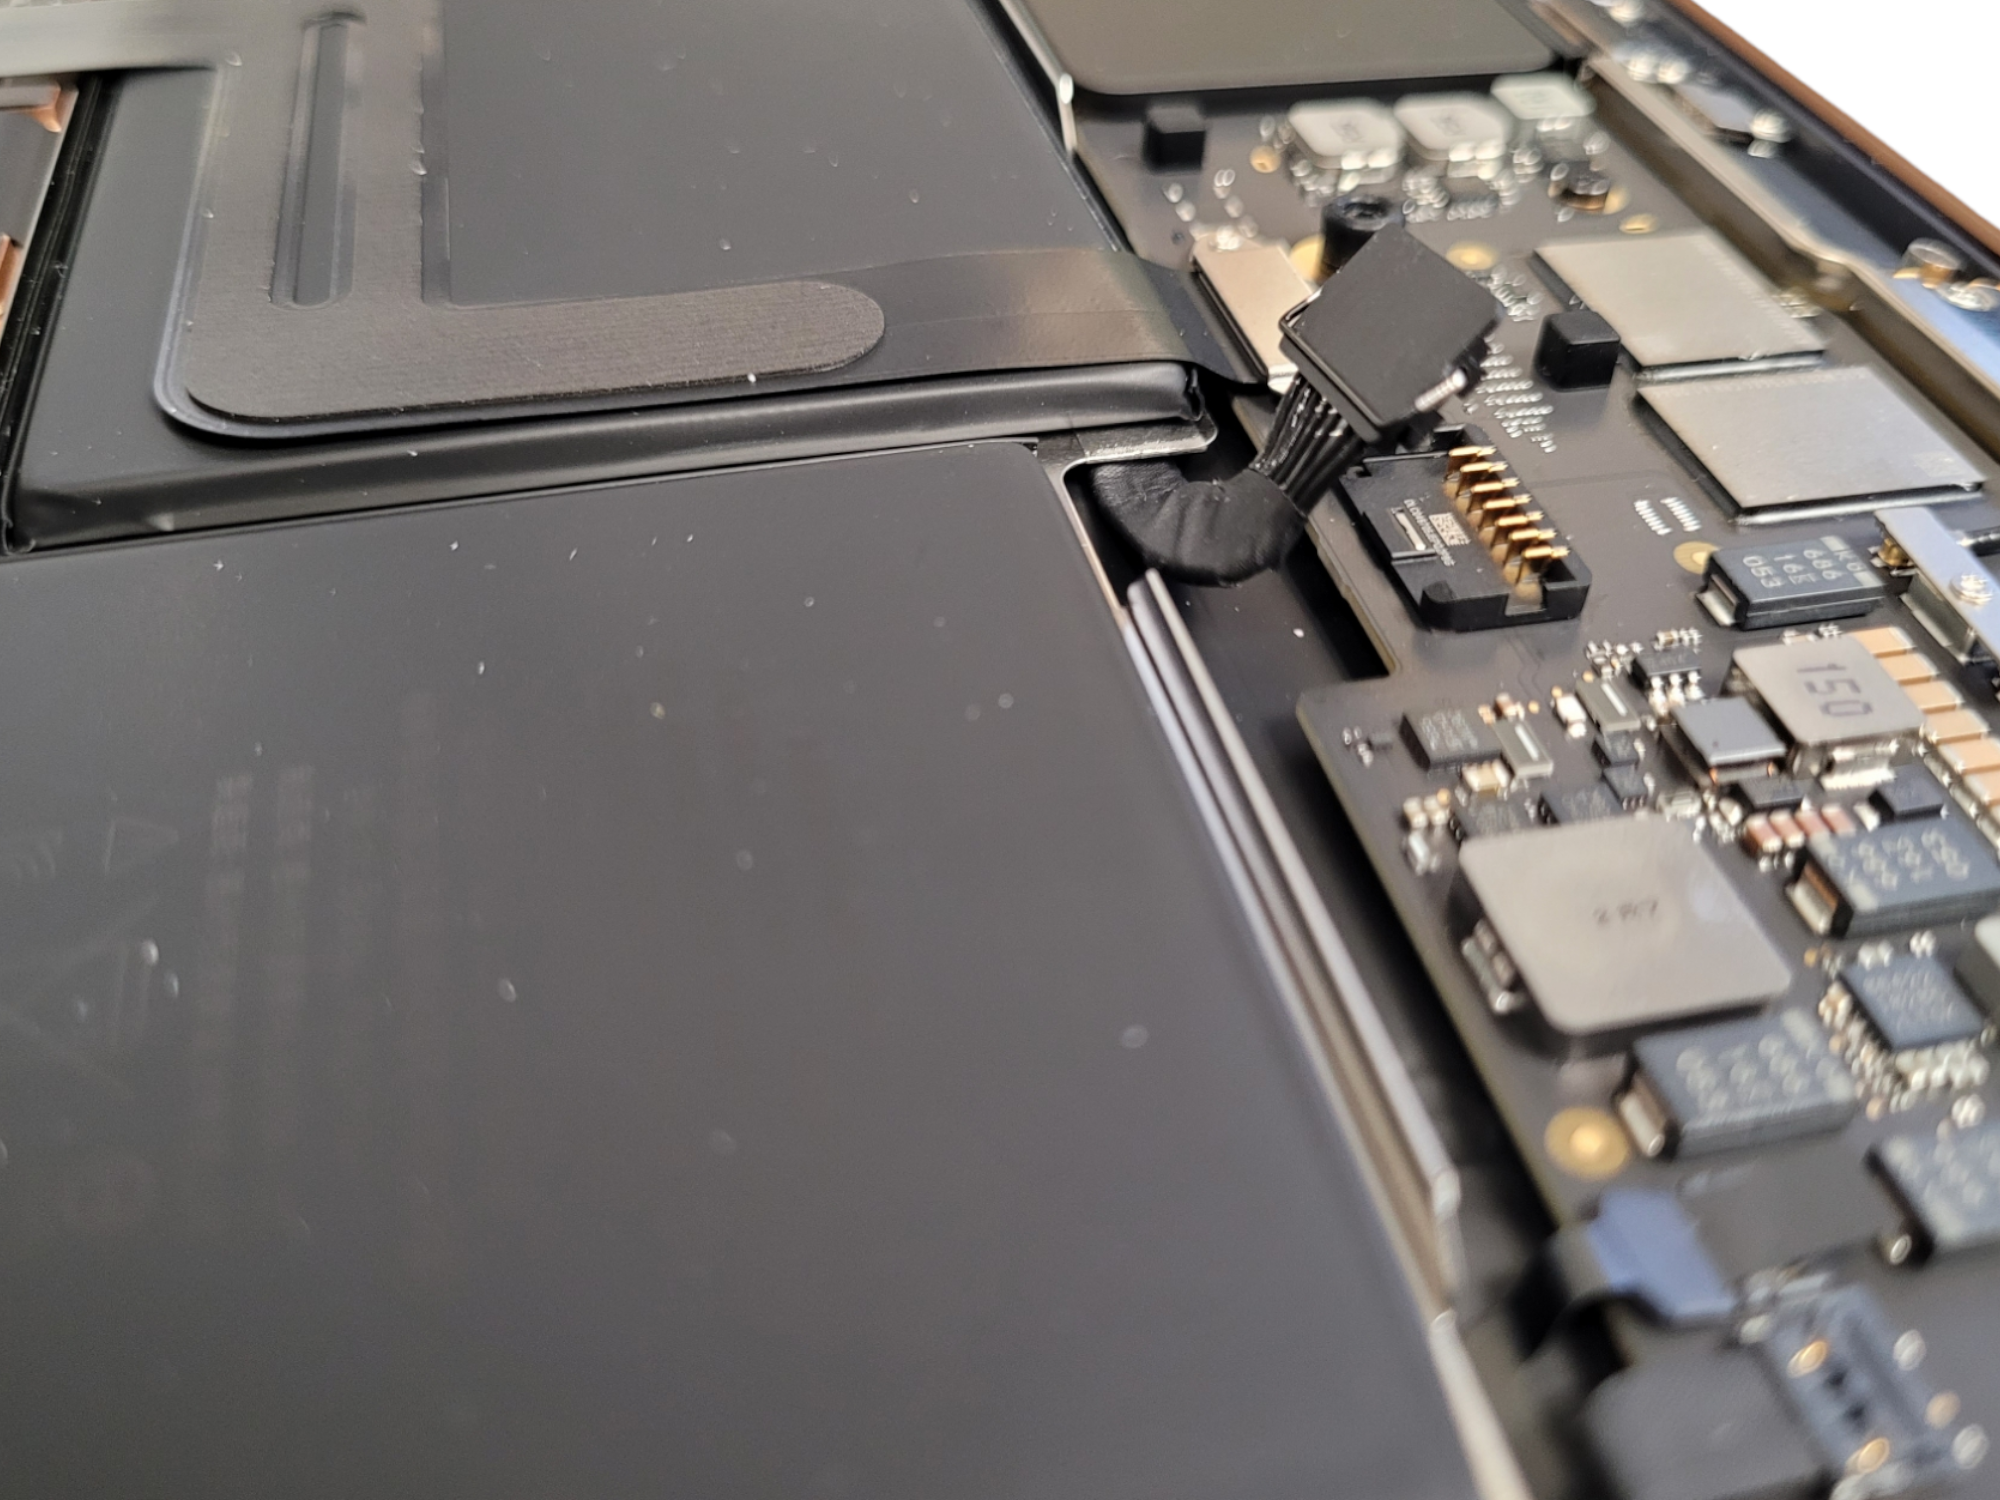
using the flat end of a spudger, lift and unlock the metal latch on the battery connector;
lift the vertical locking lever and disconnect the battery connector from the motherboard;
carefully remove the battery.
At this stage you need to disconnect the various connectors and cables of the devices in order to unobstructedly start replacing the display:
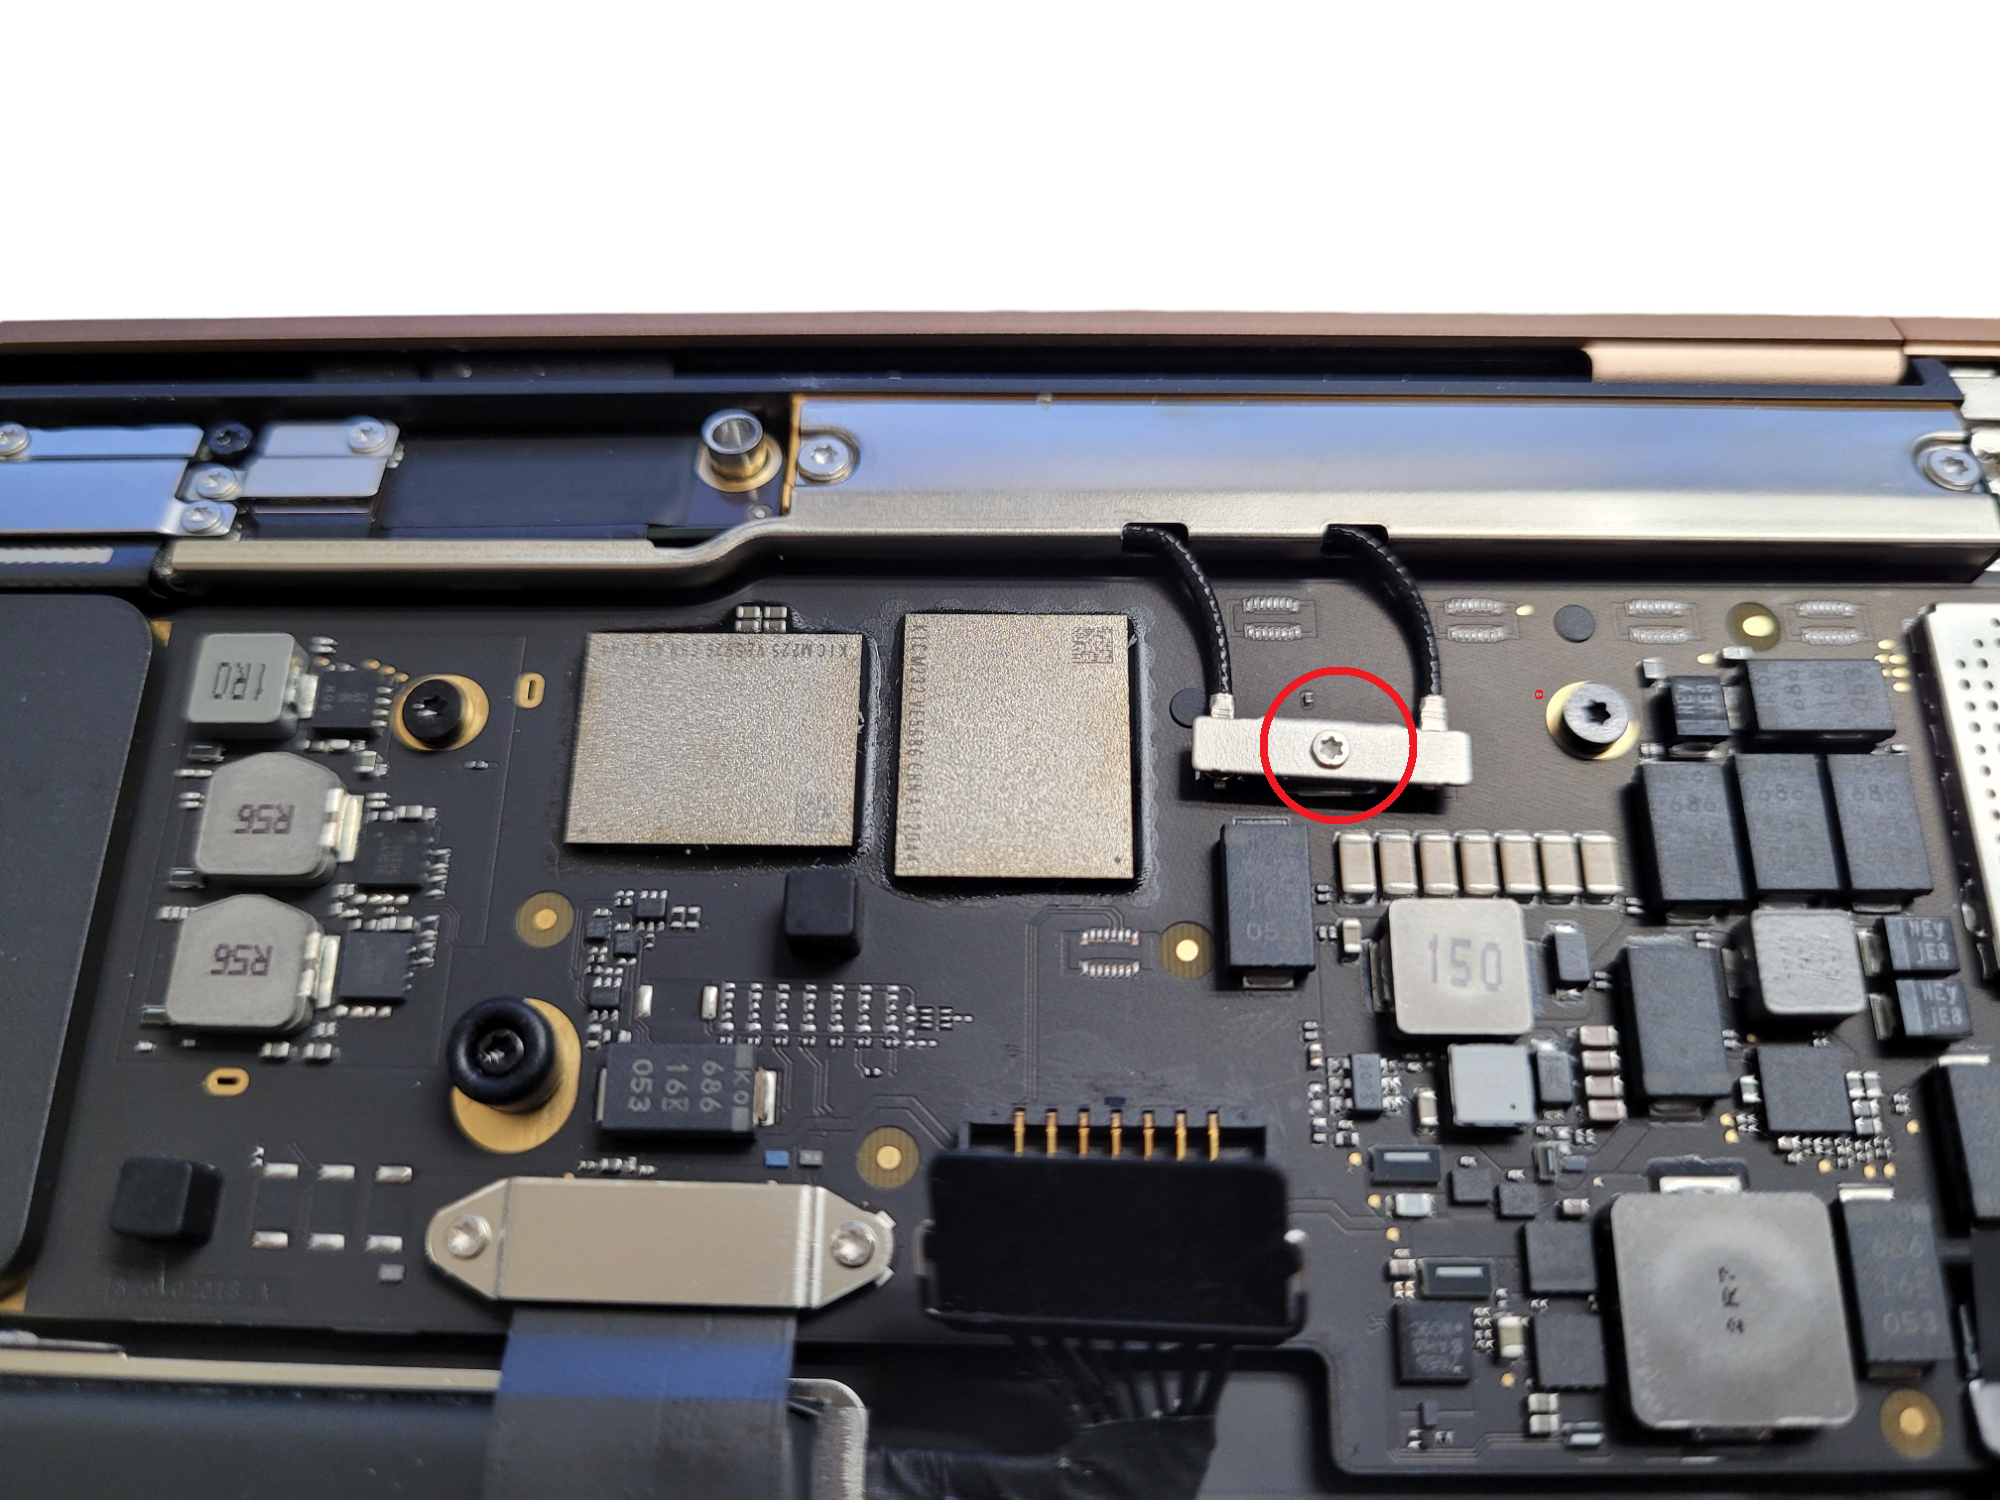
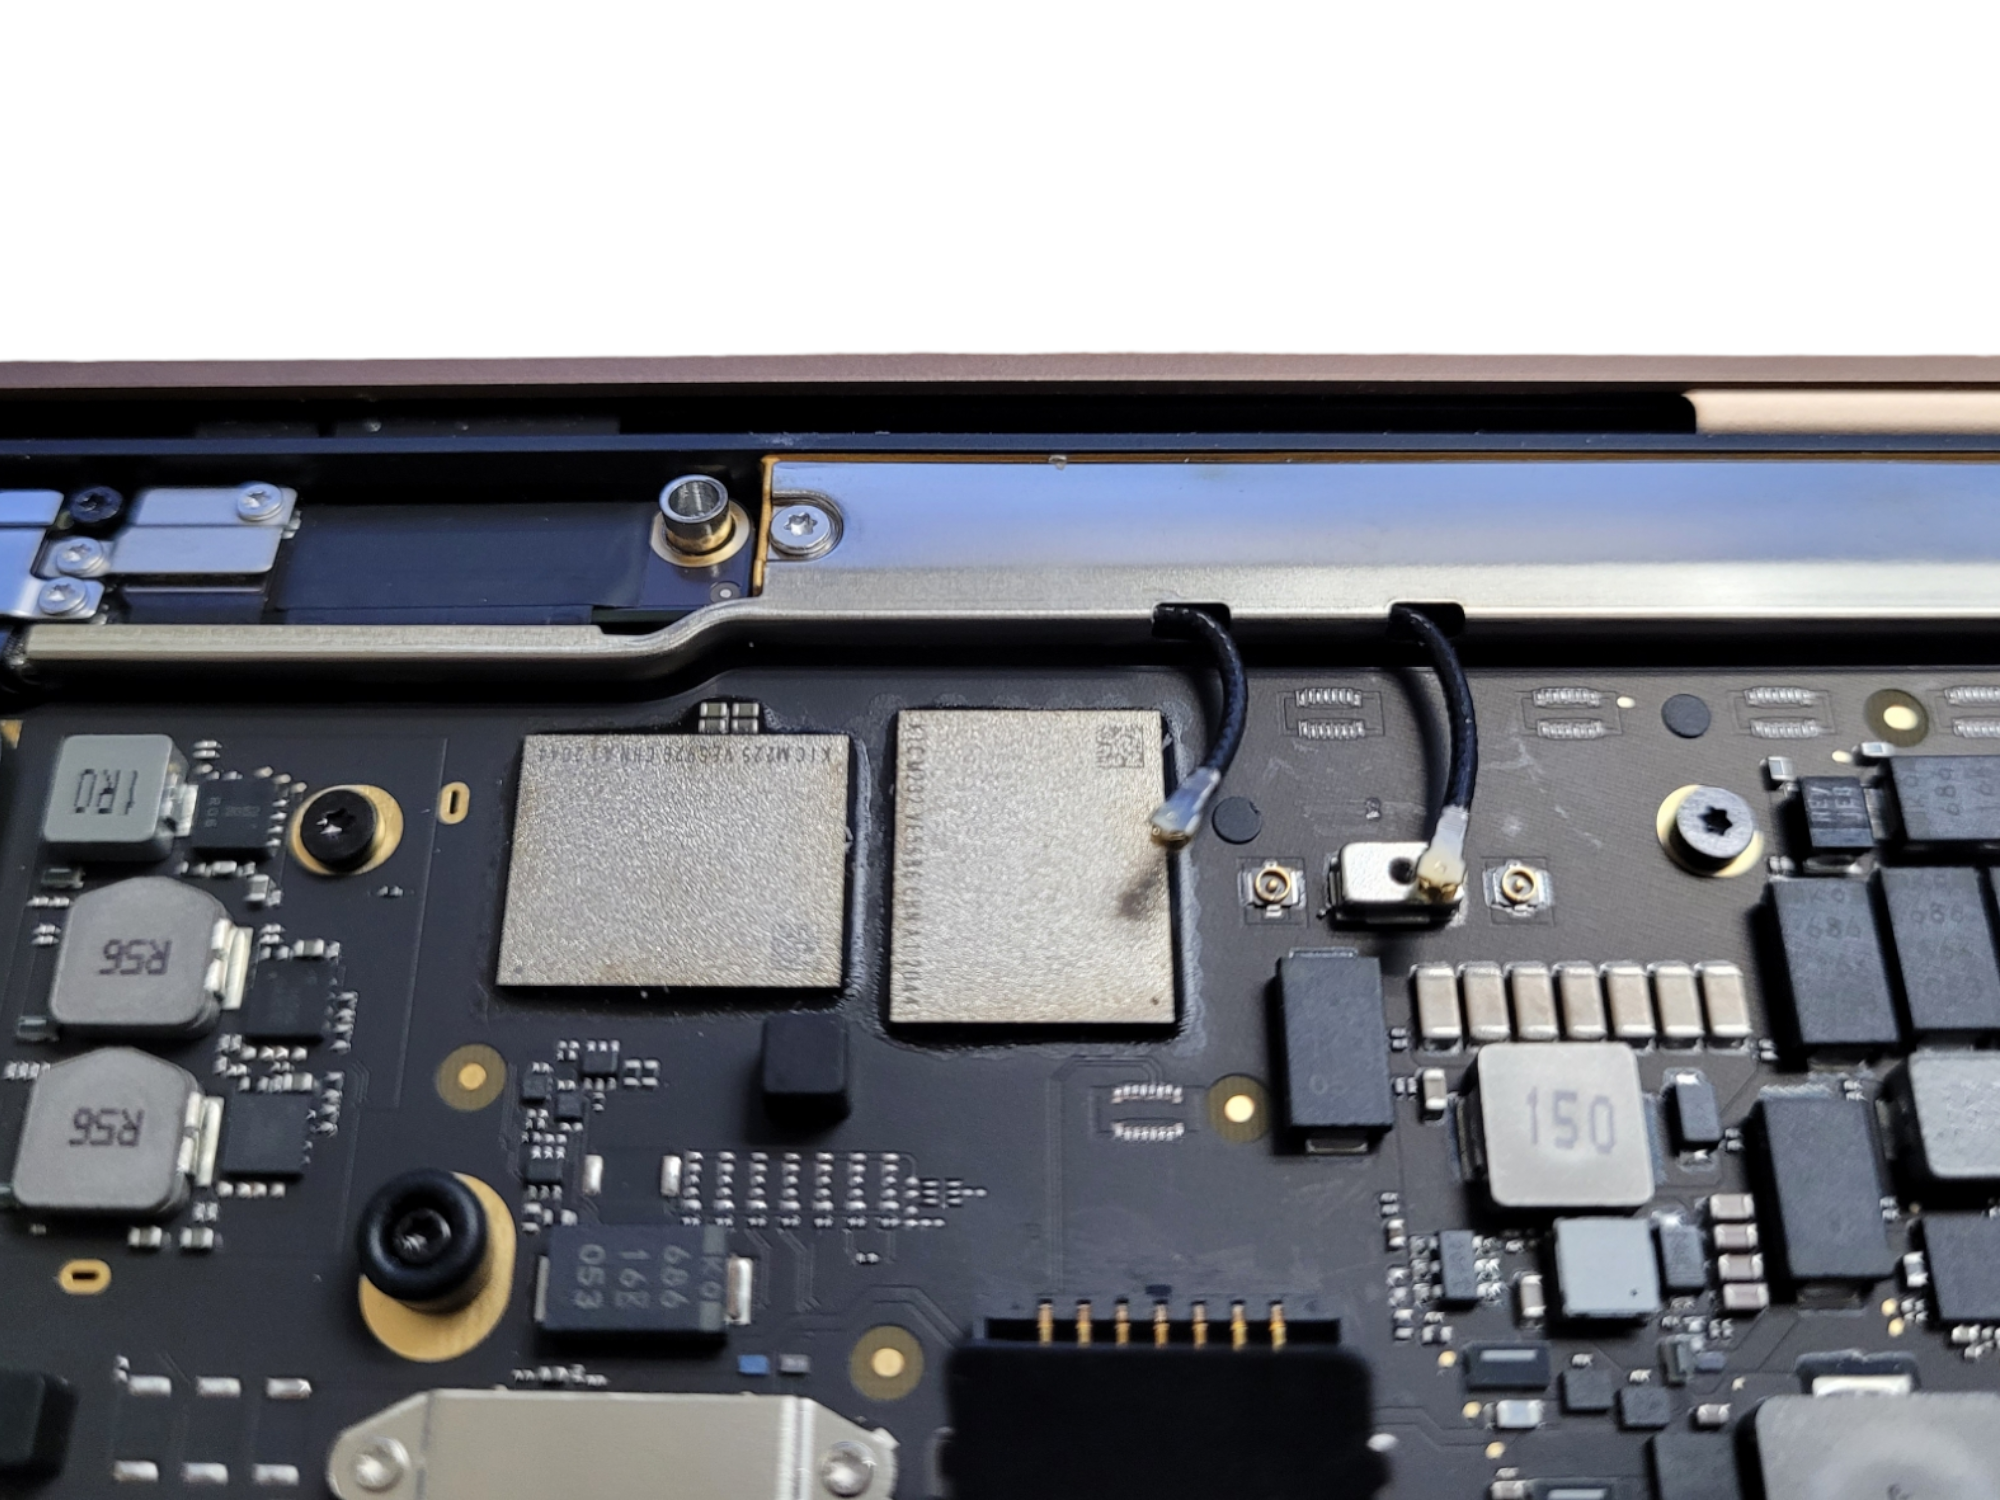
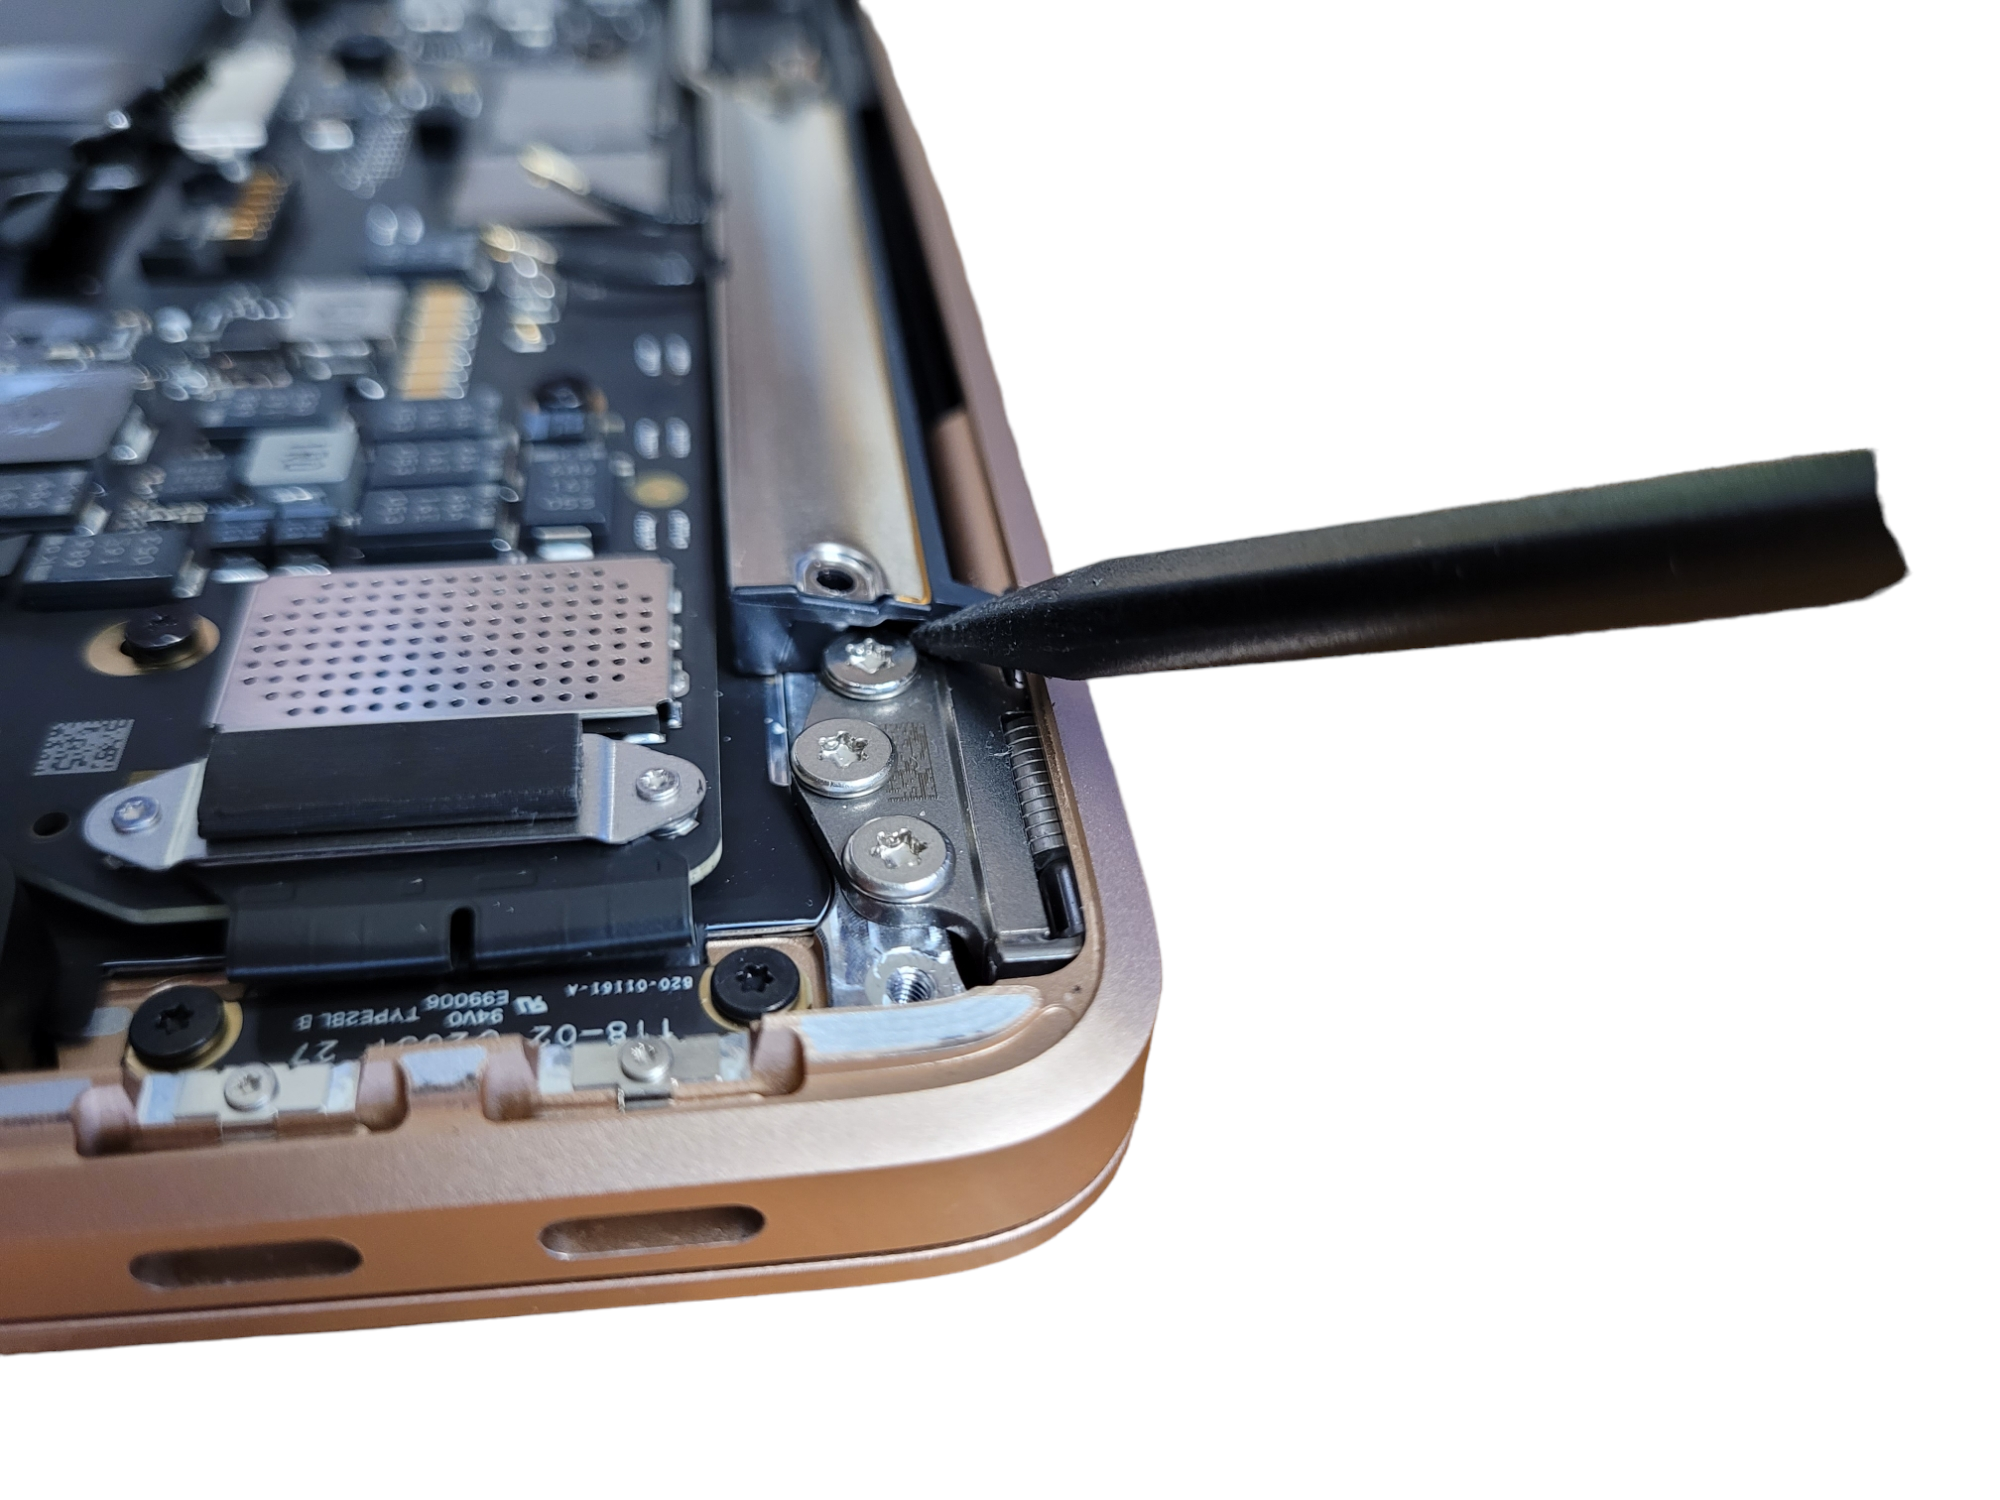
using a T3 screwdriver, remove the screw that holds the antenna cable cover and remove it;
grab the connector with tweezers as close to the base as possible and pull it up to remove it;
do the same with the other connector;
use a T3 screwdriver to remove the two screws which secure the display cable connector cover and remove it;
Use the flat end of a spudger to disconnect the display cable connector from the antenna board;
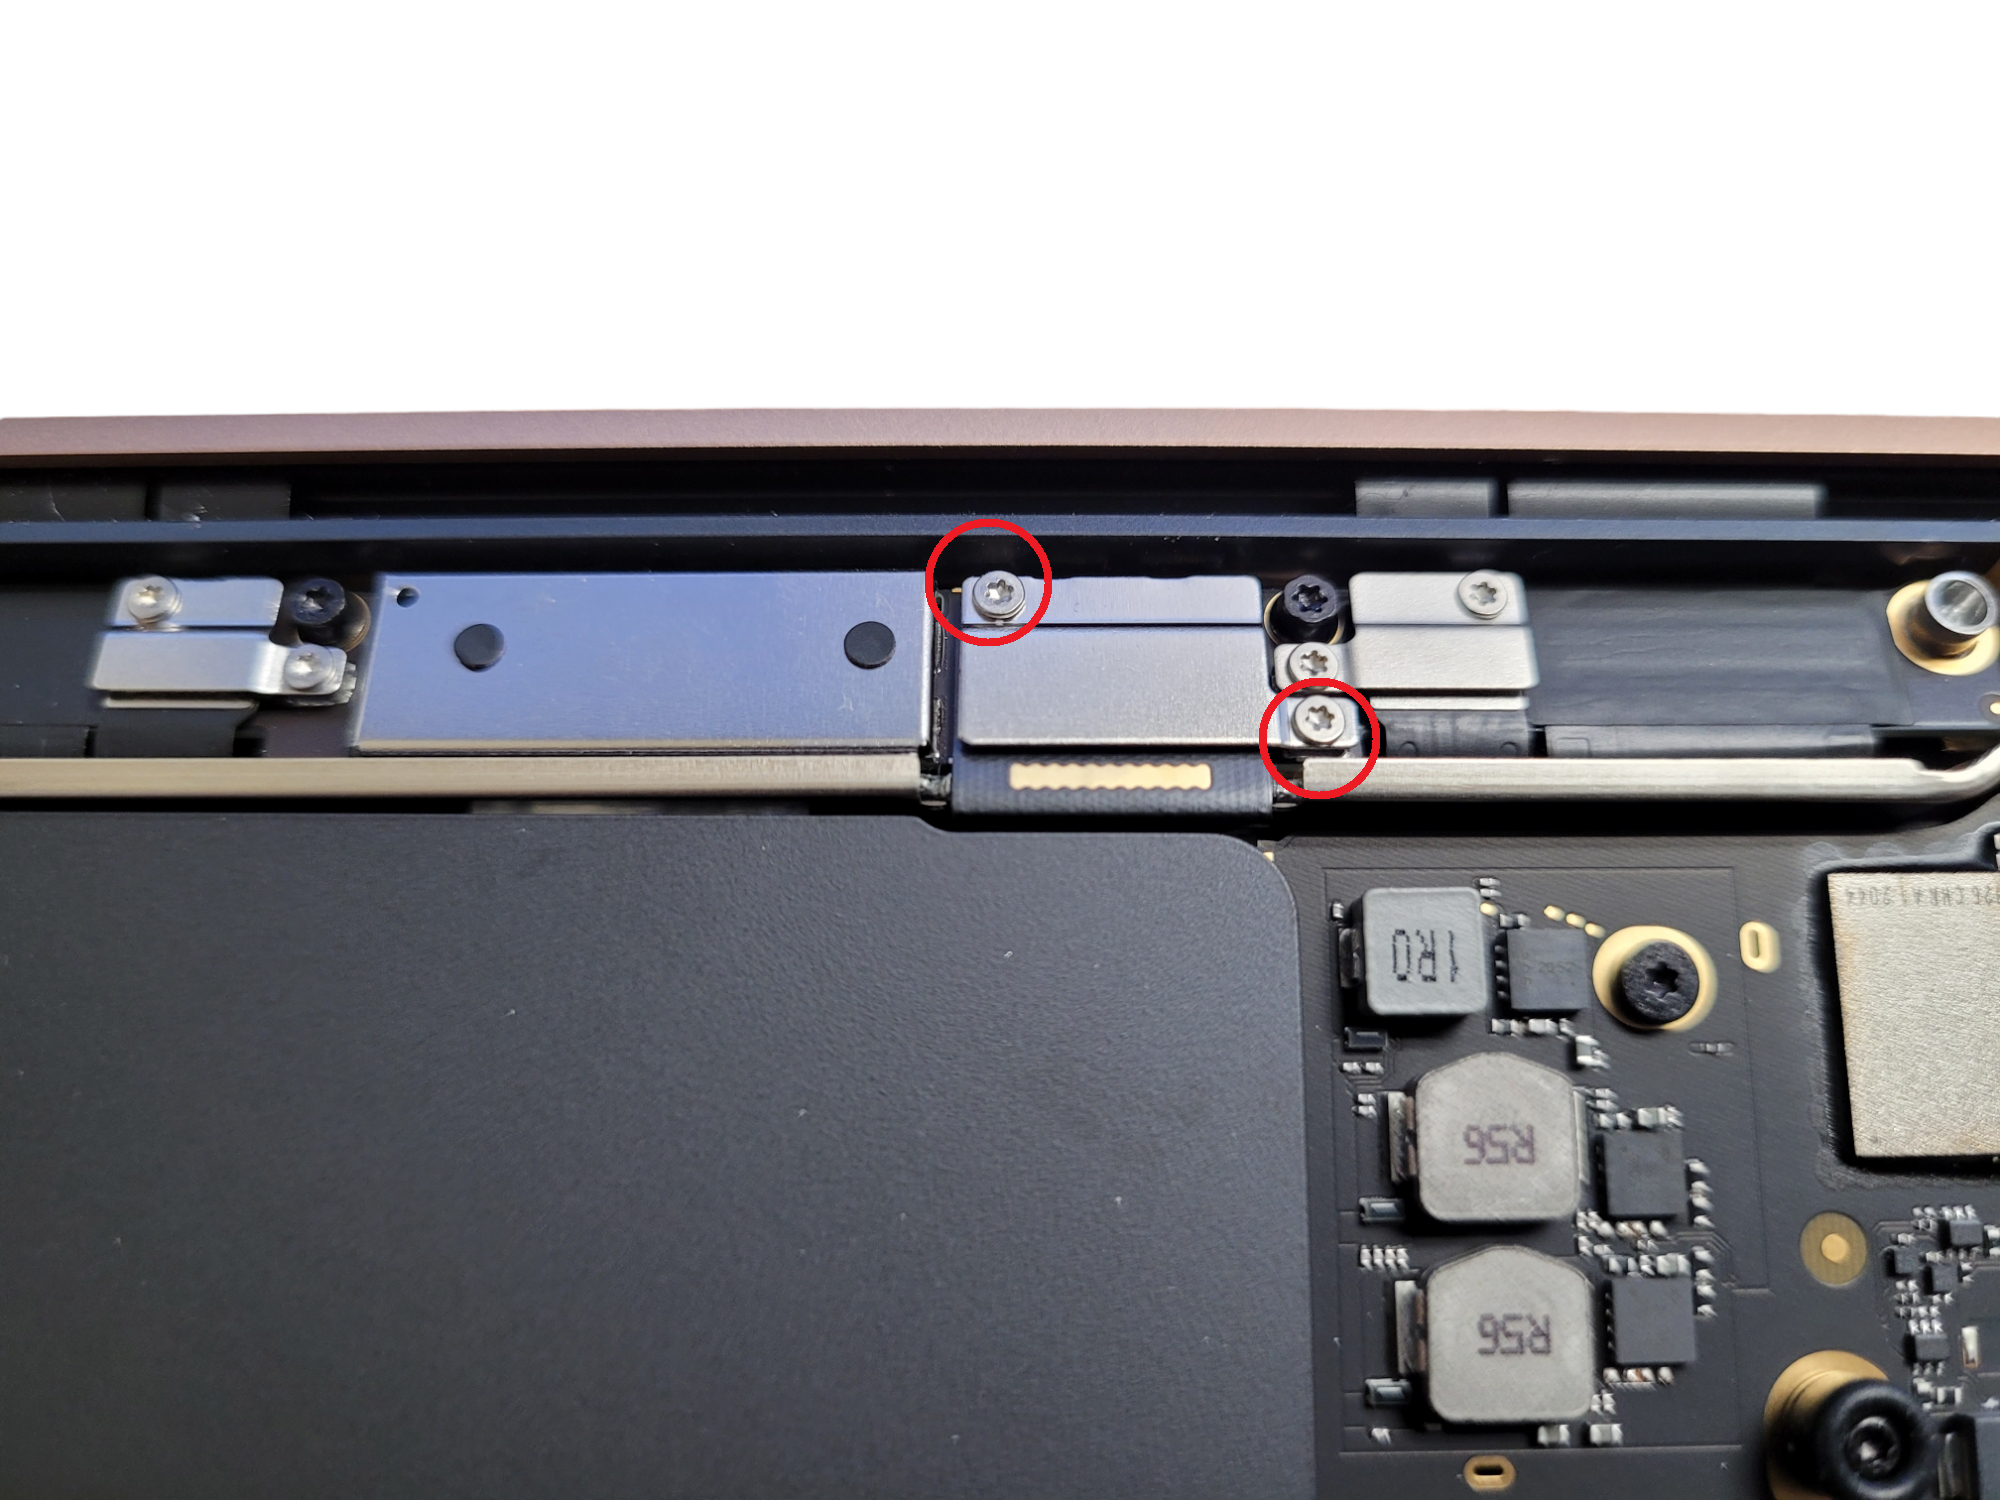
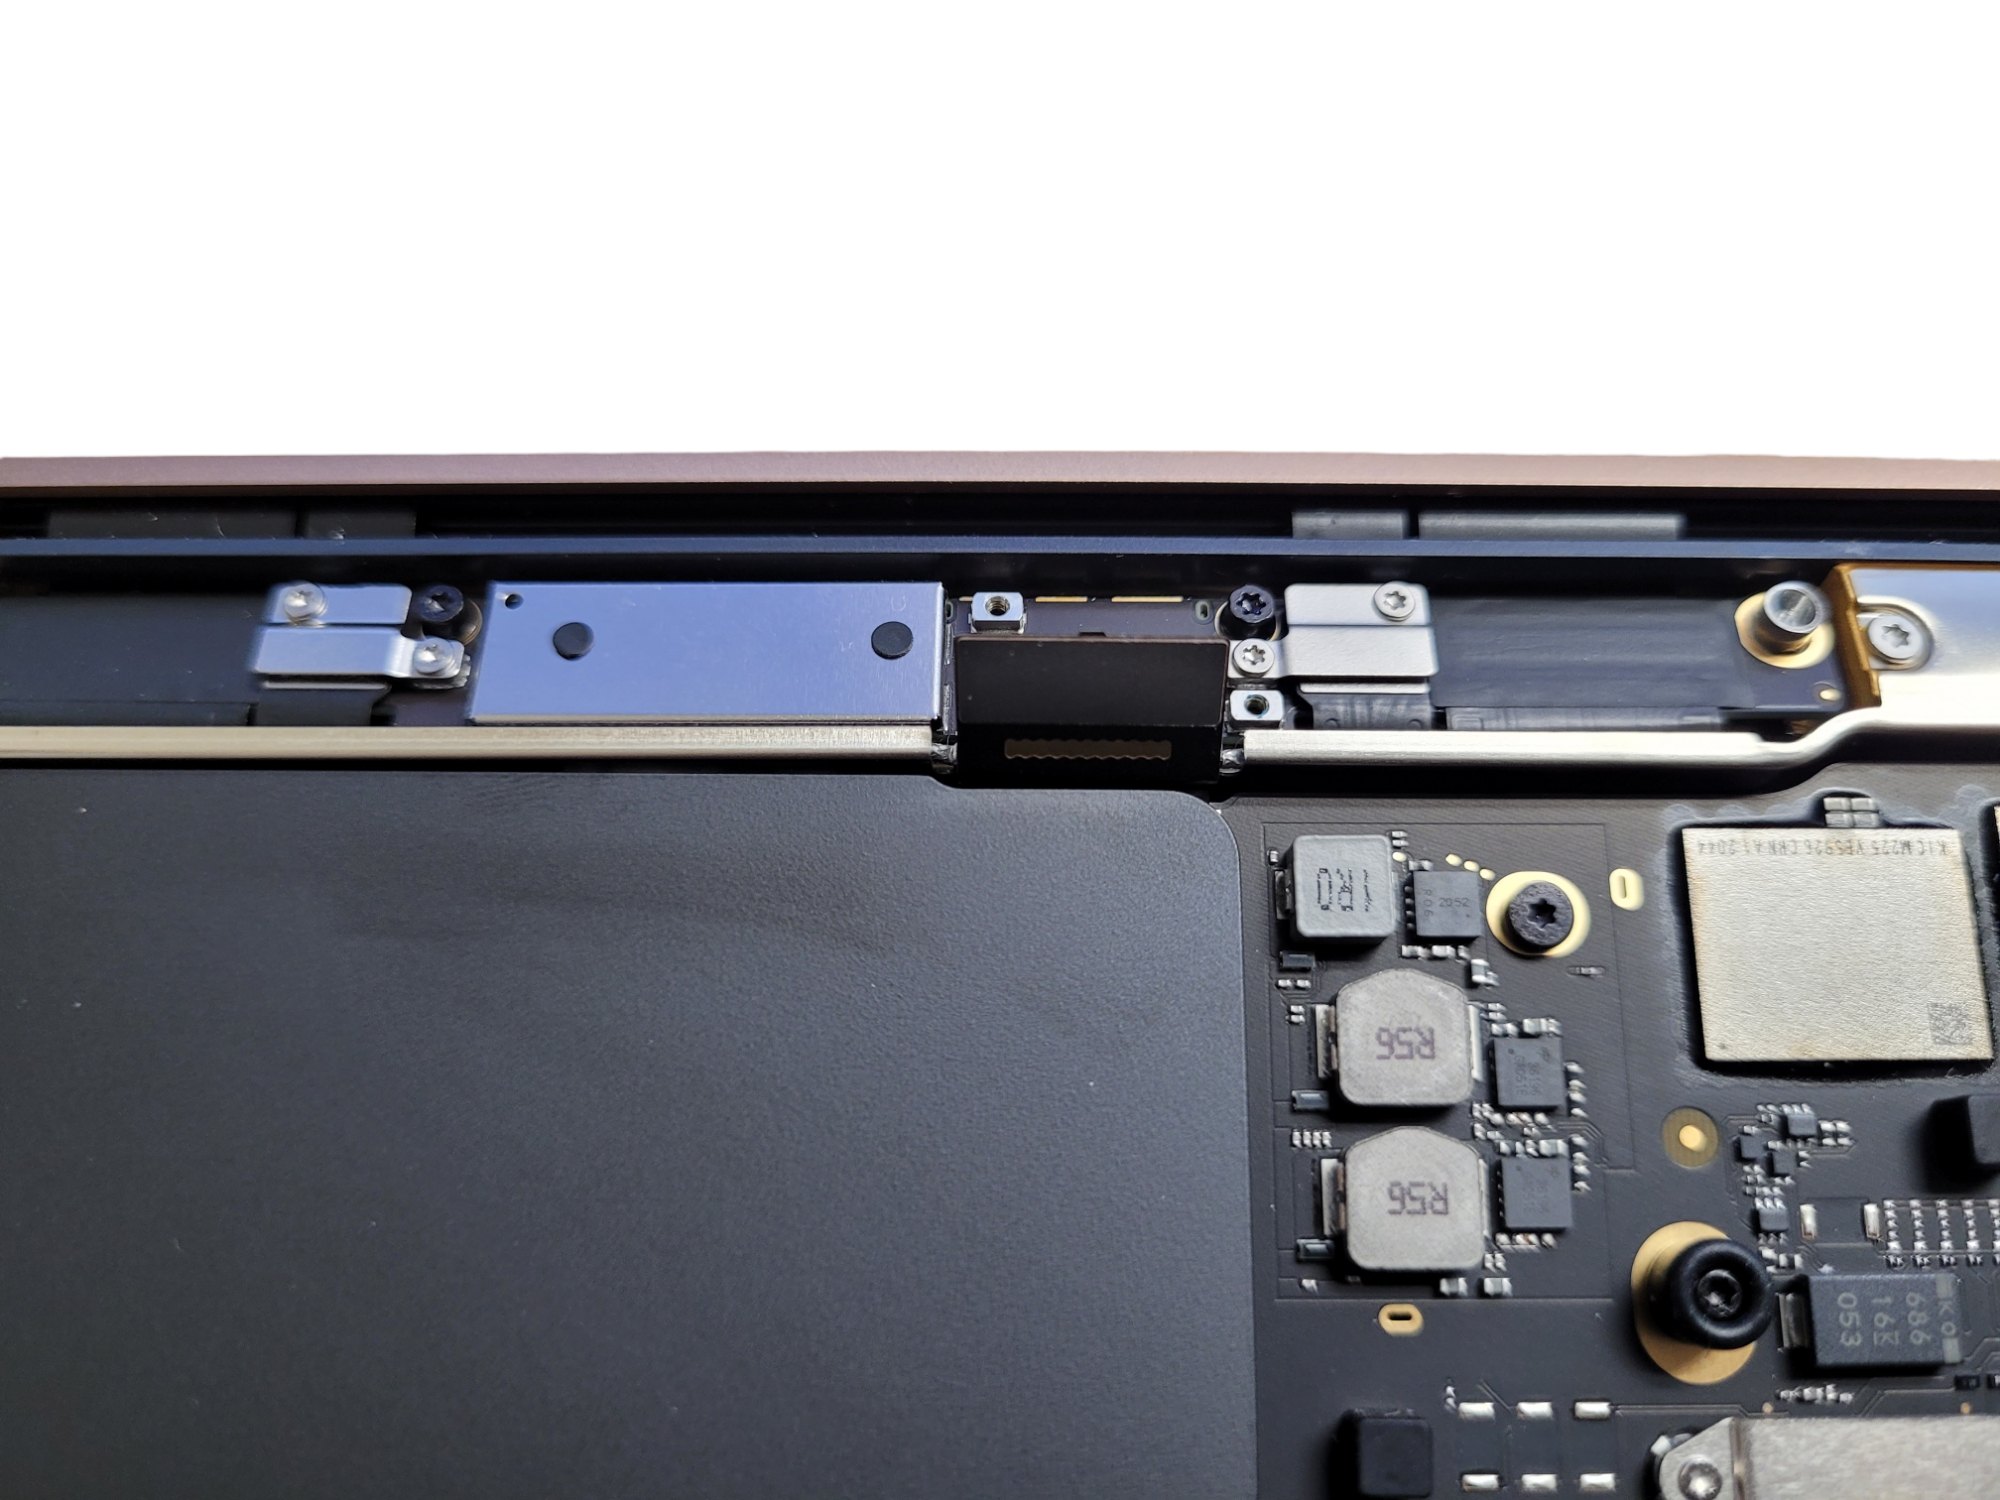
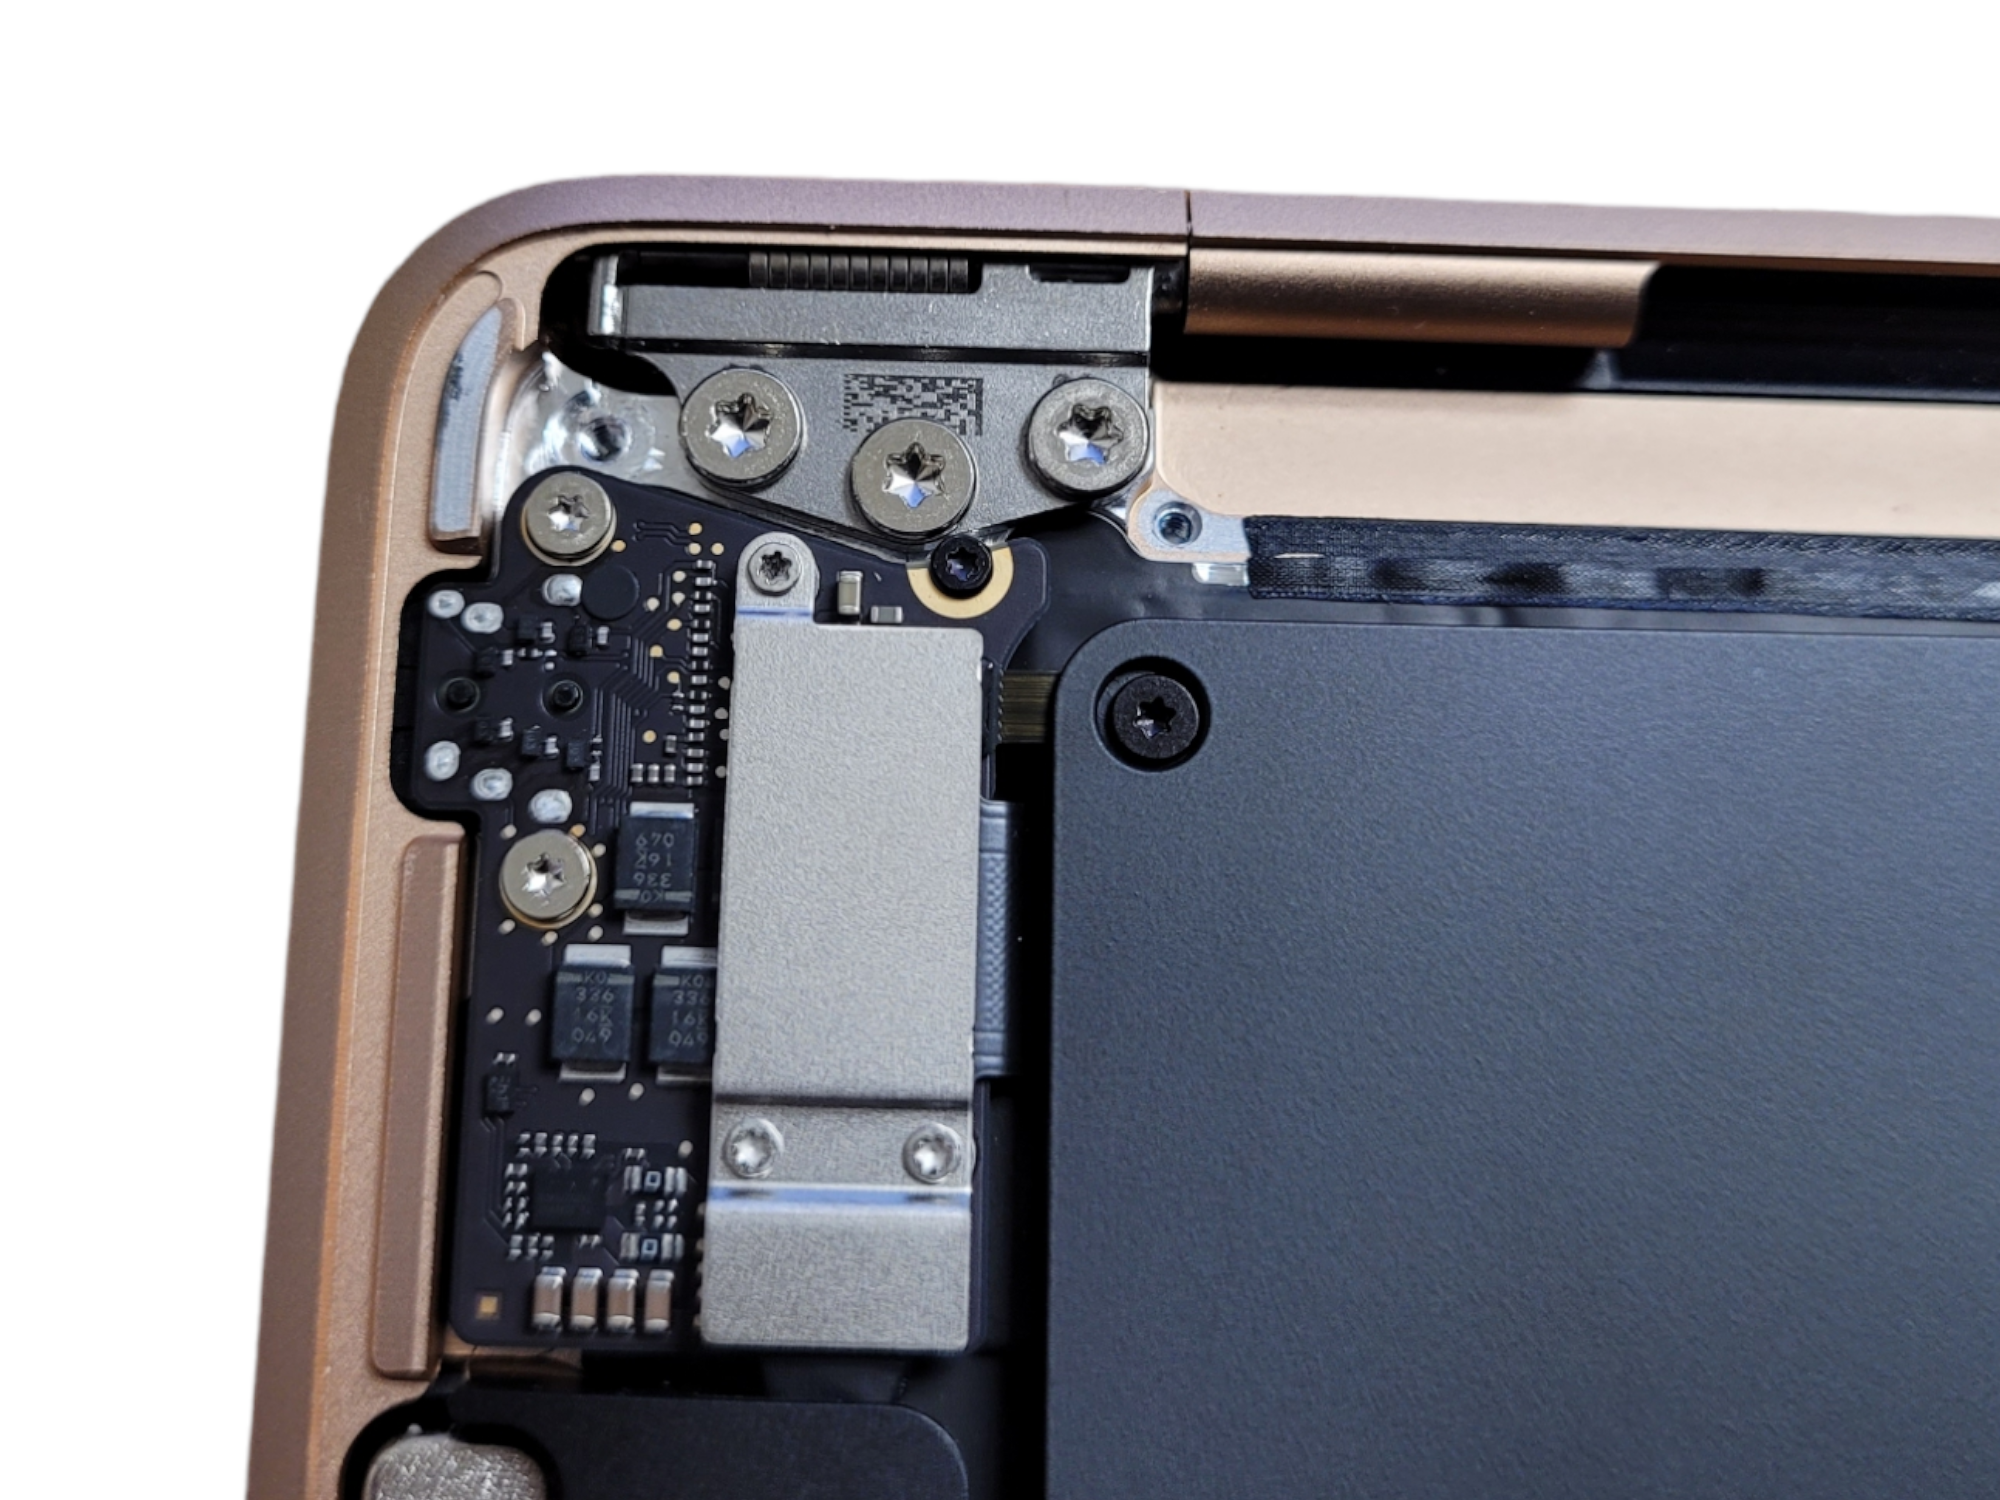
use a T5 screwdriver to remove the six screws securing the antenna bar;
carefully insert the sharp end of the spudger between the antenna bar and the display hinge;
to raise the end of the antenna bar, turn the spudger against the hinge;
do the same on the other side of the bar;
with your fingers, lift up and move the antenna bar to the side (effort may be required as it’s fixed on the adhesive);
insert the antenna board through the hole in the center of the bar and disconnect it from the case;
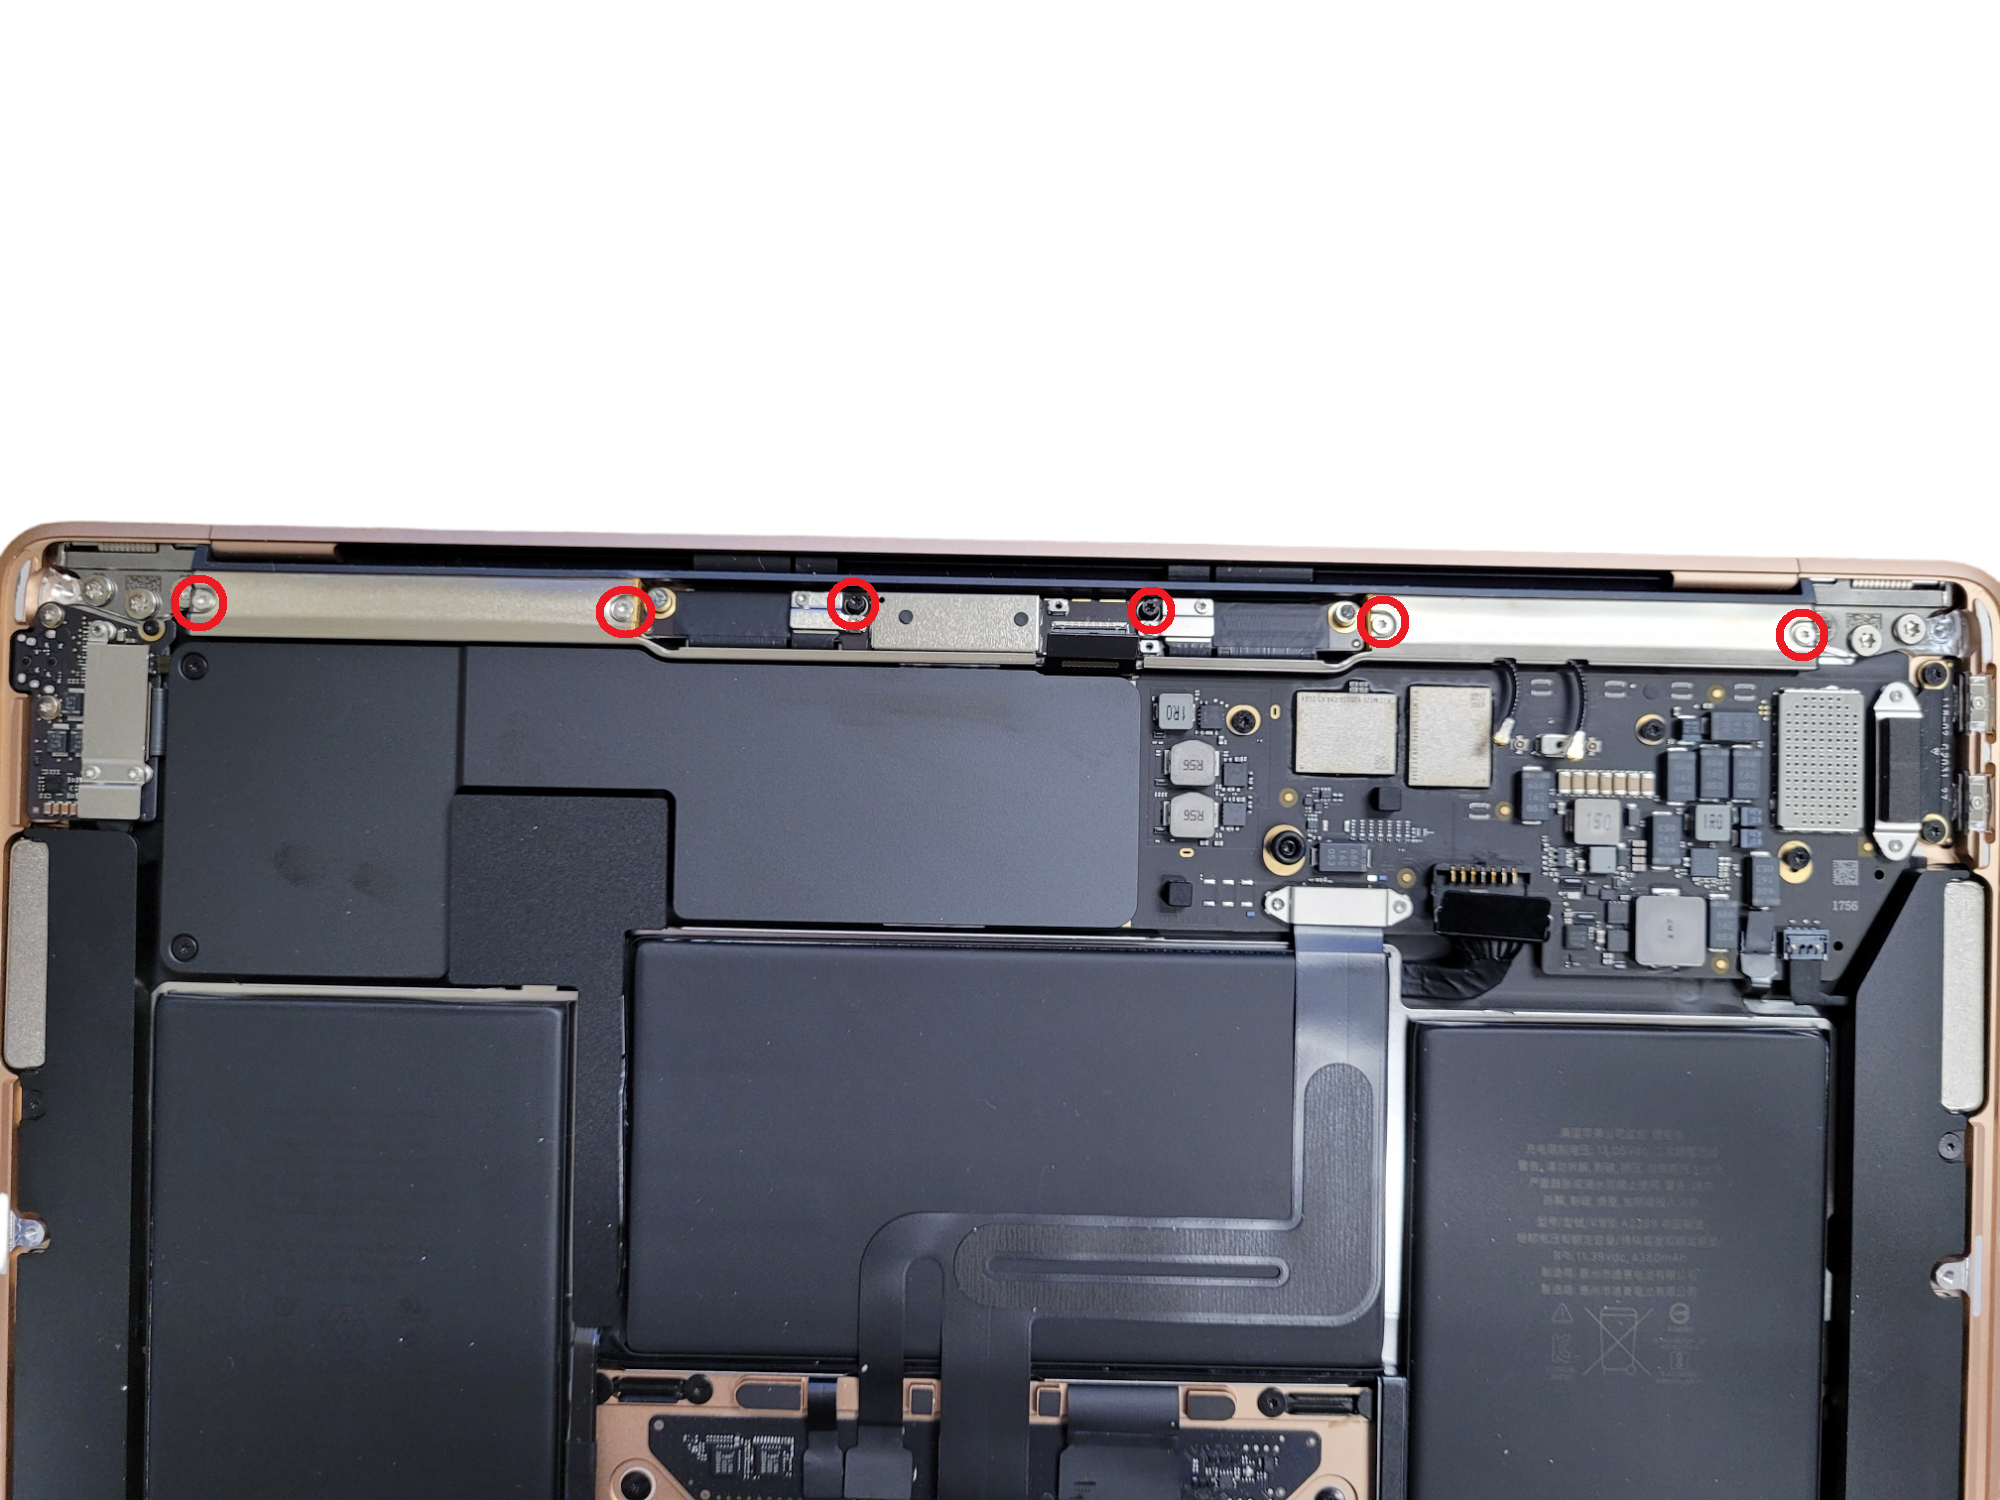
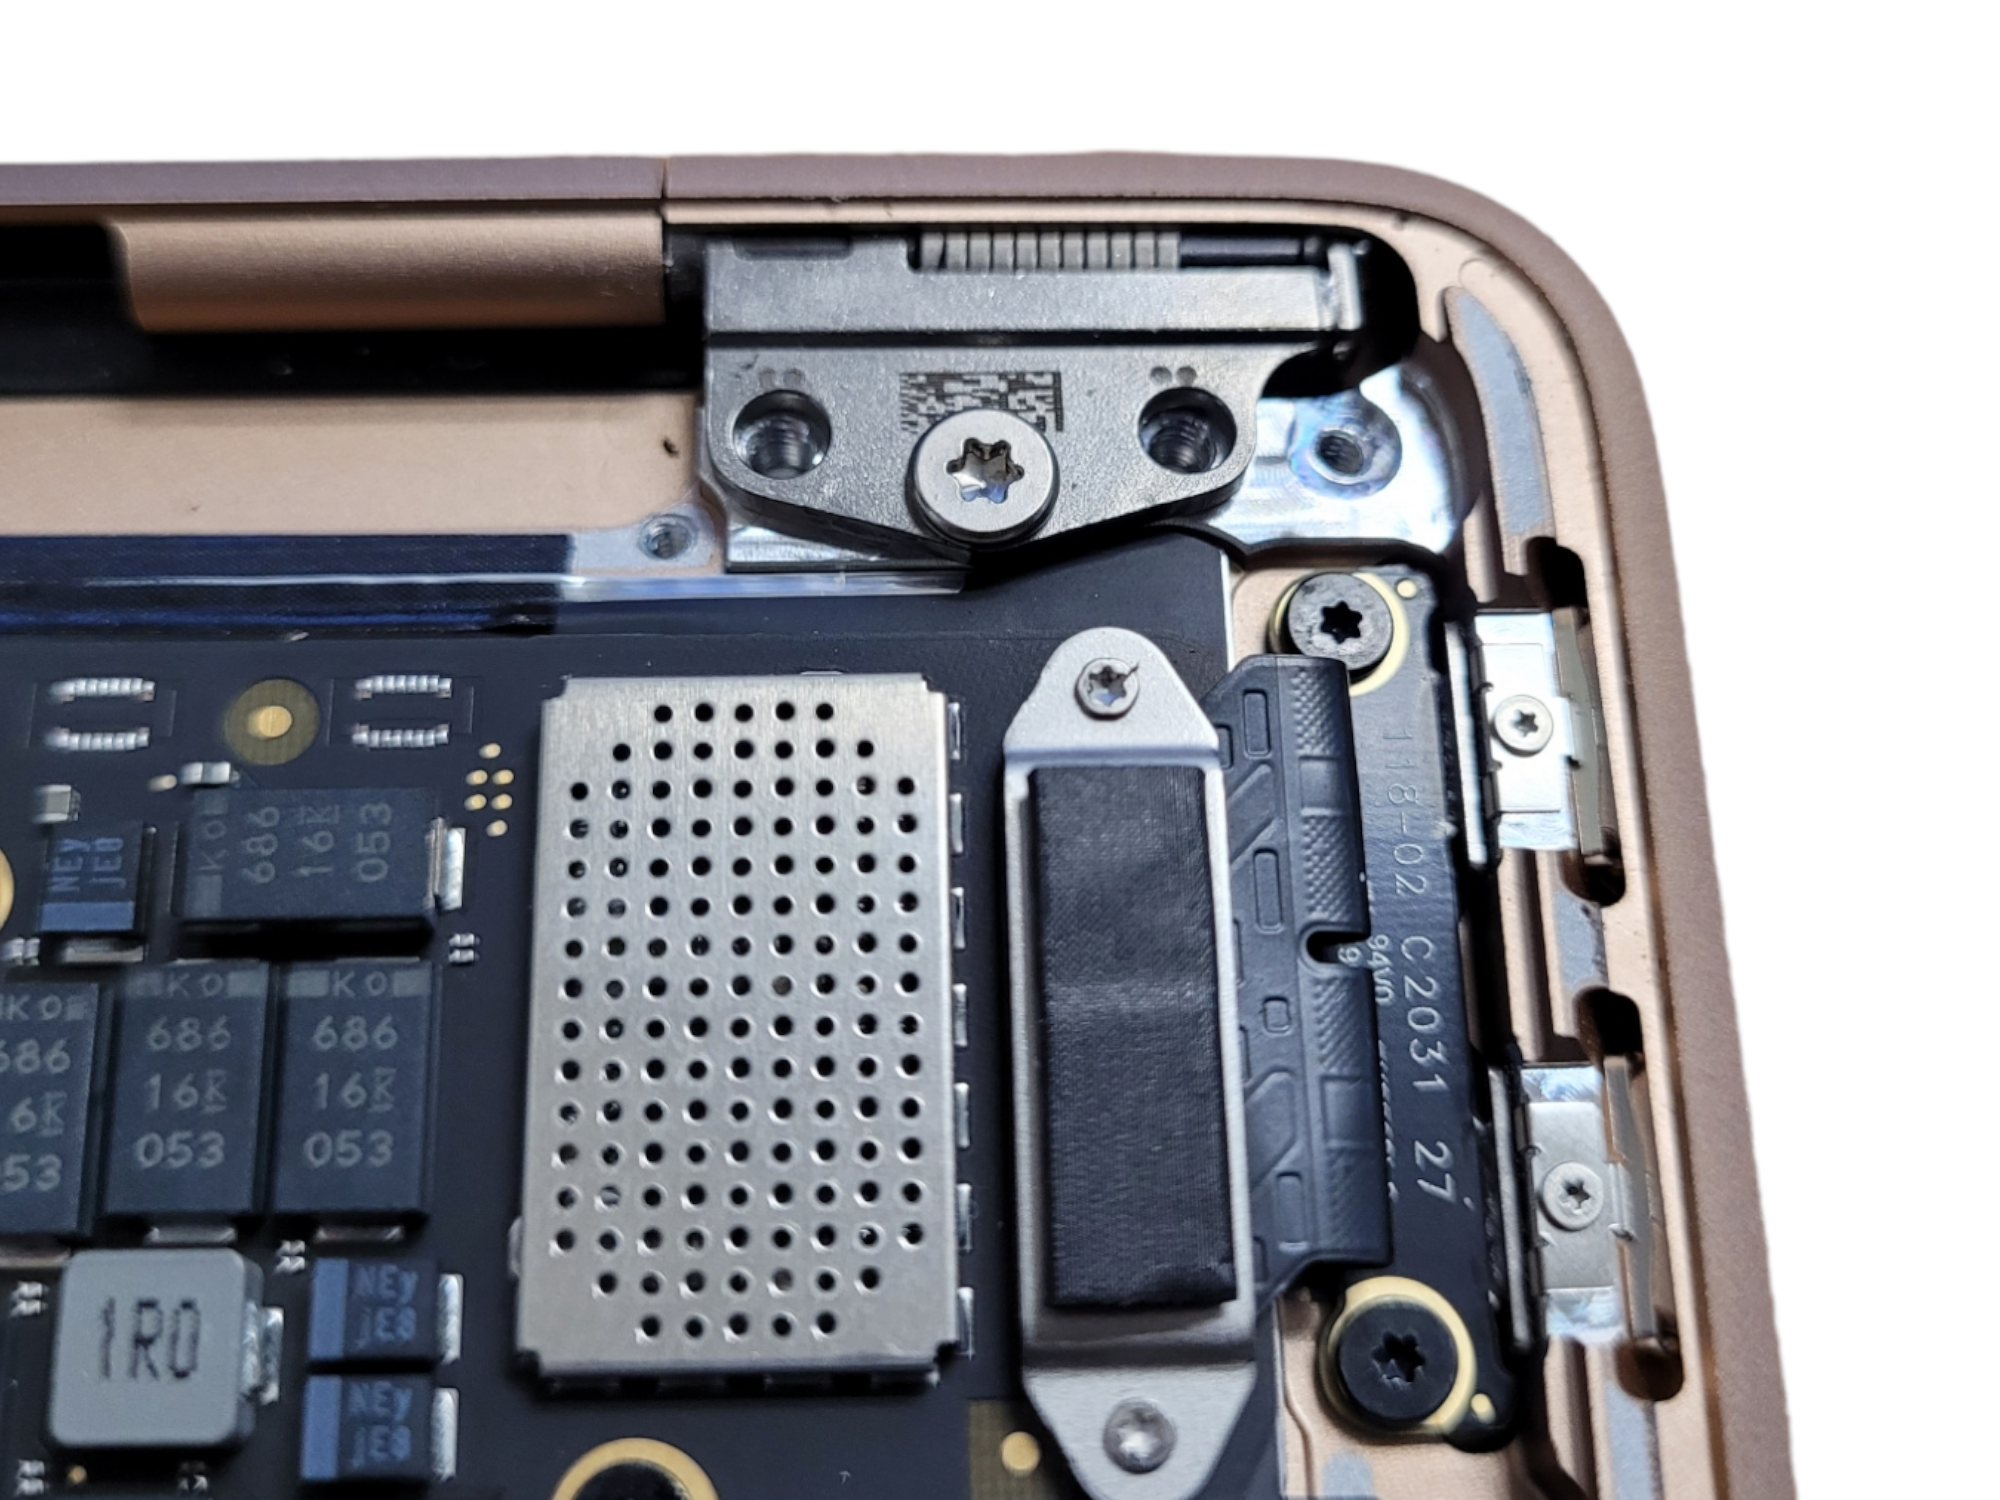
using a T8 screwdriver remove two screws from the hinges at each corner (leave the center one in place for now).


At the last stage MacBook Air 13 2020 screen replacement, you need to remove the old display and install a new one in its place:
fully open the MacBook Air and lay it on its edge, with the screen turning away from you;
use a T8 screwdriver to remove the remaining four screws from the hinges;
start gently opening the display to 90 degrees angle, holding both parts of it;
slide the display away from the case until the hinges move out from the bottom of the display and remove it.


After installing a new screen, you need to follow the same steps in the reverse order. It is important to handle the connectors and latches very carefully to avoid damaging them or bending the pins.
After replacing the display and reassembling, the device may not boot. In this case, it is enough to connect the Macbook Air to the power supply.
To repair Apple branded equipment, you must use only original parts. Otherwise, you may experience problems, poor performance, or lower performance than declared.
Buy everything you need at Appleparts.io. The company offers a wide range of certified parts and accessories for various models of Macbooks.

|
ABOUT THE AUTHOR
Volodymyr Chubei Volodymyr was born in Ukraine and has found his passion for electronics from his childhood. At the age of 13, he was capable of soldering some basic elements of a logic board and today he is one of the co-founders of MacNest.com |
-200x200.png "MacBook Air 13 Early 2015 battery replacement: step-by-step guide")
Over time, the battery in your MacBook Air may not hold the charge as it we...
Read More
-200x200.jpg "How to clean MacBook fan")
During the operation of the MacBook, dust accumulates under its case, which...
Read More

After replacing the motherboard on a laptop or in case of power problems, y...
Read More
-200x200.png "MacBook Pro Unibody model A1278 Logic Board replacement")
If the logic board in a MacBook Pro is damaged, it is often necessary to re...
Read More