| we ship to: |                                      |
| we ship to: | |
-1920x1080.png "https://macnest.com/image/cache/catalog/Blogs/HDD Replacement Guide/unnamed (7)-1920x1080.png")
Users of computer equipment often face situations when it is necessary to replace the hard drive on a MacBook Pro. For example, if it becomes unusable or you just want to increase the amount of physical memory and replace the hard drive with a more capacitive one.
In this article we will explain in detail how to remove a hard drive from a MacBook Pro and install a new one. You will learn what is needed for replacement by your own and what should be paid attention to when choosing components.
Also: How to replace a MacBook battery
.png)
Before you replace your MacBook Pro hard drive, you need to prepare your work surface. To do this, you can use a table covered with a tablecloth or soft cloth as a working surface to prevent the device from scratching. You will also need a good quality, #00 slotted precision screwdriver, such as a Phillips, Kraftool or Stanley.
Before you begin, please note that if you replace MacBook Pro components yourself, the Apple warranty will be void. Instructions for replacing MacBook Pro hard drive.
Disconnect your MacBook Pro from the power supply to avoid a short circuit when power is applied to the hard drive when it’s being removed. Turn the device over with the logo down and the opening part facing you.
Undo ten screws and place them opposite the holes, or write down the order you undo them to avoid confusion due to different lengths. When removing the screws with the screwdriver, hold it strictly vertically and when unscrewing do not press hard on it in order not to strip the thread.
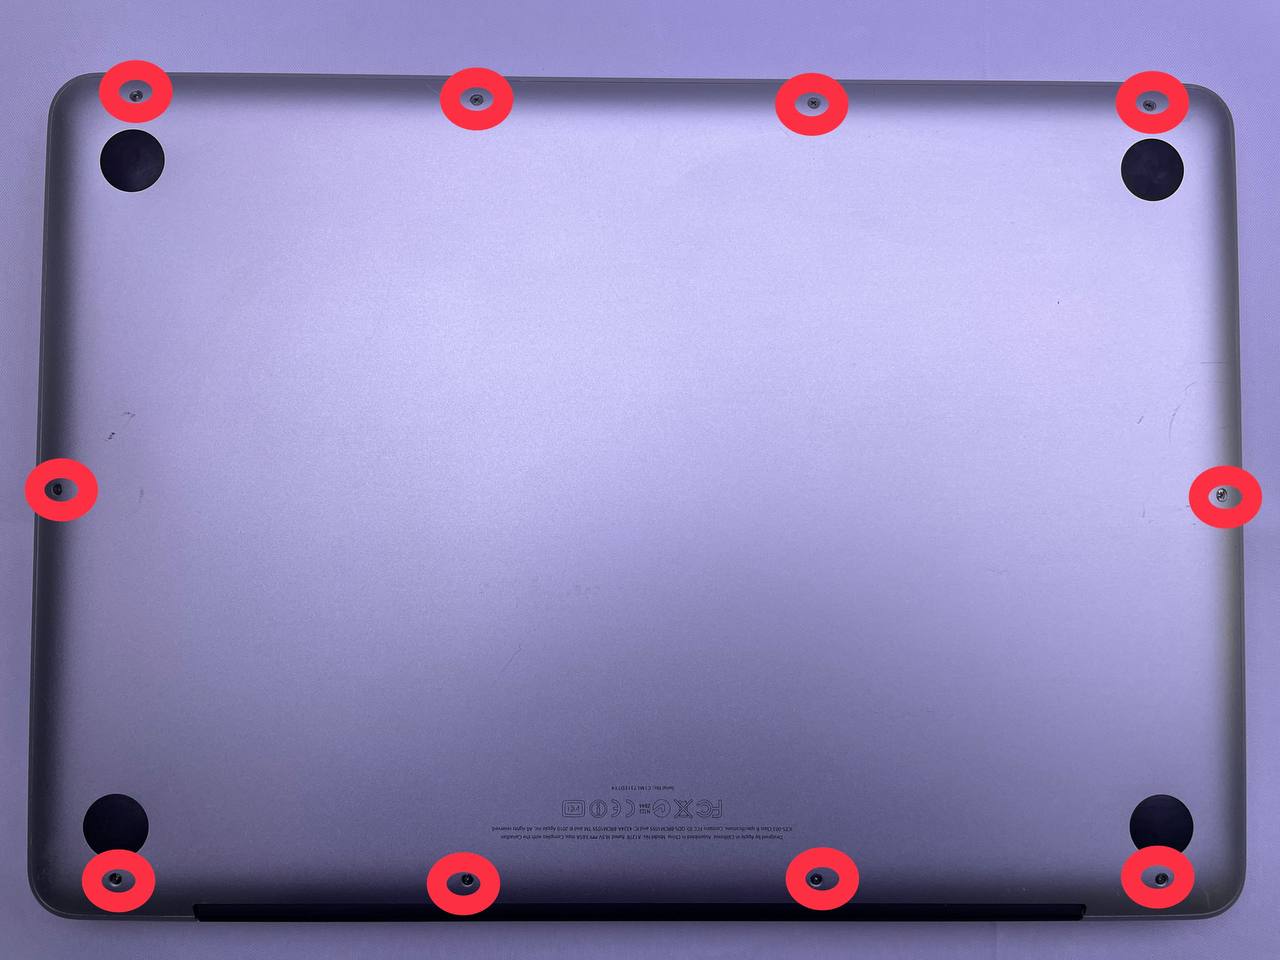

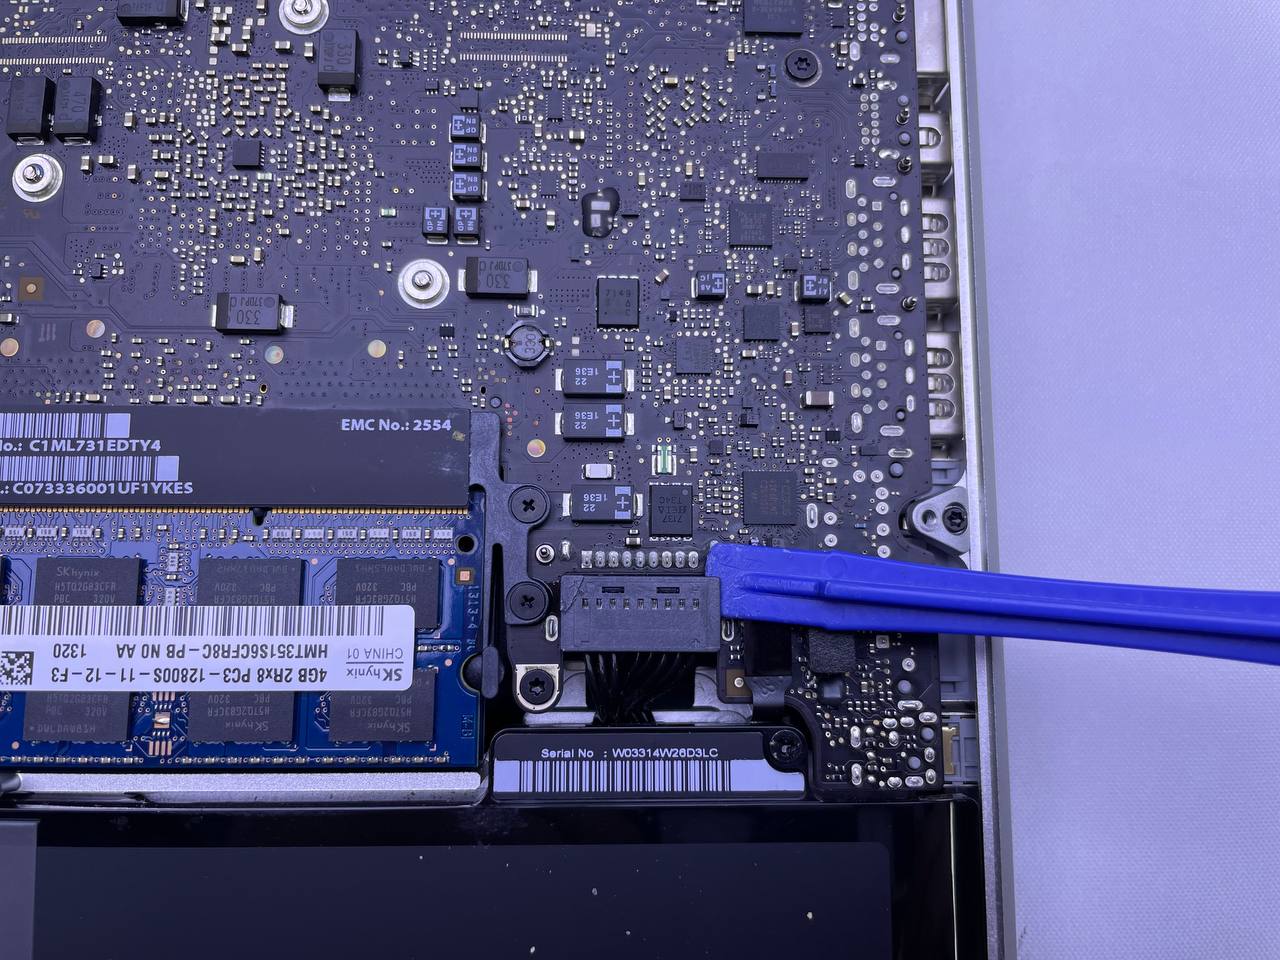
Carefully remove the back cover of the device case and put it aside so that it does not get in the way. When you remove the cover from the latches, you will hear a loud sound – this is normal. The battery is located in the bottom right corner. Gently lift it's connector with a plastic tool or a credit card.

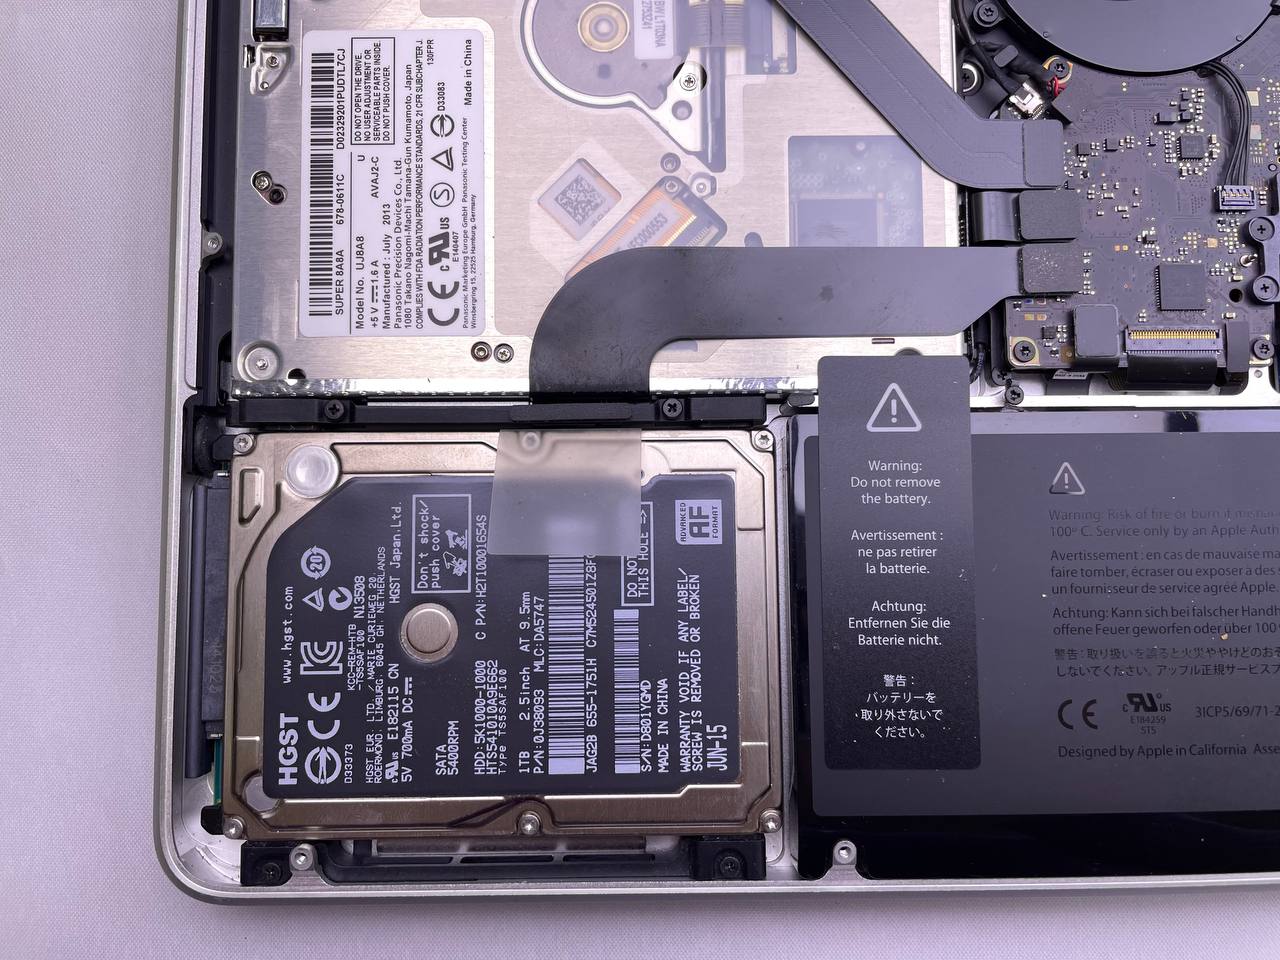
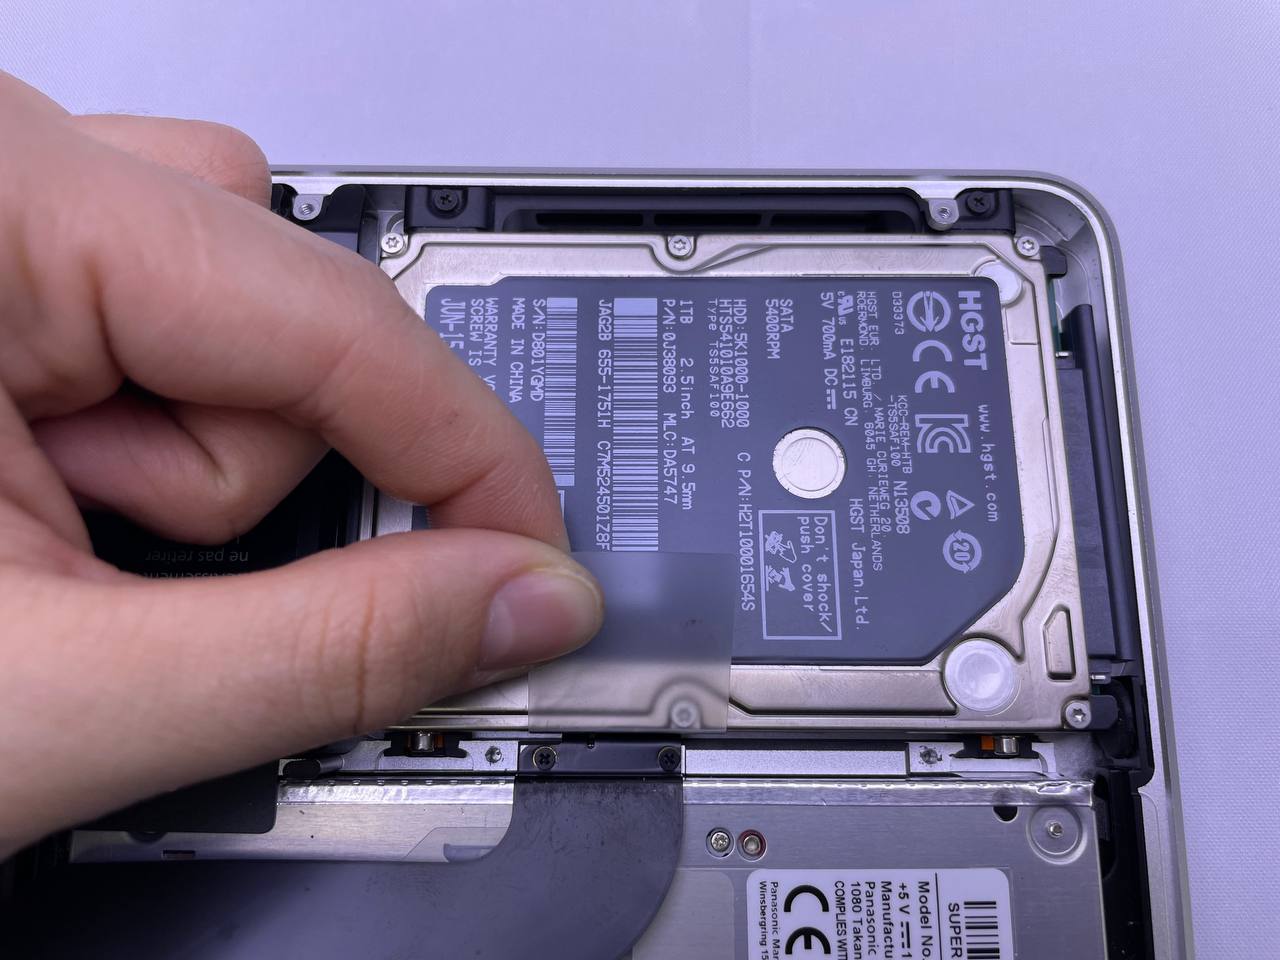
The hard drive is located in the left lower corner. It looks like a rectangular thick silver metal plate with a white sticker where information about the storage device is written.
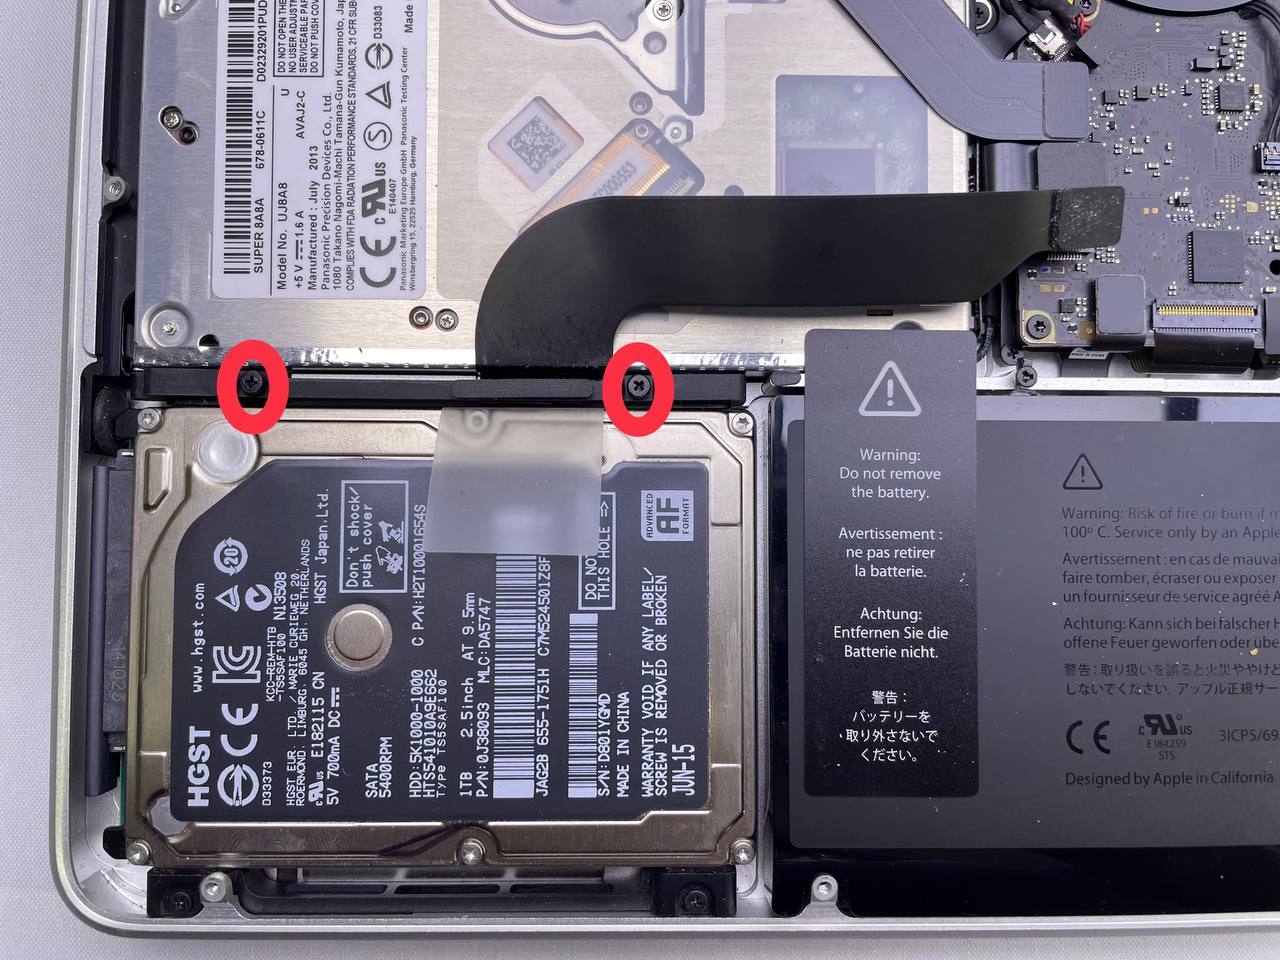
On the top edge of the hard drive, find the black plastic strip that secures the device to the MacBook Pro. Remove the two screws on the mounting plate and put the plate aside. The silver color screws that are around the perimeter of the hard drive do not need to be removed.
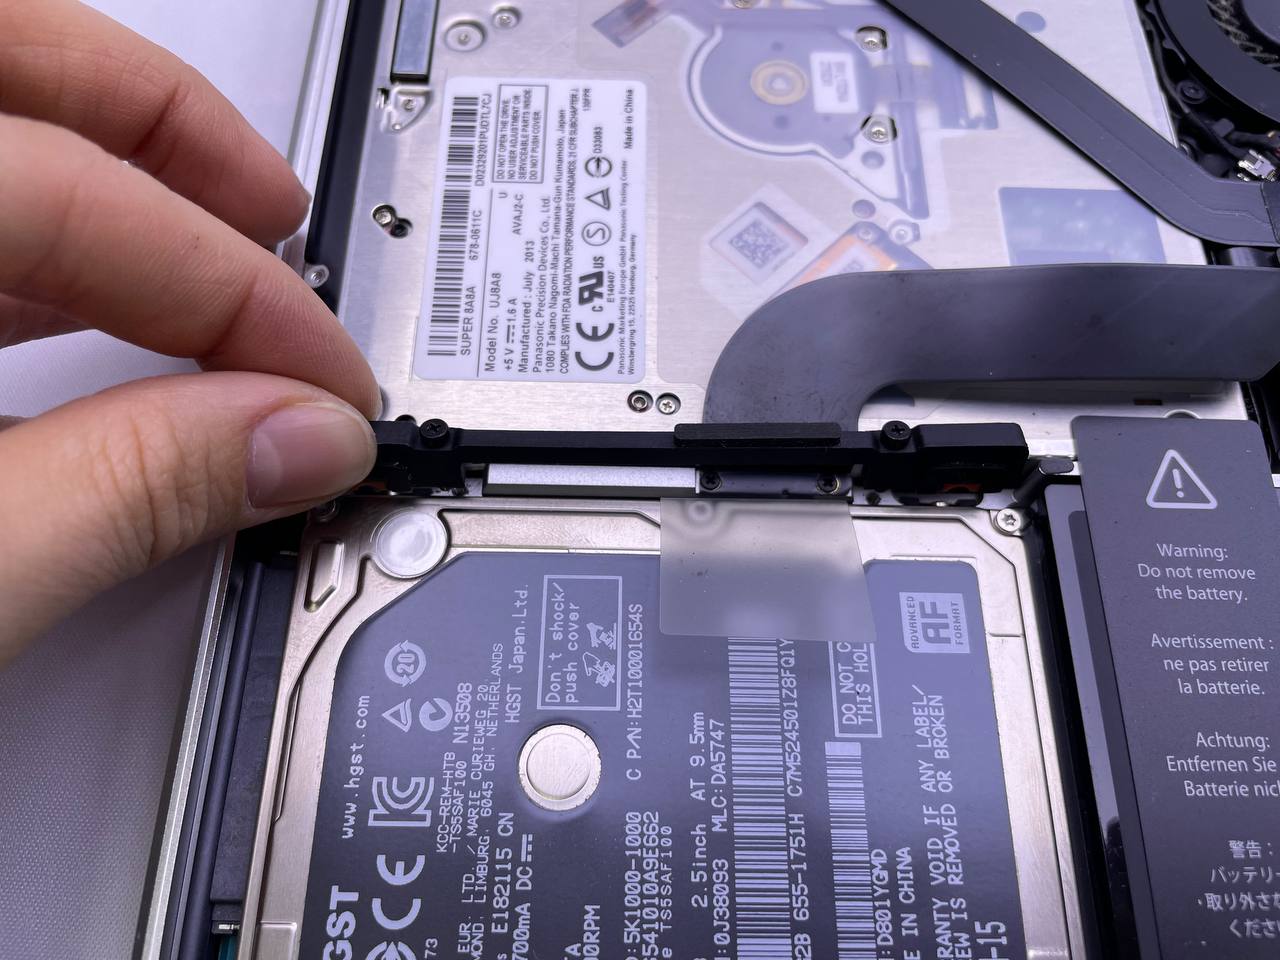
Near the place where the black bar was, there is a white plastic tab. Gently pull on its edge to dismantle the hard drive from the installation site.
The hard drive is fixed to the black bar on the left side that connects it to the MacBook Pro. Carefully disconnect it from the storage device so that it remains fixed to the computer.

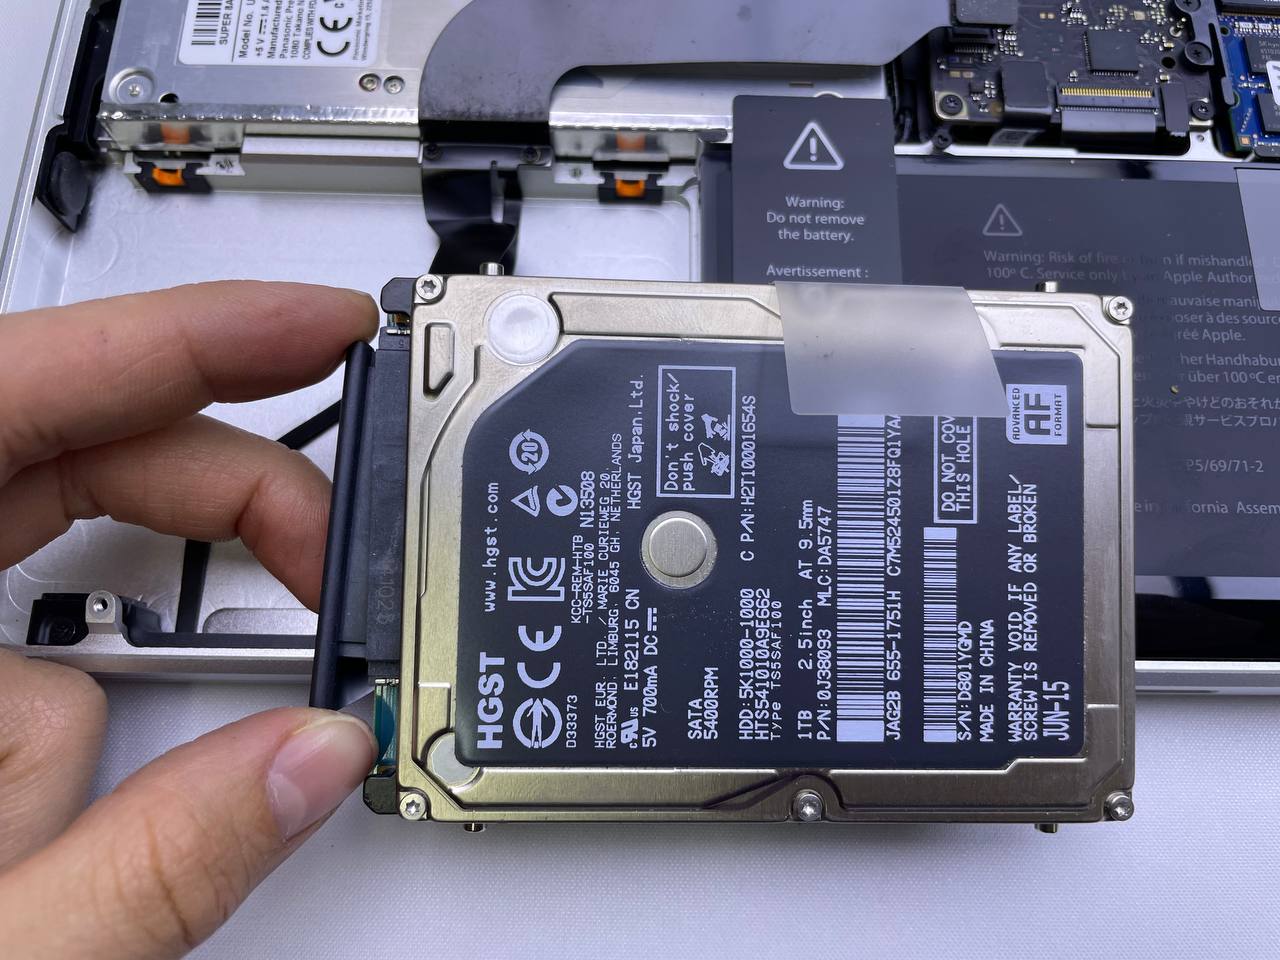
Replace your MacBook Pro hard drive with a new one by following the instructions in the reverse order. First, remove the mounting screws from the old hard drive and install them on the new one.
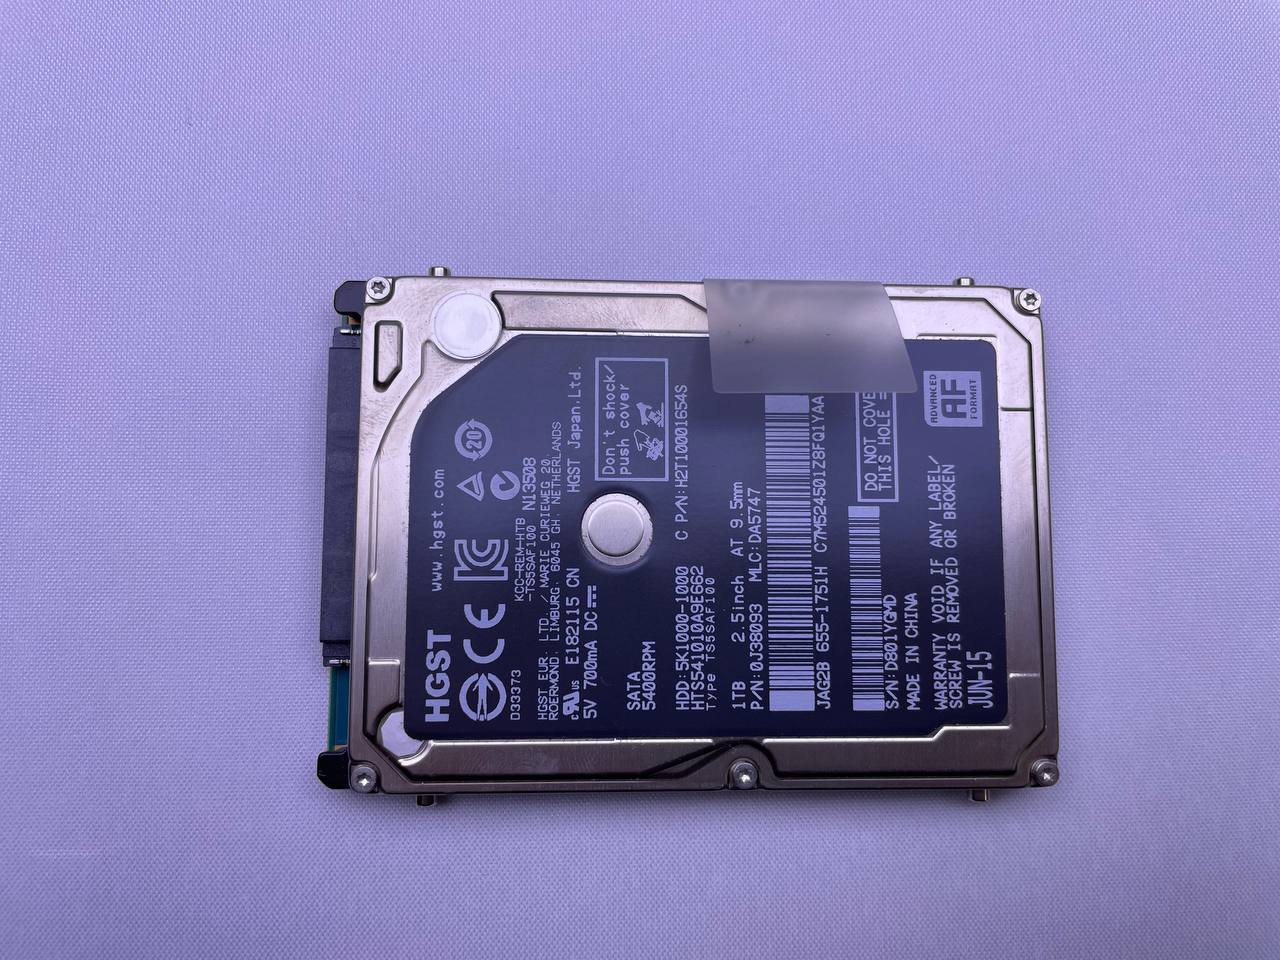
If you plan to use the old disk as an external one, you do not need to undo the screws. It is enough to buy a special pouch (case) and place a hard drive in it for safe storage and easy connection to a laptop using a USB cable.
This use option is suitable in case of an insignificant number of bad sectors on the hard drive. Minor defects do not prevent storage of various information on the device, but it is recommended to store mainly multimedia files, and it is better to move important documents to a working disk.
Partial operation of the hard drive allows you to use data recording functions. You cannot use it to install the operating system, because it will not boot correctly.
It is necessary to follow the instructions, especially for people without the skills of replacing a hard drive, to avoid damaging the connectors and adjacent parts. But no less important is the quality of components for the MacBook Pro.
It is not worth saving on them, because unoriginal spare parts can negatively affect the operation of the device and can cause malfunctions. You need to buy MacBook Pro Parts only from trusted suppliers which guarantee the quality and reliability of components.

|
ABOUT THE AUTHOR
Volodymyr Chubei Volodymyr was born in Ukraine and has found his passion for electronics from his childhood. At the age of 13, he was capable of soldering some basic elements of a logic board and today he is one of the co-founders of MacNest.com |

SSD or Solid State Drives are widely used nowadays. These drives are charac...
Read More

Apple is planning to launch a new laptop model- the 15-inch MacBook Air. Th...
Read More
-200x200.png "MacBook Pro A1398 2015 Logic Board Replacement")
The logic board (system) board is a complex device that interconnects all c...
Read More

The display is one of the most unprotected elements of a MacBook Pro Retina...
Read More